There are more than a few differences between farming in real life and in a game like Stardew Valley, but one thing they both have in common is a learning curve. You can’t expect to pick up a hoe and watering can, digital or otherwise, and turn any old plot of dirt into a thriving farm without any knowledge or experience. Even if you’ve played other games in the farming and life sim genre, such as Harvest Moon or Animal Crossing: New Horizon, each one has its own quirks and systems that you will need to learn to really get the most out of your digital life.
Whether you’re completely new to the farming life, or just need to brush up on the basics, here are some essential tips, tricks, and a couple of fun Easter eggs to help you get the most out of your experience in Stardew Valley.
See More
Make sure ‘Always Show Tool Hit Location’ is on
This is going to be the most basic tip on this list, but is arguably one of the most important as well. Unlike real life, sometimes things in games can get a little … finicky. You would never accidentally dig up your freshly planted crop when you meant to till the land beside it in the real world, yet that is a very possible mistake to make in Stardew Valley. The controls in the game, especially if you’re using a controller, can be imprecise at times when trying to manage the details of your farm. To make sure you’re always targeting the exact square you want to, open up your menu and go into the General tab, and check Always Show Tool Hit Location. This will outline the square your character will interact with no matter what they’re doing, preventing any accidental blunders.
Upgrade your tools intelligently
In most games, upgrading your tools right away is almost always advisable. After all, better tools will just make you a better farmer, right? This is true in Stardew as well, especially since the basic set you start with is not all that great. But, what is important to remember here, is that upgrading tools costs more than just the resources needed to turn them into bronze, steel, gold, and eventually all the way up to iridium. Upgrading any tool also takes two days where you won’t have access to it. So, while you will want to upgrade your watering can ASAP, for example, you have to plan ahead knowing that you won’t be able to water your crops with it while Clint is powering it up. Knowing if it’s going to rain on a particular day, which we’ll get to later, is a great time to set aside for upgrading your watering can.
Build strong relationships
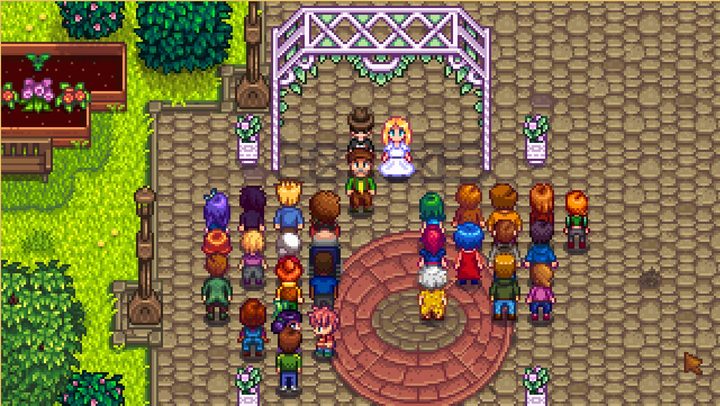
You have more than just your crops to keep you company in Pelican Town. There’s an entire town of people you can interact with, each with their own personalities. Depending on how much you talk to them, and give them gifts they like, you can build up your relationships with them. You should aim to at least be friendly with everyone in town, and even choose someone you might like to fall in love with. You can track all your relationships in the menu, and there are even some unique interactions that only come when you reach certain relationship levels you won’t want to miss out on. Aside from talking to everyone every day, and giving them things they like, giving them an item they love on their birthday is the fastest way to really boost your relationship levels with them so figure out what everyone likes and mark your calendar so you don’t miss a birthday.
Watch TV every day
The first thing on every good farmer’s daily chore list should be to sit down and watch some TV. That’s right, that box in your room you probably ignore most of the time to get out there and start work on your farm. Once you get into the routine of it, though, you’ll start to see it as one of your most valuable farming tools. Not only does time stop while you’re watching, so it isn’t even a waste of time, but the programs can give you a lot of insight into what you should be doing. The Weather Forecast is, obviously, useful for predicting the upcoming weather. As mentioned before, this can be great for planning upgrades. The Fortune Teller show will let you know how “lucky” your day will be. This “luck” determines a few random elements in the game. If you’re lucky then it means it is a good day to either mine for ore or pick your crops since they both have a better chance of turning out high quality. The other shows are not on every day, but Queen of Sauce is useful for learning new cooking recipes, and Livin’ Off The Land will give you tips you wouldn’t otherwise know … kind of like this article.
Get a good night’s sleep
With so much to do restoring your farm, you may be tempted to burn the midnight oil and push your little farmer to the limit. But, just like real life, staying up too late has real consequences. Your alarm clock is going to go off at 6:00 AM no matter what time you hit the sack, and going to sleep any later than midnight or so will result in an energy penalty the next day. If that wasn’t enough to deter you from working through the night, staying up until 2:00 AM will automatically have your character pass out from exhaustion on the spot. Not only will you wake up with less energy the next day, but you’ll also be charged some of your cash, and potentially some items too, by whoever was kind enough to drag you back to your home. Finally, sleeping is also how you save the game. Losing progress on your farm can be incredibly frustrating so set a bedtime and stick to it.
Pack a lunch
Speaking of energy, food is your fuel source. Farming is demanding work and you will burn through your energy very quickly working the land. The only ways to get your energy back are to either sleep or to eat, and since you obviously don’t want to burn half a day sleeping, having food on you at all times is essential. You can eat some raw food for a little boost, but cooked meals give the most energy back. This is an especially important tip for when you go into the mines and start encountering enemies. Food is also your best way to regain your health and keep you exploring, fighting, and mining longer. Getting stranded deep underground without anything to snack on can spell disaster.
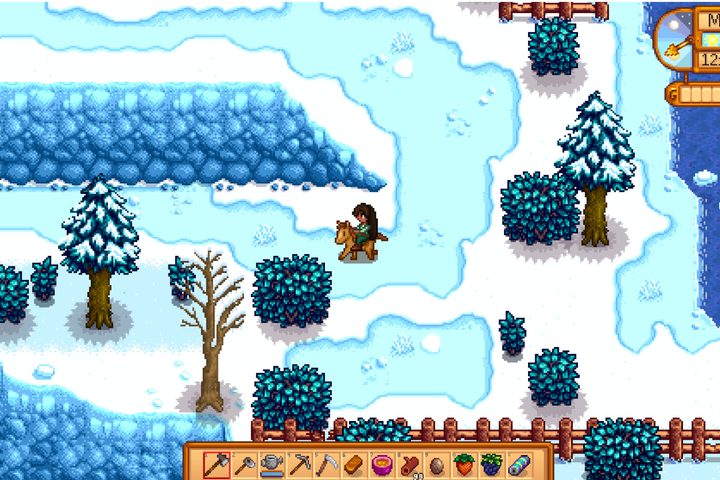
Build a greenhouse early
Starting off in the warm months might lull you into a false sense of security, but as the famous saying goes, “winter is coming” and you need to be ready. The best way to prepare is to get to work on the Community Center upgrades so that you can build yourself a greenhouse before the first snowfall. Without one, there are still other activities you can do, but you’ll be at a major disadvantage in terms of income without any crops to harvest all season long.
Make long term plans
On the topic of winter, planning for all the seasons is something you’ll want to get in the habit of very quickly. Not only do days tend to fly by, each only lasting less than 15 minutes in real life, but seasons will start to creep up way sooner than you think. Each season lasts an equal amount of time, 28 days, which will start to feel like nothing once you get into the rhythm of things. If a season is coming to an end, maybe don’t invest in crops to plant that won’t have time to grow. Similarly, don’t forget to harvest whatever is available on the last day of a season since it will all die out the moment the season changes. Every season has its own set of crops to grow and fish to catch, some of which are required for quests. Missing out won’t mean you fail the quest or anything, only that you’ll be forced to wait until that season rolls back around to do it. Save yourself the frustration and plan out what you should be doing each season in advance.
Build your silo
Upgrading your farm with new buildings is a long term process because of just how costly they are. However, the one building you will want to save up for and spend on right away is the silo. Thankfully it isn’t terribly expensive, costing 100 gold, 100 stone, 10 clay, and five copper bars, and is one of the most useful to have early on. All that wild grass you’re clearing away from your farm can be stored in the silo as hay for future use. Having a nice stock of food for your future animals will make the winter months that much easier. And don’t stress too much about where you build your silo. You can always relocate it as you redesign your farm for no extra cost.
Don’t ignore the mine
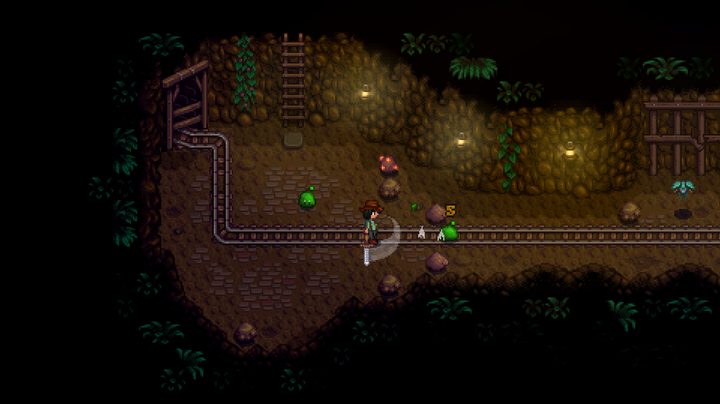
Finally, remember to spice up your life with a little action every once in a while. The mines are Stardew Valley‘s dungeon equivalent, filled with monsters to fight, ore to mine, and treasure to plunder. The mine is deep, like, really deep so don’t go in expecting to clear it out in just a few trips. Every 10th floor you clear rewards you with a rare item, and there’s also the mine in the desert that is even more dangerous. Just don’t slack on your chores if you get hooked on diving deeper and deeper into the underground. Oh, and remember to pack that snack or two.
Easter eggs
There aren’t all that many Easter eggs in Stardew Valley, but there are a couple we have found right on the game’s main menu.
The first one can be triggered by clicking the letter E in the name Stardew 10 times. If you do, the E will open up and reveal a little green alien who waves for a moment.
If you click on the nail on the bottom right of the letter W, some little butterflies will fly up on either side of the screen.
The last one is actually a little more involved, but really cool. If you click on the bottom left of the sign holding the game’s title, where the wood spirals around the rope, it will make the sound of a pickaxe. Click until a little smiley face in a half circle appears next to your cursor. It will follow your mouse wherever you move it, so lead it up and place it inside the hole of the R. This will cause a little forest to grow on the sign.