
The best ship weapons and parts in Starfield

If there’s one thing every space game needs, it’s cool ships. Starfield‘s main new feature compared to the studio’s prior work is focused on letting you feel like a true captain of a ship by allowing you to build, buy, and completely customize your very own ship. While you could get through the game only doing the bare essentials for your ship, treating it more like a glorified fast travel system, there’s an entire game’s worth of mechanics waiting to be played with when it comes to building and piloting your ship. Because it is so deep, and there are so many weapons and parts to consider for different purposes, it can start to feel like rocket science. To simplify the process, here are the best ship weapons and parts to get in Starfield.

Best ship weapons

A ship fires at a space pirate in Starfield.
Bethesda Softworks

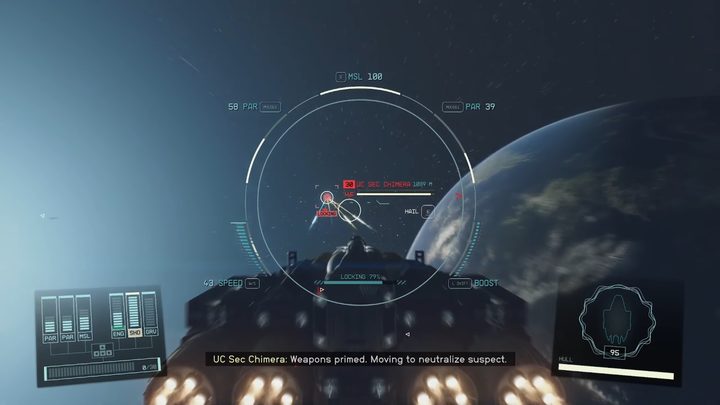
Ship weapons in Starfield come in four types: ballistic, lasers, missiles, and particle weapons. Each one is better-suited to damaging either shields or hulls, with positives and negatives associated with each. However, a few stand out as simply better than the rest.

Atlatl 280C missile launcher

This missile launcher is perhaps the best ship weapon in the game, bar none. Each missile has a range of 4,000, deals 264 damage to both hull and shields, and boasts a max power of 4. The two downsides are that it has a fire rate of 1, plus, as a missile launcher, you have to first get a target lock before firing to avoid missing.

Torch-P 250MW UV Pulse Laser

As a secondary pick, the Torch-P is designed to absolutely shred enemy shields. Hull damage is a measly 8, but that’s where your missiles or ballistic weapons come in. While dealing 25 shield damage at a fire rate of 5, you’ll watch that shield bar melt as long as you can sustain a constant stream of hits for a few seconds.

Turrets

No turret is going to be as good as a traditional weapon in terms of stats, but simply having them fire themselves is enough to make them essential for any ship. There are dozens of them to pick from, so choose one that best suits your current weapon loadout. For example, if you have a build that has great hull damage, go for a turret like the Scorch-S 80MW Pulse Laser Turret that focuses on shield damage.

Best ship parts

A player customizes a spaceship in Starfield.
Bethesda Softworks / Bethesda

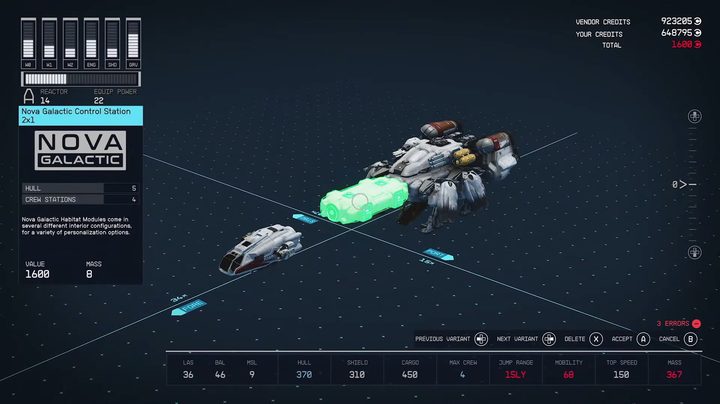
Parts are a bit more intimidating to mess with on your ship since they completely change how your ship handles and performs.

Poseidon DT230 Engine

The engine is the heart of your ship, and the Poseidon, while being very expensive and requiring a high Starship Design rank, will never fail you. The thrust power is an insane 34,520 and maneuvering thrust is 11,600, which are the highest we’ve found in the entire game.

SF40 Sheared Flow Reactor

Again, this reactor remains the statistical best we’ve seen in the galaxy. You’ll need both rank 4 in Starship Design and Piloting to use this powerhouse, but in return, you get 40 power to play with. Odds are that will be more than enough to power all your systems at all times.

Assurance SG-1800 Shield Generator

If you want to be assured your shields will last, look no further than the Assurance. This generator protects your hull with a crazy 1,600 points of shielding at a 5% regen rate.

J-52 Gamma Grav Drive

Grav Drives aren’t as important most of the time, but are nice to allow easy travel from one end of the game to the other. This drive allows for the furthest distance jumps at a thrust of 50, plus it has a ton of health so enemy ships won’t be able to take it offline easily.

Editors' Recommendations

Topics
Jesse Lennox
Jesse Lennox loves writing, games, and complaining about not having time to write and play games. He knows the names of more…
Starfield: Red Mile location and how to survive
Talking to Mei about the Red Mile in Starfield.

What space game would be complete without a seedy casino somewhere in the galaxy? In Starfield, that is best represented by The Red Mile casino and hotel where those willing to risk their Credits, and their lives, have the chance to strike it rich. Of all the games and entertainment available, the Red Mile challenge is no doubt the most deadly. You're free to visit this planet almost immediately after getting your ship, but this challenge isn't made for a fresh character. Even after you've leveled up, get some decent gear, and feel up to the challenge, the Red Mile Run has a lot of surprises that can cut your run short in the worst possible ways. If you think you're tough enough to make it to the end, here's where to find the Red Mile and the best tips on surviving it.
Where to find the Red Mile

The Red Mile is technically the name of the entire casino-hotel resort, not just the challenge. It is found on the planet Porrima III, which is of course in the Porrima system. You can jump there manually anytime you're exploring, but will also be tasked with going there if you're following the Freestar Collective faction questline.

Read more
Starfield Overdesigned quest guide
Jules greeting the player at Walter's business in Starfield.

As you get deeper into Starfield, more quests with greater rewards and more interesting plots will open up to you. The Overdesigned quest is given by Walter after a key story mission and has you joining his company as a consultant to help design a new ship. Whether or not you've spent much time in the custom shipbuilding part of Starfield or not, your character certainly isn't experienced in all the nuances of design, marketing, budget, and taking on a general producer role. If you're nervous about jumping into the business side of things and making the tough calls, here's a full guide to the Overdesigned quest in Starfield.
Overdesigned walkthrough

After getting the quest by talking to Walter, your first step will be to head to his Stroud-Ecklund space station to meet his team, which is working on a new ship design. Once you arrive, you will meet Jules, who will lay out the major roadblocks you've been brought on to solve, first of which is the budget.

Read more
Where to find Benryn and Mirileth’s dowry in Baldur’s Gate 3
A man trapped under a wooden beam in a burning house.

Fetch quests are quite played out in RPGs, but Baldur's Gate 3 manages to put a unique spin on the tired old formula in the "Rescue the Trapped Man" quest. Starting the quest is easy enough, but the goal of finding the lost dowry itself can feel as daunting as finding a needle in a haystack. There are several ways you can go about getting clues to help you find the missing valuables, however, not all of them will be obvious or available to your character depending on their class and abilities. To finally put this mystery to bed and recover the lost treasure for a troubled man -- or keep it for yourself -- here's where to find Mirileth's Dowry in Baldur's Gate 3.
How to find Benryn and Mirileth's dowry

This quest begins by finding the man named Benryn in Waukeen's Rest, which is notably ablaze when you arrive. He is inside the house closest to the fast travel point, and trapped under a large wooden log. Pass either an Intelligence or Strength check to lead him out of the fire and save his life. Even though you saved him, Benryn will have another favor to ask you, which is to locate his wife, Mirileth. The two had an argument about the dowry and he doesn't know where it is. Unfortunately, finding Mirileth won't help much as she has passed away, so you now have to find the dowry yourself.

Read more