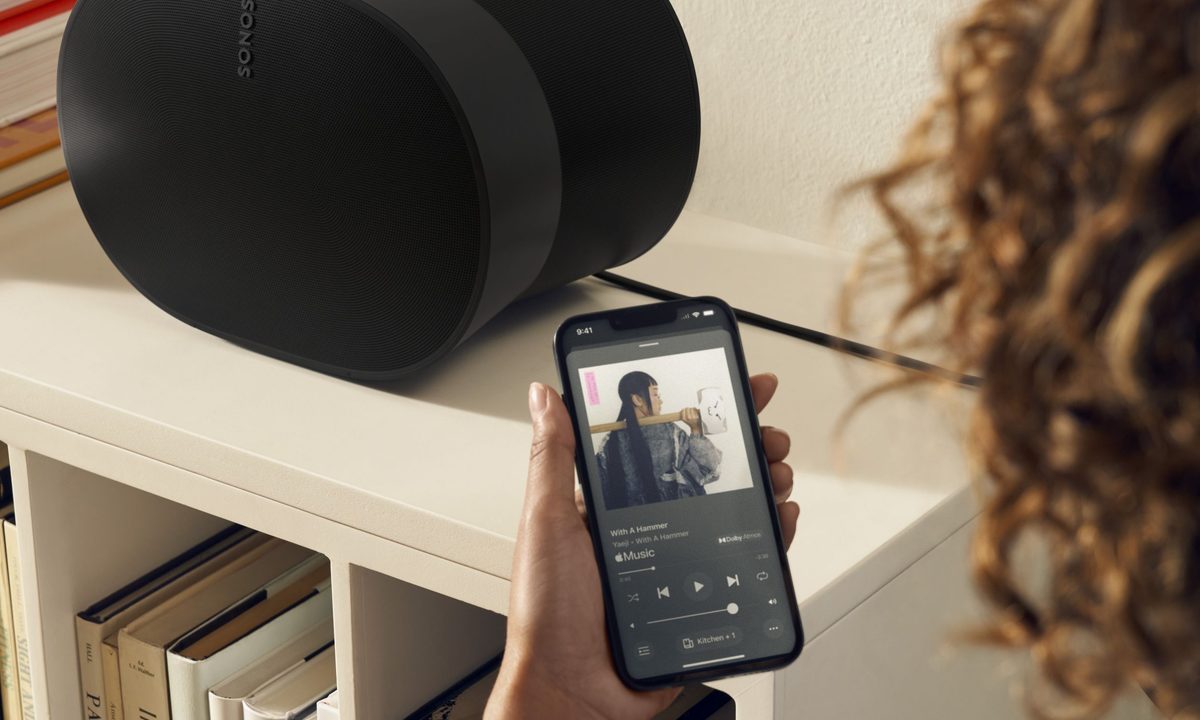
Integrating a Sonos speaker into your home can transform your audio experience, whether you’re starting your journey with a single Sonos Era 100, enhancing your outdoor listening with a portable Roam or Move for backyard or poolside enjoyment, or creating a cinematic atmosphere with a sophisticated Sonos Arc surround sound system complemented by a Sonos Sub or Mini Sub.
One of the standout features of Sonos is the user-friendly setup process facilitated by its intuitive app and Trueplay technology, which automatically tunes your speakers to the unique acoustics of your room. However, a common concern among users is how to optimally position their speakers for the best sound quality. Questions often arise about ideal placement locations, the recommended distance from walls, and the necessary amount of surrounding space for various types of speakers, including standard speakers, subwoofers, and soundbars.
Fortunately, Sonos speakers are designed with versatility in mind, and many are typically among our favorites speakers, allowing for a range of placement options. However, different models do have specific positioning recommendations to achieve the best auditory experience. In this guide, we'll explore best practices for positioning and placing every Sonos speaker throughout your home, ensuring you maximize sound quality no matter where you choose to enjoy your music or movies.
Whether it’s creating an immersive home theater setup or filling your space with rich sound, understanding these placement tips will help you make the most of your Sonos system while enjoying a seamless listening experience. Get ready to elevate your audio game by learning how to perfectly position each Sonos speaker.
Looking to add to your collection? Check out our list of the best Sonos speakers on the market.

Sonos Era 100, Sonos One, and One SL (Play:1)
Entering the world of Sonos typically begins with the Sonos Era 100 (or the earlier Sonos One or Play:1) due to its affordable price and versatility. It functions as a great-sounding standalone speaker while also having the capability to be stereo paired or added to a Sonos soundbar and subwoofer, serving as excellent rear surround speakers.
Released in 2023, the Era 100 replaced the Sonos One. You can read our full review to learn about the differences, but as far as setup is concerned, Sonos has largely maintained the same approach. Here’s how to position them in each of these scenarios.
Step 1: General positioning/as a single: The Era 100, One, and One SL, Era 100 can be placed pretty much anywhere, even in the bathroom due to their resistance to humidity. They’re not waterproof though, so you may want to keep them indoors (although we've had some success in the wild).
Don’t be shy about placing the them on a shelf or near a wall, but the only stipulation you should adhere to is to leave at least 1 inch of space from the back of the speaker. Try experimenting with even more distance as well, up to 4 inches, as it may add more resonance of low end with some bounce off the wall — whatever sounds best to you.
Step 2: Stereo pair: Sonos One and the Era 100 speakers sound amazing as a stereo pair and are easy to setup with the Sonos app. For positioning, and for ideal left-right stereo sound separation, it’s recommended that you set them up between 8 and 10 feet apart and positioned 8 to 12 feet away from where you’re most likely to be listening to them. If you don’t have that kind of space, that’s OK, too — this is just what Sonos says is ideal. The closer you are to them, you’ll hear the bass a bit more, but you can always add/remove bass to your liking in the EQ settings in the app.
Step 3: Surrounds: OK, so you’ve snagged a Sonos Sub or Sub Mini and a soundbar like the Arc, Beam, or Ray, and it’s time to move your set of Ones or Era 100s to the rear wall as surrounds. Ideally, Sonos recommends that each speaker is placed roughly 10 feet from your viewing position on each side and angled toward you. You can buy or for pretty cheap, too. For the Era 100s, the only difference is that Sonos recommends leaving at least 8 inches of clearance around each speaker, and even though they don’t say the same for the Ones, we’d recommend that for them, too.
And while Sonos doesn’t specifically suggest this, common height for rear surrounds is roughly 2 feet above your sitting ear height. The surround settings in the Sonos app also allows you to tell the system how far from the front soundbar position the rear speakers are, allowing for tweaking of the sound.

Sonos Era 300
Sonos’ newest and most advanced speaker is arguably its best-sounding model to date. With Dolby Atmos capabilities that enhance spatial audio and Atmos Music tracks, the Era 300 delivers remarkable sound from all directions thanks to its six-driver speaker array. Here’s how to position it for optimal performance.
Step 1: General positioning/as a single: As with most Sonos speakers, the Era 300’s Trueplay tuning means you can more or less put it anywhere and it will sound good; even in the bathroom with its humidity resistance. However, ideal placement would be to leave at least 2 feet of overhead clearance due to its upfiring speakers, and to not place it in an enclosed space like a bookshelf — the sound needs space to disperse. If you happen to be setting it up within 2 feet of the ceiling, Sonos recommends mounting it upside down.
It’s also best to leave at least an inch space in the back if setting it up near a wall (you can experiment with this, too), and at least 8 inches of clearance on the sides.
TL;DR, give the Era 300’s speaker array some good space to do its thing.
Step 2: Stereo pair: As with the Ones and Era 100s, place a stereo-paired set of Era 300s roughly 8 to 10 feet apart and, if possible, around 8 to 12 feet from your listening spot, but Sonos also says that because of the unique all-directional sound dispersion, anywhere is essentially a good listening spot.
Step 3: Surrounds: Unlike the Ones and Era 100s, you can set the Era 300s up as left and right rear surround speakers, either or on stands, but it’s not necessary to point them on an angle towards the “sweet spot” sitting area because, again, everywhere is a sweet spot. Sonos simply recommends facing the Era 300’s front grilles toward the TV.

Sonos Five (Play:5)
The Sonos Five, along with its predecessor, the Play:5 model, is one of the longest-lasting products offered by Sonos and remains the most powerful speaker in their lineup. Weighing in at a substantial 14 pounds, it stands out as one of the best wireless speakers on the market. Additionally, it can be paired with another Sonos Five for stereo sound or used as surround speakers. Here’s the best way to set them up.
Step 1: General positioning/as a single: The Five is one of few Sonos speakers that can be positioned horizontally or vertically. For stereo sound, however, it should be positioned horizontally. Vertically, it will only produce mono sound.
Five’s six front-firing drivers push out big sound, and while Sonos doesn’t specify a recommended distance from the speakers like the 8 to 12 feet recommended for other Sonos speakers, the company does say that they should be set up “across the room.” There should also be at least two inches of space around it, which makes it easy to put on a shelf or bookcase, too. The Five is also bathroom friendly.
Step 2: Stereo pair: For stereo pairing, place two Fives of the same type should be placed 8 to 10 feet apart for the best sound separation. The good news is, you can also place a stereo pair of Fives vertically for a more focused soundstage, or if it’s better for your space or you prefer how it looks. Placing them both horizontally will widen the soundstage as well, which would work great in bigger rooms.
Step 3: Surrounds: Like the Ones and Era 100s, each Five should be placed 10 feet from your listening spot and angled towards it. You can also apply the rule of having them sit 2 feet above your sitting ear height, although it’s not necessary. and floor stands are also available.

Sonos Roam and Move
These are the easy-peasy ones. The Roam and Move are Sonos’ most portable and weather resistant speakers (IP56 for Move and IP67 for Roam) can go pretty much anywhere, indoors or out. Battery powered and Bluetooth and Wi-Fi connectible, they’re super versatile. And apart from not being able to be used as surrounds, you can put them anywhere and stereo pair them (Roam to Roam / Move to Move). Here’s some tips for best positioning.
Step 1: General positioning/as a single: On a shelf, bookcase, wall, anywhere really, all you have to do is just give both the Roam and Move at least an inch clearance at the back. The Roam can be placed vertically or horizontally with no sound difference but the Move must sit upright.
Both speakers feature automatic Trueplay tuning when their microphones are on. While the Sonos Roam can withstand submersion in water for up to 30 minutes, the Sonos Move can only take direct spray from any direction (rain, a rogue garden hose), but it’s worth noting that the Move’s charge base is not water resistant so keep that inside.
Step 2: Stereo pair: Not to sound like a broken record now, but the Roam and Move are inline with other paired Sonos speakers and its recommended that you separate them by 8 to 10 feet for the best stereo effect. The 8 to 12 feet of distance from the listening area also applies as a guideline, but feel free to move them around, because you can.

Sonos Ray, Beam, and Arc/Arc SL soundbars
Sonos makes some incredible-sounding soundbars that can enhance the sound of your movies, TV, and sports, while also doing a pretty good job with music, too. The Sonos Beam (2nd gen) and Arc also feature support for Dolby Atmos, and when set up beneath your TV they provide some great surround sound (especially when paired with other Sonos speakers for a full surround system). Positioning each Sonos soundbar is pretty similar. Here’s how:
Step 1: TV stand or media unit: When placing the similarly sized Sonos Ray and Beam on a TV stand, place the soundbar centered beneath the TV with at least a 1-inch clearance so you can access the touch controls. If your media unit happens to have a shelf above the TV, just don’t put it so high that you can’t reach the controls. Other than that, just make sure to leave at least a foot of space on the left and right sides of the speaker. The Sonos Arc is the same, but requires at least 4 inches from the top of the Arc to the bottom of the TV.
Step 2: Wall mounting: The good news is, whether you’re wall mounting or putting them on a TV stand, the distances are the same: a minimum of one inch beneath the TV for the Ray and Beam, and at least 4 inches for the Arc, while leaving at least a foot of clearance on the ends.

Sonos Sub and Sub Mini
Whether you’re creating a home theater Sonos setup or focusing on the best music sound you can get, nothing beats a subwoofer for impact, richness, and immersion. The flagship Sonos Sub and its smaller, cheaper sibling, the Sub Mini, are true to Sonos’ simplicity in setup, and when added to a Sonos system they’re perfectly in tune (no Trueplay pun intended, but it is apt). Placement differs slightly for each subwoofer, but is still super easy.
Step 1: Sonos Sub: While it can be placed pretty much anywhere (Trueplay will tune it to the room), all you really have to remember is to make sure that at least one of the sides of the Sub’s hole (known as the slot) is free from obstruction. You can place it against a wall, in a corner, or at the side of a TV stand, behind the couch, or even laying flat on the floor (if under some furniture, the slot just needs at least 1 inch of clearance).
Step 2: Sub Mini: The Sub Mini is meant to be placed standing upright and near the speakers it’s paired with — it can’t be placed on its side. Like the Sub, it has a center slot, or “tunnel,” which can be pointed in any direction but must have enough space around it for air to move through.
Step 3: Dual subs, whaaat?: Sonos gave audio nerds a gift by enabling Sonos Subs and Sub Minis the ability for them to be doubled up. For the Sub, it’s worth noting that one of them must be the newest Gen 3 version for this to work. If you’re buying new, you won’t have to worry.
But why would you want two subs, you might ask. Subwoofers can be fickle beasts and can often be at the mercy of the room they’re in. If you’ve ever walked around a room with a subwoofer in it you may have noticed that there are bass dead spots or points where it’s really saturated. While room correction like Trueplay and placement tweaking can solve these issues, one of the best ways to address this is by adding an additional subwoofer to the room as they can cancel out all those rogue frequencies and deliver balanced, full low end.
Adding a second Sonos sub to your system is, of course, easy with the Sonos app (make sure your main system is set up first). As far as placement goes, like with non-Sonos subwoofers, there are two good options you can try.
First: on the same wall as your soundbar and TV, place one sub in the right corner and the other in the left corner, following the same guidelines above as for slot/tunnel clearance.
Second: try one sub in the left or right corner of the soundbar/TV wall, and then the other in the opposite diagonal corner behind you. Run the Sonos Trueplay correction and you should be booming in no time.