
In this world, only three things are certain: death, taxes, and the fact that houseguests will eventually ask for your Wi-Fi password. What’s also certain is that, regardless of how simple your password is, you’ll inevitably be bombarded with questions after you recite it. “All lowercase? Any spaces? How do you spell colonel? Why are you so obsessed with KFC?”
Well if you’re sick of going through the same song and dance, and want a more slick and secure way to let your houseguests access your network, we’ve got a simple DIY solution for you: NFC drink coasters that grant guests access with just a tap.
NFC is one of the coolest technologies ever. Short for Near-Field Communication, it’s essentially a method of wireless data transfer that detects devices in close proximity, and then enables them to communicate without the need for an internet or Bluetooth connection. On top of that, NFC tags don’t need batteries to work. They can store small amounts of information passively, so you won’t ever need to recharge your coasters.
Better yet, despite how awesome and techy these coasters are, they’re also incredibly simple to build. You can easily make a whole set of them in under an hour, with minimal materials and expertise. Before you get started though, it’s worth noting that you’ll need an NFC-capable smartphone running Android 5.0 or later in order to execute the steps below. There are ways to achieve the same result with an iPhone, but they are vastly more complex. Sorry iPhone users!
It’s also worth noting that if you already have coasters you like, you can skip the whole “make your own out of concrete” part of this tutorial and upgrade the ones you’ve got. Just snag some NFC stickers, put ’em on the bottom of your coasters, and follow steps 6 and 7 of this guide.
Here’s how it’s done!
Tools & Materials
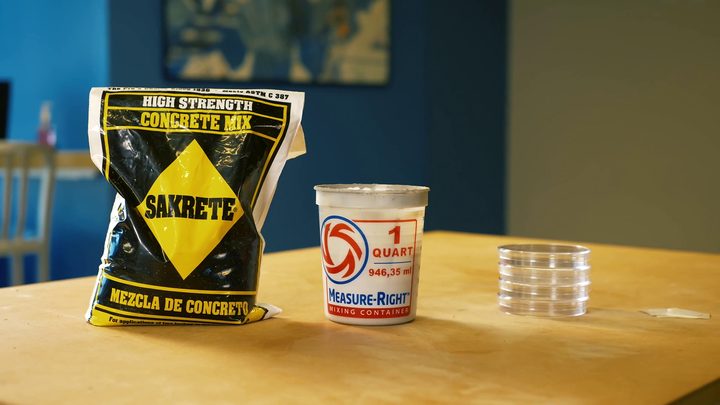
- Small bag of quick-dry concrete
- Mixing bucket
- Plastic petri dishes
- NFC stickers (NTAG 216)
- Adhesive-backed cork pads
Instructions
Step One
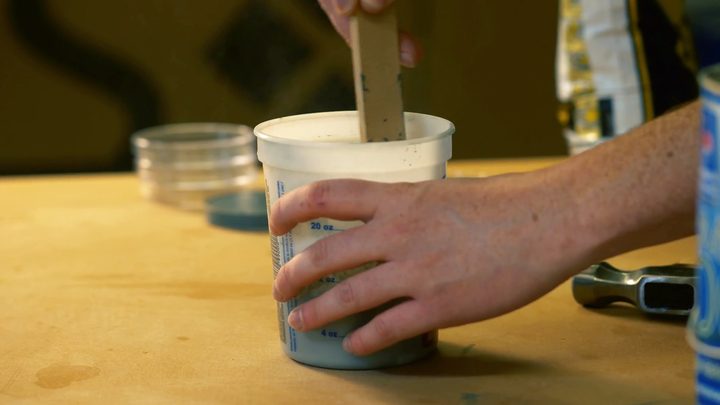
Mix the concrete according to the instructions on the bag. The amount of water you’ll need will vary depending on the type of concrete you’re using and the amount you’re looking to make. Generally speaking, you probably won’t need more than a pint of concrete to make a full set of these coasters, which means you’ll only need a couple ounces of water. It’s not an exact science though, so feel free to adjust your mix until it has a nice, thick consistency. Make it too soupy, and not only will the concrete take longer to dry, but it’ll also produce weaker coasters that are more likely to break.
Pro tip: If your concrete mix has lots of big rocks in it, pour it through a metal sieve to sift out the chunky stuff. This will result in a smoother, more consistent concrete mix.
Step Two
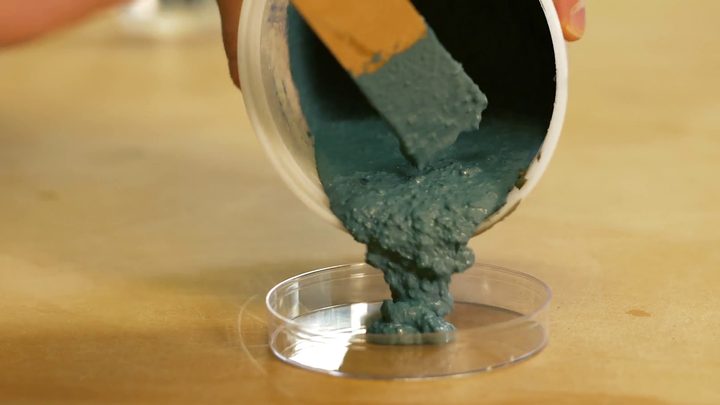
Pour a small dollop of your wet concrete into the bottom of each one of your petri dishes. You want just enough to create a super thin layer. Tap the dishes on your work surface to level out the mix and make it settle. Again, this isn’t an exact science and it doesn’t have to be perfect.
Step Three
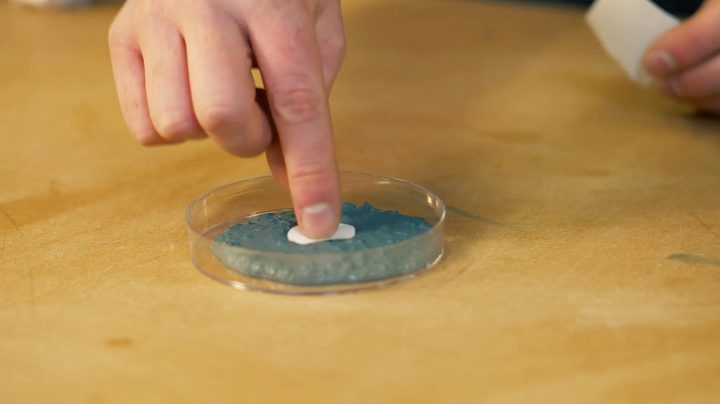
Grab your NFC stickers and place them in the center of the concrete-filled petri dishes. It doesn’t matter if they’re upside-down or right-side-up — they’ll work just the same regardless of orientation.
Step Four
Pour some more concrete into the petri dishes. You want enough to completely cover up the NFC sticker, but not so much that your coasters end up being too thick. Just drop in a small dollop and tap the dish a few times to make everything settle. Don’t worry about making the top perfectly level — this is actually going to be the bottom of your coaster, so it’s okay if it’s lumpy and mildly uneven. After that, let the concrete dry for at least 24 hours, or whatever the instructions on the bag recommend.
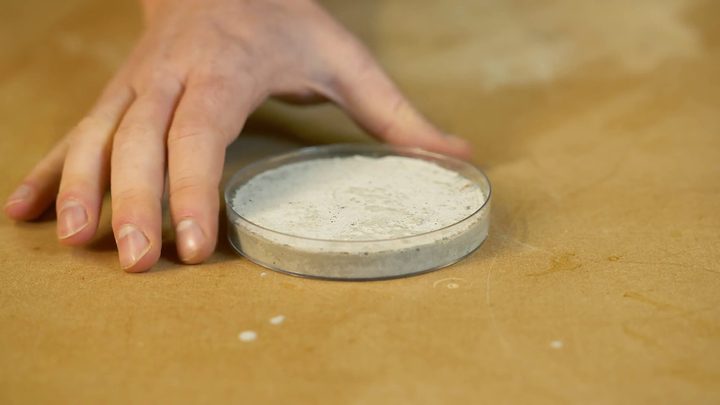
Step Five

Remove the dried coasters from the petri dishes. This will likely require a bit of tapping, pushing, and prying — but don’t be too rough on them, or you risk fracturing the coasters before you’ve even had a chance to use them. They should come free fairly easily, at which point you’re free to place cork pads on the bottom. Use three pads for each coaster to avoid wobbling, and try to place them midway between the outside rim and the center to avoid breakage under load.
Step Six
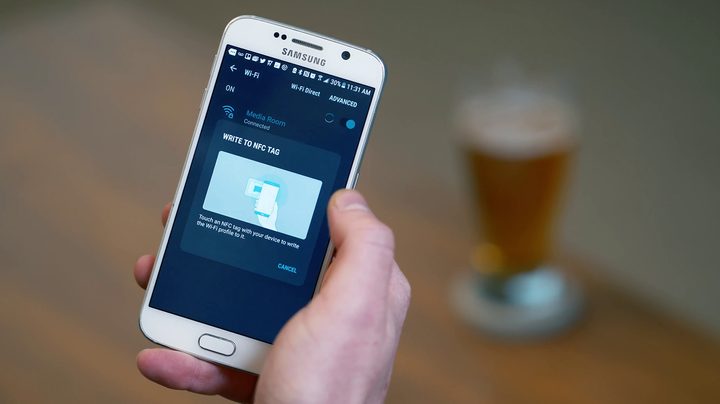
To program the NFC stickers, take the following steps. First, enter the Settings menu and turn on NFC. Second, make sure you’re connected to the Wi-Fi network you’re hoping to program into the tags. Third, enter your phone’s Wi-Fi menu and do a long press on the network you’re already connected to. A contextual menu should appear with the option to “write to NFC tag.” Tap that option, and then place your phone on the coaster. This will transfer the network login information to the NFC tag.
Note: You might need to experiment a bit to find the exact location of your phone’s NFC reader. Most are positioned near the center or top, but it differs from phone to phone. Just scoot your device around until you find the sweet spot.
Also, if you don’t see the “write to NFC tag” option appear, and you’re sure you have NFC turned on, then check your network permissions. In some cases, more restrictive networks won’t allow you to copy their information and write it to an external storage device.
Step Seven
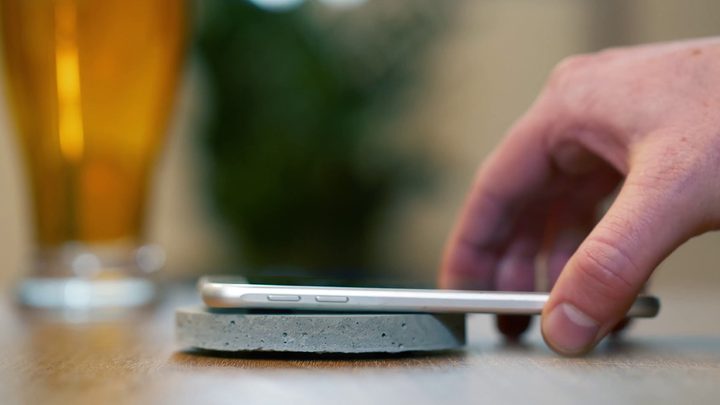
Repeat the “write to NFC tag” process for the remaining coasters, and you’re done! To test that everything works, just disconnect from your Wi-Fi network and tap your phone on a coaster. If everything went smoothly, you should be given a pop-up menu that asks if you’d like to connect.
After that, all that’s left is to leave these suckers all over your house! Just remember that you and your houseguests will need to have NFC turned on before tapping on the coasters — otherwise your phone won’t read the tags.


