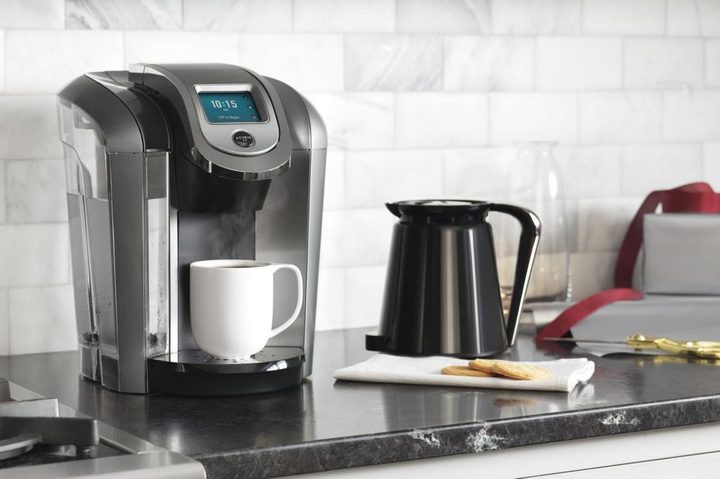
Have you ever had a cup of Keurig coffee that tasted bitter or metallic? If you’re not taking care of your beloved Keurig coffee maker, you are exposing your machine to nasty bacteria that will creep into your morning brew, netting you that awful taste. Don’t worry, though. After you read this guide, you’ll be able to clean your Keurig from top to bottom, so your next cup coffee is your freshest and best tasting yet.
Step 1: Wash and wipe the reservoir and other removable parts
Start by unplugging your Keurig; you don’t want to damage the electronics or risk electrocution. Then, remove all the detachable components, including the water reservoir, the mug stand/drip tray, and the K-Cup holder inside the coffee maker. Carry them all over to the kitchen sink and give them a thorough wash with soapy water, just as if they were ordinary dishes. Set them aside to dry while you work on other components.
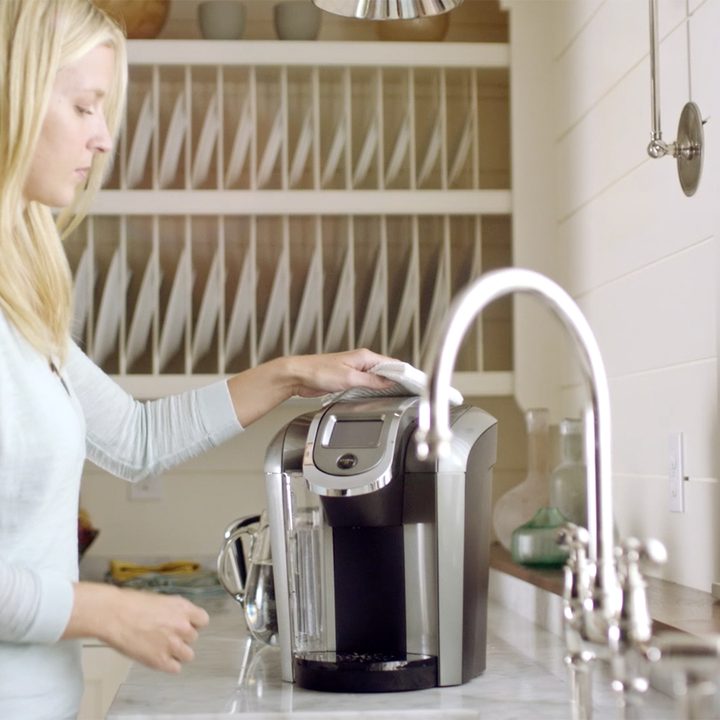
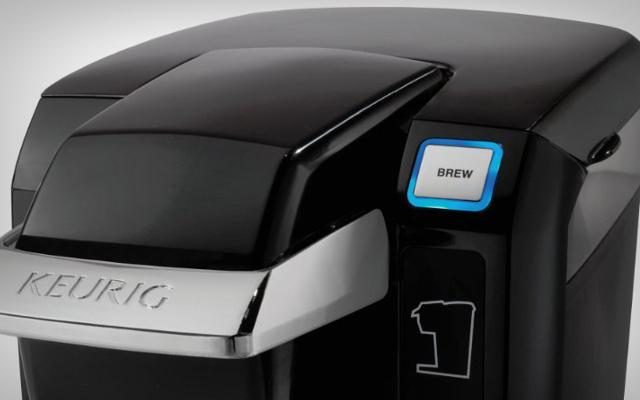
This is also a great time to grab a washcloth or disinfecting wipes and give the whole Keurig a good wipe down. The coffee maker, especially in busy settings like offices, can collect a lot of dust over time. You don’t want any of that debris mixing with your fresh water or coffee when you’re finished here, so it’s a good idea to give the surface a solid wipe-down.
Step 2: Clean all the crevices
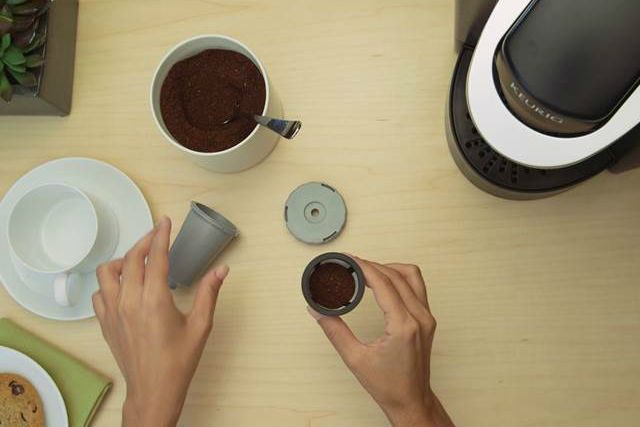
When finished with the above steps, get out your pin/paperclip and examine those toothy components that poke into the K-Cups. There should be a small hole in each “tooth” for the hot water/coffee to pass through. Poke your pin through that hole and wiggle it around to loosen any caked-on debris and blockages. If your Keurig has been running slowly, this could be because of a clog in one of these holes. There are also dedicated Keurig needle cleaning tools available.
Step 3: Run through with vinegar
Many Keurig components are inside the coffee maker, well out of your reach. Fortunately, there’s an easier way to conduct an internal cleaning than dismantling the whole machine: Common kitchen vinegar is acidic enough to remove scale buildup but harmless to the rest of the Keurig.
Take the water reservoir and fill it with a solution of half white vinegar and half fresh water. Lock it back into the Keurig base, put all the other components back in place, and get a mug handy. It’s time to make some hot vinegar.
Run the Keurig on normal settings and keep filling mugs with the vinegar mixture until it is completely gone. This is going to stink a little (you may want to open a window for ventilation), but as we said, it’s not harmful to your Keurig, and it will help remove that scale. It’s possible that a clog will form during this descaling process. If it does, open up the top and use your pin again to poke the holes and see if you can dislodge any particles that may have become trapped.
For full cleaning, it’s a good idea to run two full reservoirs of half vinegar, half water. If your Keurig is still in good shape or you don’t have much time, a single full reservoir can work just fine.
Note: Keurig does sell a descaling solution of its own, if you really want a brand-name product to work with. White vinegar, however, is cheaper and easier to find. Also, the Keurig solution uses citric acid as its active ingredient, and there are some complaints that the smell and taste linger past their welcome. There are also a number of other Keurig cleaning products on the market, like “cleaning cups” and “rinse pods.” We don’t recommend any of them, because vinegar can get the job done much more cheaply.
Step 4: Wash out the vinegar with water
You don’t want that vinegar to stay in the Keurig, so fill the reservoir back up with fresh water and run through a full container again to flush it all out. Make sure it passes the smell test when it’s done. No smell, no problem. Once this is finished, your Keurig performance should be improved, and scale problems should have literally dissipated.
If you use your Keurig regularly, you’ll definitely want to jump on this cleaning bandwagon and start cleaning your device frequently. Keurig suggests that users descale your machine’s mineral buildup every three to six months or more. This greatly depends on your water source—hard water possesses more mineral content than soft water and is more likely to cause problems. If you encounter scale issues on a regular basis, we advise ditching the tap water and switching over to filtered or bottled H2O.
Bonus tip: Replace your filter cartridge
Several Keurig models have conveniently built-in water filters within the water reservoir. If you find that you have one of these, you will still need to change the filter cartridge after 60 tanks of water. You’re fortunate if you have one of these handy filters in your Keurig, as they stop blockages from occurring and can significantly improve the taste of your drinks.
If you’re not one of the lucky ones who has a filter, you can start using bottled or filtered water rather than simple tap water. You’ll quickly notice that your scale issues will decline. However, we do recognize that this can be an inconvenience, as you’re either spending a boatload of money or you’re wasting plastic.