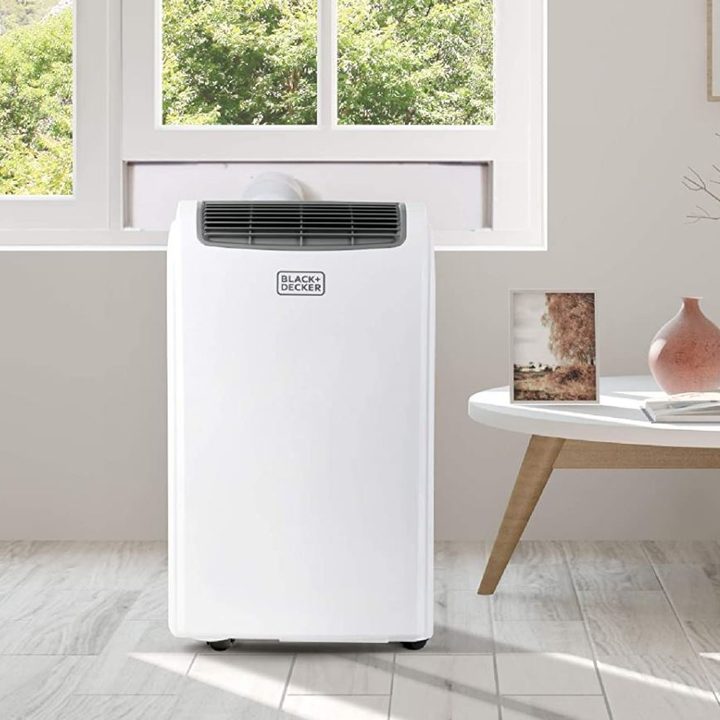
Summer is just around the corner, which means longer days, more outdoor activities, and much hotter temperatures. When it comes to keeping your home cool, those of us without the glories of a central air system will be relegated to two other cooling options — window air conditioners and portable air conditioners. If you’ve chosen the latter, getting your portable AC properly installed is a bit of an undertaking, but we’re here to help. As experts in home gear, we’ve taken a look at several leading portable AC units to assemble this how-to guide for installing your brand-new portable air conditioner.
Unsure which portable AC to purchase? Take a look at our roundup of the best portable air conditioners you can buy right now. Thinking a window unit is the better way to go? We’ve got a roundup for that, too.
Before we begin…
- Your new portable air conditioner may have a handy set of caster wheels to move it from room to room. Convenient, yes, but if you need to quickly leap from hardwood to low carpeting, plan your lift. Most portable AC units can weigh anywhere from 50 to 80 pounds, so it may be a good idea to have a second set of hands for any serious lifting.
- In terms of placement, you always want your portable AC to be placed on a level floor and away from obstructions like furniture and other types of home décor.
- The two most critical functions of your portable AC are its venting and draining. Whatever room the unit is placed in, you’ll want to ensure there’s an outdoor window. This is because your AC will be collecting hot air from your home and dispelling it out of your home through a venting hose. Don’t worry about looking for venting accessories, as your portable AC should come with an entire venting kit. These typically include the exhaust hose, hose adapters, foam padding for your window, and more.
- When it comes to drainage, consider whether your AC will be automatically draining into a drain, sink, bucket, etc. or if you’ll be relying on manual emptying of the unit’s drainage canister. For automated draining, your unit should come with a drainage hose. Ensure the hose is connected and placed into a proper drainage receptacle.
- You’ll also want to make sure there’s an electrical outlet nearby. If there isn’t, you may want to reconsider where you’ll place the AC, as daisy-chaining off of extension cords and power strips can be very dangerous if there’s ever a malfunction.
- Consult your owner’s manual, as different units may have different parts and installation considerations.
Step 1: Measure your window
Using a tape measure, measure the width of your window frame/sash. You’ll need this measurement to figure out exactly how much foam padding to place into the sill. Flimsy as it may look, that foam padding is crucial for keeping bugs, dirt, pollutants, and external heat from entering your home.
You’ll also want to use that same measurement to determine how long your AC’s window mounting bracket needs to be. If you’re not sure what the bracket is, look for a long, rectangular piece of plastic (or similar material) with a cut-out for your AC’s exhaust hose. If the bracket is expandable, adjust accordingly to match your window’s width. If the bracket is all one piece, you may need to cut it to size.
Once the padding and bracket are in place, lower the window onto the bracket and secure it to the window frame using your AC’s provided security screws.
Step 2: Connect the venting hose
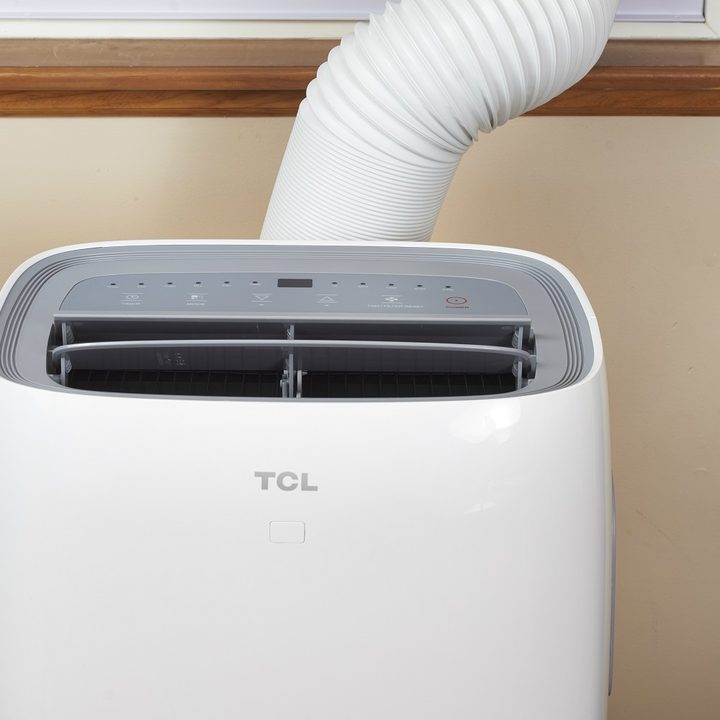
With the AC in position, connect the venting hose first to the back of your AC and then to the window exhaust connector on the mounting bracket. When installing, try to keep the hose as straight as possible for the best airflow. Kinks and odd angles in the venting line can cause a heating backup, which may damage the AC or leak hot air into the room you’re trying to cool.
In cases where a proper seal between either the AC/hose or the bracket/hose is hard to maintain, consider wrapping several rounds of duct tape around the connection point to create the seal.
Step 3: Connect the drainage hose (optional)
If you plan on having your portable AC automatically dispel water into a drain, basin, bucket, etc., connect the drainage hose first to the AC and then into the designated drainage receptacle. Do keep in mind that not all portable ACs will come with a drainage hose, so if you plan on dispelling water this way, you may need to purchase an additional drainage hose kit, either from the manufacturer or a third-party company.
Step 4: Ready for action
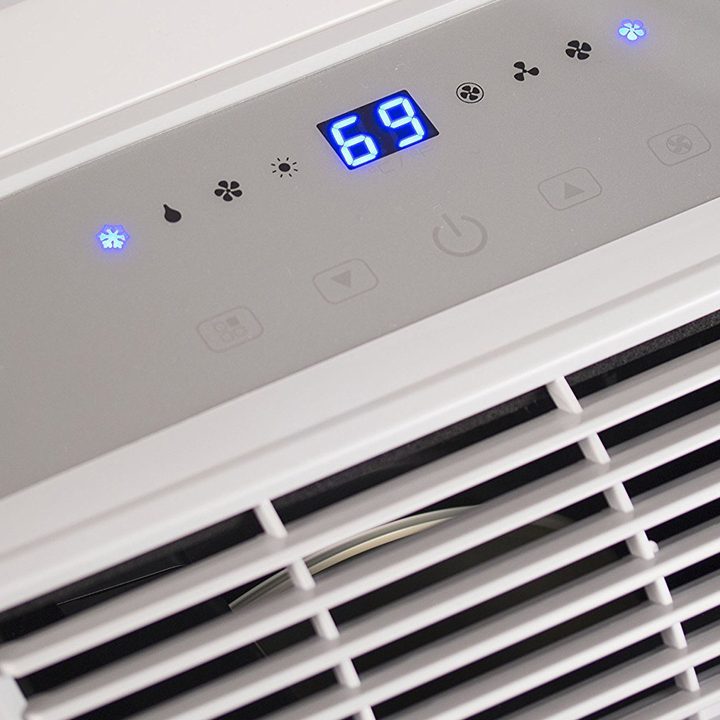
Once all hoses are connected, all that’s left to do is plug your AC in for power. Be sure you’re plugging into a grounded outlet in case of an electrical spike or other outlet malfunction. The plug of your AC should have both Test and Reset buttons. Press Test to enable the AC’s fail-safe function. If the unit detects an issue with the electricity it’s receiving, it will cut off power entirely. Then, press Reset to fully power your AC.
All that’s left to do now is sit back, throw batteries in your portable AC remote (if they’re required), and enjoy the clean, cool air you’ll be experiencing all summer long.
One last thought: Don’t forget to clean the filter
Like dehumidifiers and other air-based small appliances, your portable AC will have some kind of HEPA filter located either on the back or side of the unit. While it may not look like much, this mesh partition helps to trap harmful airborne pollutants, dirt, and dust from entering your home’s air. Over time, though, these filters will collect a build-up of gunk that will inhibit your AC from running properly.
Once a month, be sure to remove the filter and give it a good wash. It’ll take all of five minutes, and it’ll only help your AC run as well as it did on the day you first unboxed it.