Apple has been working to make the iPad more laptop-like for years, but with the Scribble feature, Apple takes a different perspective on the iPad workflow and function. First introduced in iPadOS 14, Scribble lets you use an Apple Pencil to physically write in any text box on an iPad, instead of using the on-screen keyboard. Your hand lettering then translates into type, effectively transforming your tablet into an interactive notepad.
Scribble is worth exploring if you have a compatible iPad, Apple Pencil, or a compatible stylus. Here’s how to use Scribble with iPadOS 14 or iPadOS 15.
Which iPads support Scribble?
Which iPads can actually use Scribble? Not every iPad supports Scribble because you need to have one that supports iPadOS 14 or higher as well as Apple’s stylus, the Apple Pencil. That narrows the field, because while iPadOS 14 is available to a wide number of older iPads, like the iPad Air 2 and older iPad Mini tablets, they may be too old to support the Apple Pencil — many iPad models predate the Apple Pencil.
Every current iPad model works with an Apple Pencil. The entry-level iPad and iPad mini 5 work with the first generation Pencil, while the later Pro and Air models work with the second-generation Pencils.
Here’s the current list of all iPads that support Scribble.
2021: iPad Pro 11, iPad Pro 12.9, iPad, iPad Mini
2020: iPad Air, iPad, iPad Pro 11, iPad Pro 12.9
2019: iPad, iPad Mini, iPad Air
2018: iPad Pro 12.9, iPad Pro 11, iPad
2017: iPad Pro 10.5, iPad Pro 12.9
2016: iPad Pro 9.7
2015: iPad Pro 12.9
In the past, Scribble only worked with Apple’s own Pencil. No longer. For roughly half the price of the Apple Pencil, the Adonit Note+ stylus competes with the Apple Pencil feature set — especially in pressure sensitivity, tilt detection, and the ability to work with Scribble. Also much less expensive is the Logitech Crayon, which also supports Scribble. Once you’re armed with your Apple Pencil or another compatible stylus, and an iPad running iPadOS 14 or 15, you’re ready to start scribbling.
How to use Scribble
Getting started with Scribble is easy. First, make sure you have Scribble properly set up. Go to Settings > Apple Pencil and toggle on the setting for Scribble. You can also choose to use the Pencil in Draw Only mode. A Try Scribble exercise is built into the settings, letting you check out its features.


After the initial setup, pick up your Pencil and head over to any text box — the search bar on your browser will do — and tap it to bring up the keyboard. Now, while the keyboard is active, use your Pencil to write in the text box where text would appear when your type. You should see your handwriting appear on the screen and quickly fade away as iPadOS translates it into text.
If you’re not seeing your handwriting appear on the screen, make sure your Apple Pencil is charged and connected and try again. Also, make sure you’re writing in the correct area. Different apps have different area standards for Scribble, with some being quite limited and others being happy for you to scrawl pretty much anywhere.
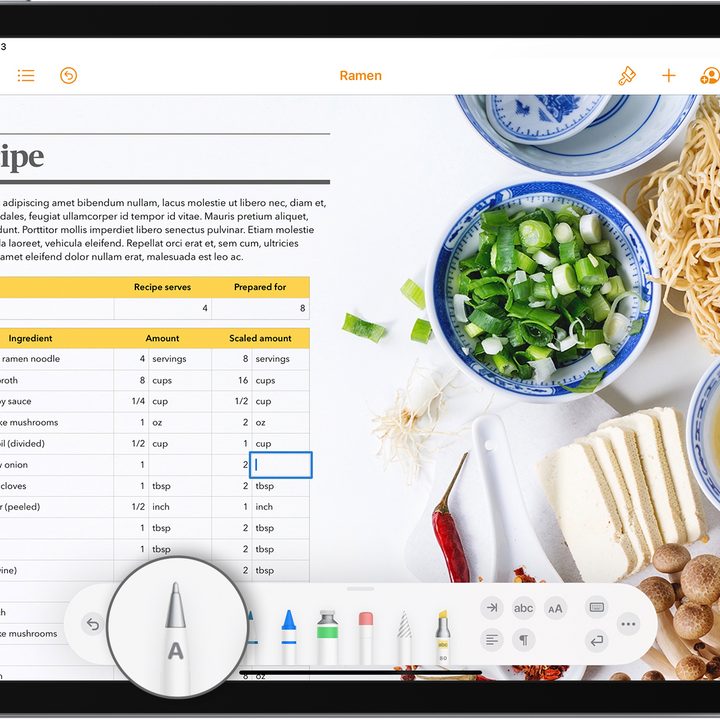
Scribble works in the Notes app where you first tap to reveal the Markup toolbar. Then, in the Markup toolbar, tap the Handwriting tool (to the left of the pen). Write with Apple Pencil or another compatible stylus, and Scribble instantly transforms your scrawl into typed text.
Another great use is on the Home screen, where launching the universal search reveals a search box that you can write on. You can likewise use it in HomeKit or Safari to fill in boxes. Whenever you use Scribble, a shortcut palette appears on the bottom of the display, featuring undo and redo buttons, a keyboard shortcut, and the three-dot More button to access additional settings.
Deleting and selecting text
Scrawling is just the start, though. You can also use Scribble to select and delete text, which makes correcting typos a lot easier. To select text, draw a circle around it. If done correctly, the circle will disappear and a selection box will spring up. If you’d rather delete the text in question, simply scribble it out, like you would for a typo in grade school. The text will then disappear.
You can use Scribble and your stylus to insert, select, or join text, words, or whole paragraphs. Insert text via a tap and hold, join by drawing a vertical line, select by drawing a circle around your text to view numerous editing options, and select by double-tapping a word or triple-tapping a paragraph. Once you start using Scribble, the simple gestures will become second nature and another great way to interact with your iPad.