The iPhone 11 Pro is currently the best camera smartphone you can buy. Apple really took the fight to Google with its latest offering, showing it can still make incredible cameras to compete with the Pixel 3, the Huawei P30 Pro, and the many other great camera phones available today.
If you’ve purchased an iPhone 11 Pro, or are about to, here’s our guide to making the best use of the camera. Don’t forget to read our review of the iPhone 11 Pro, the iPhone 11, and the iPhone 11 Pro Max if you haven’t quite made up your mind about which new iPhone to buy.
Camera
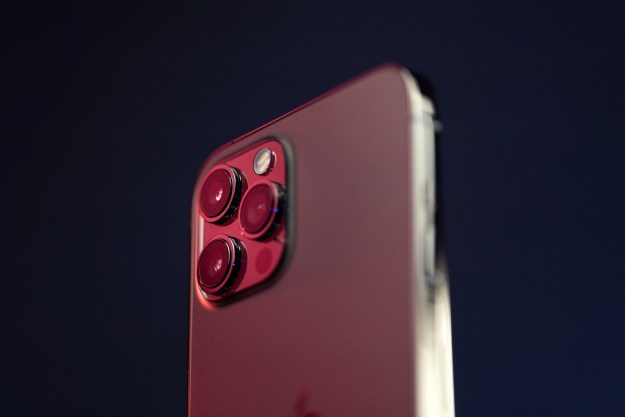
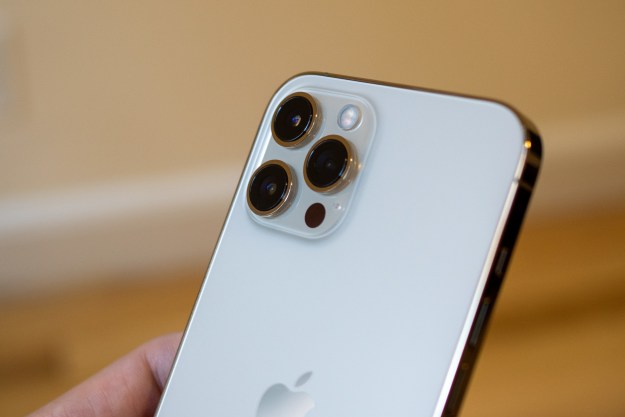
Before going into details, here are the specs on the iPhone 11 Pro’s camera. Our guide is relevant to both the 11 Pro and the 11 Pro Max, but the iPhone 11’s camera does differ, and not all the tips will apply. There are three lenses inside the square camera bump on the back of the Pro iPhones, and they each have 12 megapixels.
The ultrawide lens has a 120-degree field of vision and an f/2.4 aperture, while the standard wide-angle lens has an f/1.8 aperture, and the telephoto lens has an f/2.0 aperture. The camera has a 2x optical zoom, and will zoom out using the ultrawide lens to the same degree. You get dual optical image stabilization across both wide-angle lenses, and video gets optical image stabilization too. The front camera also has 12 megapixels.
How to change lenses

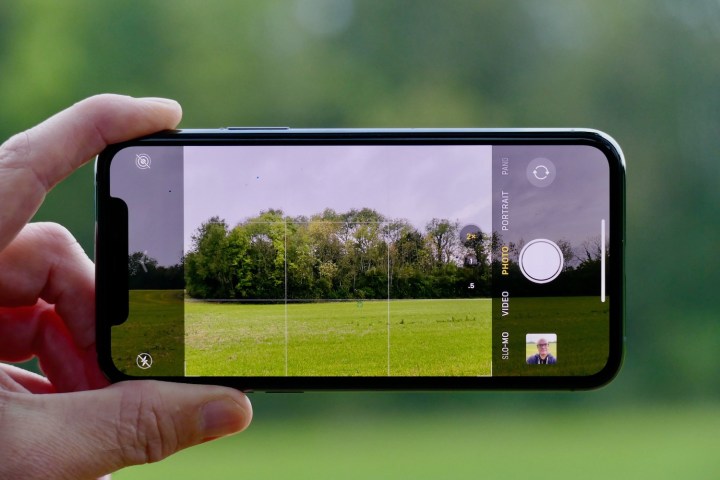
Open the camera app, and get ready to use the three different lenses. To switch between them, look at the bottom of the viewfinder to see the buttons marked 1x, 2, and .5. Tap the 2 and you switch to the telephoto lens ready to take photos at a 2x optical zoom. Tap the .5 button, and you switch to the wide-angle lens.
One thing to take note of here is when you’re shooting with the normal lens, the black bars either side will show content “outside” the frame, which won’t be captured in the photo you’re about to take. However, it gives a hint of what the photo would be like if you switch to the ultrawide angle lens. Give it a try.
Use night mode
Apple joined the legions of phone makers adding a night mode to the camera with the
For a start, the night mode won’t be available unless the conditions are right. It’s not an option to select at any time. In low-light conditions, when the iPhone can see night mode may make a difference, look for a moon-like icon in the top left of the screen (or bottom left in landscape orientation), which denotes when the feature is available.
Tap it and it turns yellow, and a new scroll wheel appears above the shutter button. The yellow icon will have a number in it, which shows how long the phone will take the photo for, and this can be adjusted using the scroll wheel above the shutter button. The iPhone will automatically select the time it feels is right for the lighting conditions.
It’s best to just leave it on the automatically selected timer, and just tap the photo. The results can be really impressive, so make sure you try it out soon.
Try the new portrait lighting mode

Open the camera app and choose portrait mode on the selector above the shutter button. Apple’s portrait lighting modes set a trend in the industry, and remain some of the best available. In iOS 13 and on the
It’s the opposite of the Stage Light Mono option, and instead of removing the background around your subject and adding a black backdrop, it adds a white backdrop. Like all the Portrait lighting modes, tap the Edit button in the gallery and you can see how the photo looks using all the different lighting options.
Another feature to try in the Portrait mode is zooming out. By default, when you select the feature the zoom level is at 2x. In the bottom left of the viewfinder is the zoom button, which when tapped reverts to standard focal length, giving you more versatility if your subject is close up. Finally, you can make adjustments to the lighting effect by tapping the hexagonal button in the top right of the screen.
Take a Slofie

A really fun feature on the
If you decide to tap and hold, the video will stop recording when you let go, or just tap the button to stop recording. Apple assembles the Slofie so the first and last part run at normal speed, while the bulk of the video plays in slow motion. The effect can be dramatic, but you will need to experiment and play around to get the best results.
Use the Capture Outside the Frame feature

This is an unusual feature where the iPhone will take capture additional information around the scene of the photo or video you shoot, with the idea being to give you more flexibility when you come to edit the final piece. It’s activated as standard for video, but you have to go into Settings, and Camera to set it up for stills. Look for the Photos Capture Outside the Frame option and flip the switch.
To see how it works, activate the feature and take a photo at normal focal length. Open the photo in your Camera Roll and tap Edit, then go to the size alteration tool. Now, when you alter the size, additional scene information appears around it, potentially letting you reframe the photo completely.
Take a wide-angle selfie
Fit all your friends, or as much of the background as possible, into your selfies with this feature. Open the camera app and swap to the front camera. With the Photo mode selected, a small button with two opposite-facing arrows should be above the shutter button. Tap this to get a wider angle.
Quickly change camera settings
Apple has cleaned up the interface for the camera app in iOS 13, and has hidden many of the settings that used to run along the top of the screen away. To find them, look for an arrow icon at the top of the screen in portrait orientation and tap it, or alternatively just swipe up on the viewfinder. This reveals various icons under the viewfinder screen. Here, you can activate Apple’s Live Motion photos, change the aspect ratio, set the timer, or add a filter. You can also find the night mode button when the feature is available.
Edit photos and videos

Apple has changed the way its editing software works, and not always for the better, in iOS 13. When you take a photo that you’d like to edit, find it in the Camera Roll app and tap the Edit button in the top right of the screen. There are three main icons at the bottom of the screen, with adjustments to the color and other attributes first, then the option to add filters, and finally a chance to change the size and aspect ratio.
For each option, alterations can be made using the buttons and sliders under the viewfinder. Most are straightforward, but the size, crop, and angle alteration tool is slightly confusing. This is the third option, and can frustrate when it automatically alters the image when you select it. The job it does is never very good, so to revert back to the standard picture, tap the yellow Auto button at the top of the screen. Don’t try to manually change the app’s alterations, as this only makes things worse.
To change the photo’s size or shape — make it square rather than 4:3 aspect ratio for example — tap the aspect ratio button in the top right of the screen. Then, shapes and sizes are shown under the photo. Also along the top of the screen are buttons to mirror the image, or to rotate it. When you’ve finished, tap the Done button and your photo will be saved in the Camera Roll. The great news is in iOS 13, all these editing tools can be used on video too.
Enjoy using your
Editors' Recommendations
- Watch an acclaimed director use the iPhone 15 Pro to shoot a movie
- The best camera phones in 2023: our top 9 photography picks
- The best iPhone tripods for 2023
- iPhone in space: SpaceX crew shares Earth image shot on Apple’s handset
- iPhone 13 vs. iPhone 13 Pro Camera: Which model is best for you?


