After a clash with the Ruby Weapon, a battle with the Sapphire Weapon, and a brawl against the Emerald Weapon, the Diamond Weapon — said to use the combat data of the previous iterations to perfect the weapon program — has been released. There’s a problem, though: It’s not manned by its creator or a completely obedient and foolish pilot. Allie has already activated the warmachina’s oversoul functionality, sending the machine crashing through the Castrum hanger and into the general airspace. Now’s the time to put an end to the machine and nip the empire’s expansion-long science experiment in the bud.
The normal mode difficulty of Diamond Weapon isn’t a particularly challenging fight, but it does alter some otherwise well-known mechanics in ways that can trip up less experienced players. If you’re accident-prone and don’t want to risk wiping a group of random players, read on to find out all the essential Diamond Weapon strategies.
Further reading:
- Final Fantasy XIV patch 5.5 quest locations guide: How to get started
- Final Fantasy XIV: How to beat Emerald Weapon in the 5.4 Castrum Marinum Trial
- Relive FFVII glory days with this FFXIV: Shadowbringers Ruby Weapon boss guide
FFXIV Diamond Weapon Normal Mode Strategy
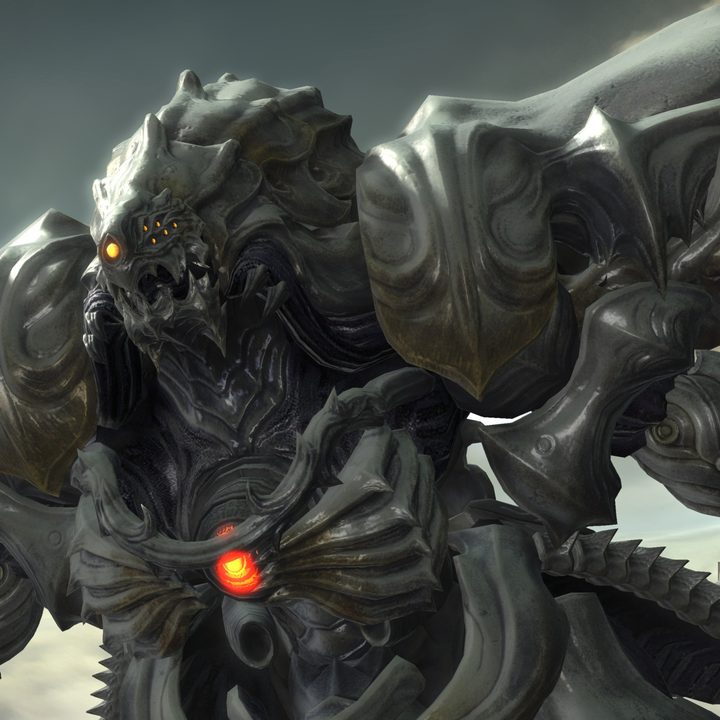
Move set
Armored (Phase One)
- Diamond Rain: Deals heavy area damage to the whole team.
- Photon Burst: Targets both tanks with a large area attack.
- Adamant Purge: Deals a different area damage attack depending on which data (Ruby, Emerald, or Sapphire) is proclaimed before use.
Unlocked (Phase Two)
- Auri Cyclone: Strikes either side of the arena, knocking the party back considerably.
- Auri Arts: Carves a path for Diamond Weapon to dash along, which is considerably more complex when Magitek Field surrounds the arena.
- Auri Doomstead: Deals heavy damage to the tank.
- Outrage: Deals light area damage to the whole team.
- Vertical Cleave: Strikes the last remaining arena side from the center long side, knocking the party back.
Armored (Phase Three)
- Diamond Shrapnel: Targets two party members with tracking strikes that resolve with a larger area attack.
- Articulated Bits: Generates small claws on one-half of both arena sides that attack dead ahead. This is usually paired with Adamant Purge (Ruby).
Diamond Weapon: Phase One
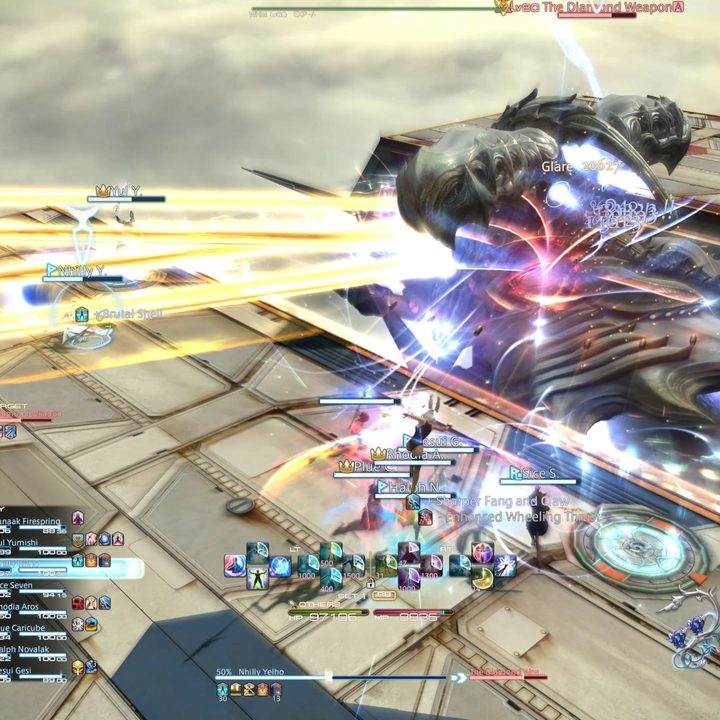
The first thing to note is that Diamond Weapon attacks both tanks simultaneously with linear beams of light, making it essential that they stand to the head or tail of the boss while the rest of the team stays on its flank.
Right out of the gate, Diamond Weapon does what most bosses of the Shadowbringers expansion does — demonstrate its party-wide damage move. Diamond Rain will strike the team for around 80% of the average player’s HP. You’ll have plenty of time to heal up after this first blow, but fail to keep topped up later in the fight and a Diamond Rain can come along to finish you off.
Shortly after this first attack, Cid will call up a second deck on the opposite side of the Diamond Weapon, signaling the fight’s main mechanic. Diamond Weapon occasionally cleaves either side of the arena with Adamant Purge, making it necessary to use the teleporters beside the enemy to jump between either side of the larger arena to avoid being hit. The side this hits is signaled by which of the boss’ hands glow with red claws, so you want to jump to the opposite side.
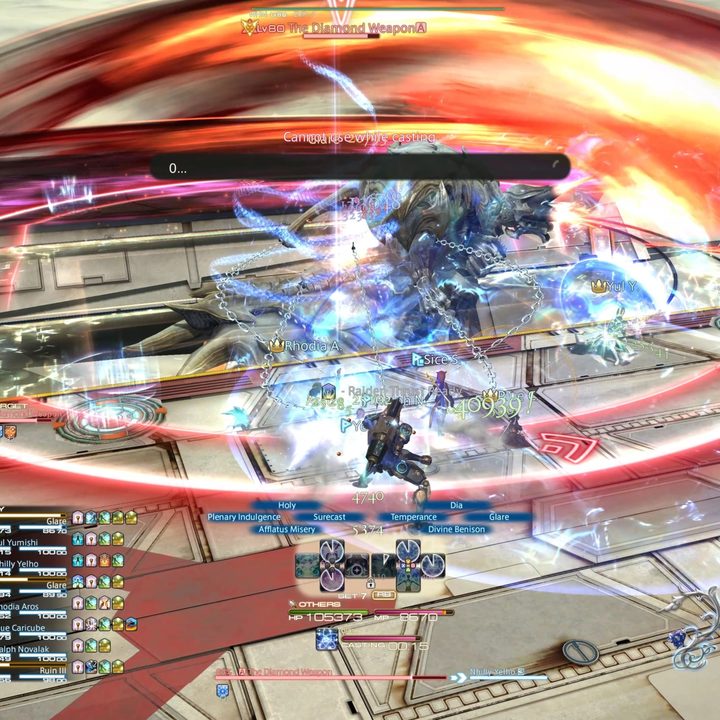
After a sneaky use of Diamond Rain, Photon Burst will target each tank, which they should take as far from the team as possible to minimize the chances of damaged party members being finished off. Adamant Purge will soon come out again, this time channeling Sapphire Weapon to blast a single party member with a powerful straight-firing laser that the whole team should group up to share.
Diamond Weapon: Phase Two
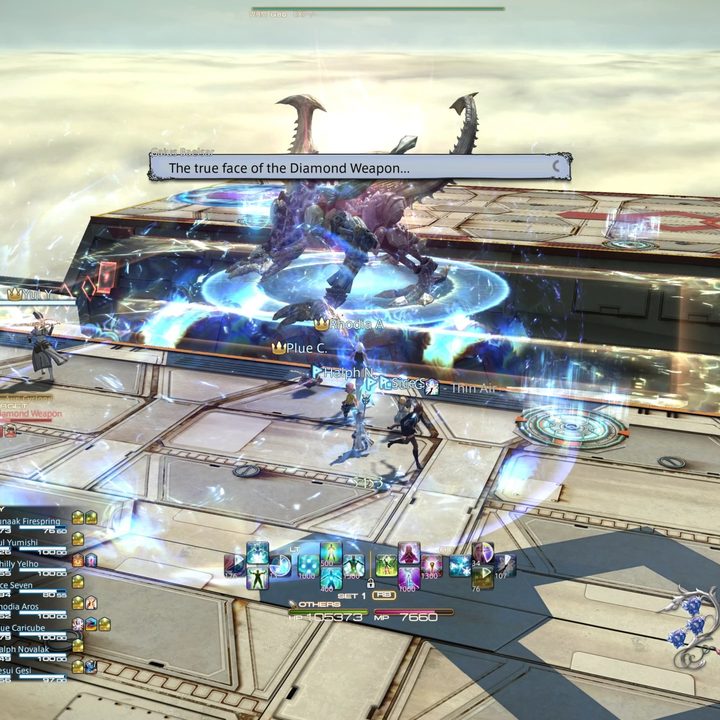
Soon enough, Diamond Weapon will shed its armor, becoming an Ifrit reskin for a time. At this moment, it casts Auri Cyclone: A skill that can quickly make the whole fight go south. It slams two big blue circles on the arena, starting with whichever it’s facing first. Hug the circle closest and toward the longer side of your chosen platform to avoid being sent hurtling off the arena. It’ll end by knocking one side of the arena down into the clouds, so make sure to teleport over to the other before it’s destroyed. Healers will want to top the team up before Outrage is cast to deal a final blow.
Things only get more complicated from here on out. After littering the air space with a magitek field, Auri Arts is cast. The zig-zagging path of Diamond Weapon’s incoming sprint will briefly appear underfoot. Identify a safe zone and get in close. Once it settles down, expect the tank to take a large hit from Auri Doomstead.
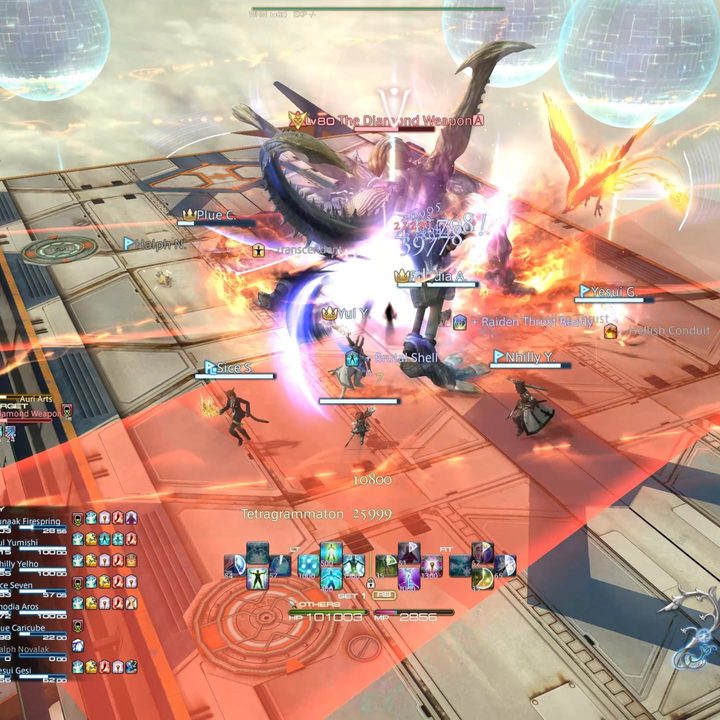
For a little while now, Diamond Weapon will use the same few attacks repeatedly. If Auri Arts is cast without the magitek field, expect a simpler dash and slam combo than before. As Verticle Cleave goes out, hug the enemy as close to the knockback markers as you can or use a skill like Surecast to negate it. There isn’t much room for error here.
Diamond Weapon: Phase Three
Before long, Diamond Weapon risks overheating and gets back into its original armor, cycling the fight back to the first form. There are a few new tricks here, but nothing to be too concerned about. Now that you know the main mechanics, it’s just a case of looking for the tells and dodging incoming damage.
Diamond Shrapnel is a simple case of repeated strikes following two party members that ends with a larger bang that targets should position into the corners of the arena, whereas Articulated Bits sets up straight-firing miniature claws on one half of each arena that are easily avoided. Adamant Purge claws can be woven into this last one, so pay attention to the enemy’s hands to discern which side of the arena is truly safe.
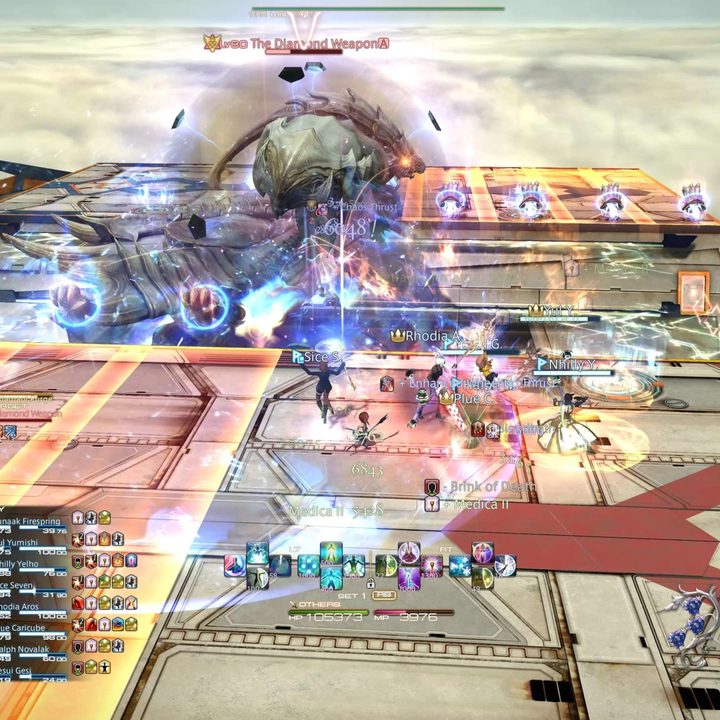
With that barrage over with, Adamant Sphere arrives after a relatively tame Photon Burst, scattering four iconic meteor markers on both sides of the arena for the DPS to split up and soak. Things look to repeat after that, but Emerald Weapon data may kick in to dispense attack markers above every player that should be carefully separated to avoid heavy damage. That being said, it’s the final truly new attack. The fight more or less weaves and repeats until you knock Diamond Weapon out of the sky for good.