Apple's iMessage isn't as universal as some of the best messaging applications, but as a default app, it's exceedingly popular, and could be considered one of the best Mac apps. It's an Apple-exclusive app, however, so getting it working somewhere else isn't easy. Fortunately, though, there are some tricks you can use to get iMessage working on Windows. Here's how to do it.
How to use iMessage on Windows using Phone Link
You can connect your iPhone with Windows through the Phone Link app, giving you quick and easy access to iMessage from your PC. Keep in mind, iMessages sent on your iPhone before you set up Phone Link won't sync to your PC. Only the messages you've sent using your PC after you linked your iPhone to Windows will show up. First messages from first-time senders also will not sync.
Step 1: You'll need iOS 14 or later and the latest version of Windows 11 to use the Phone Link app with Windows, so if you need to, update your iPhone and Windows install to the latest versions.
Step 2: Search for the "Phone Link" app in Windows search and select the corresponding result to launch it. If you can't find it, you can manually download the application, here.
Step 3: When prompted, select iPhone from the available options.

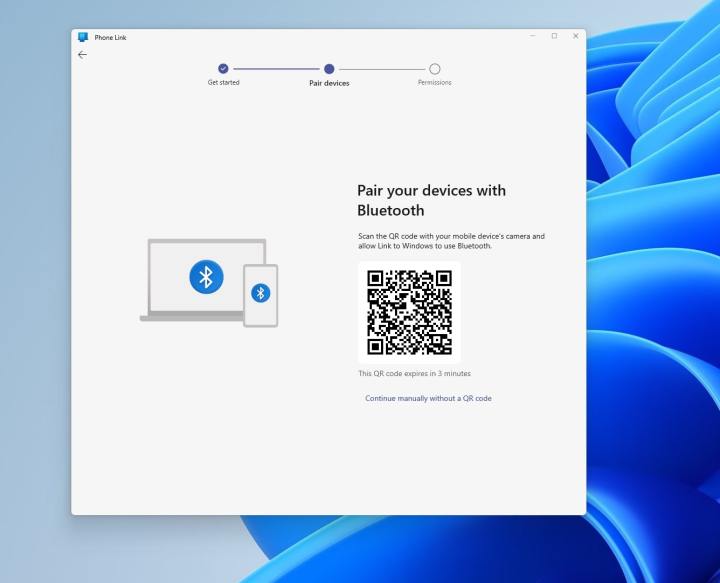
Step 4: Follow the on-screen instructions to connect your phone over Bluetooth. You'll need to turn on Bluetooth on your PC. After that, you'll need to pair the devices with the QR code.
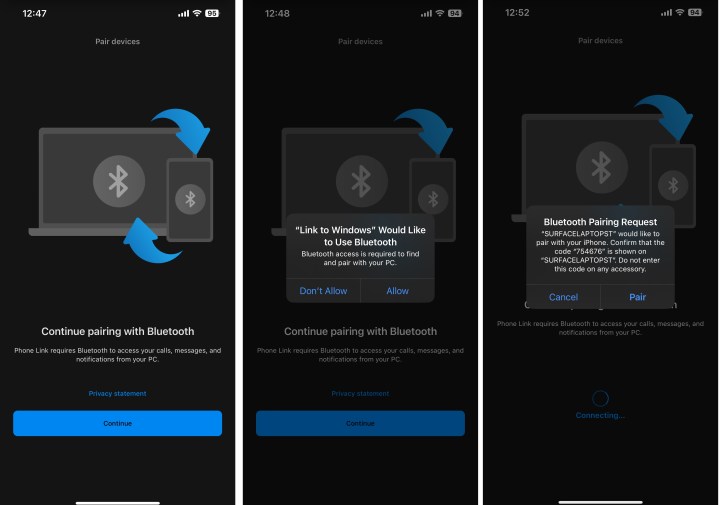
Step 5: Point your iPhone camera to scan the QR code on your PC. On the resulting screen on your iPhone, choose Open on the Pair your devices screen. Then, on your iPhone, give permission to the app within your Bluetooth settings. Choose Continue
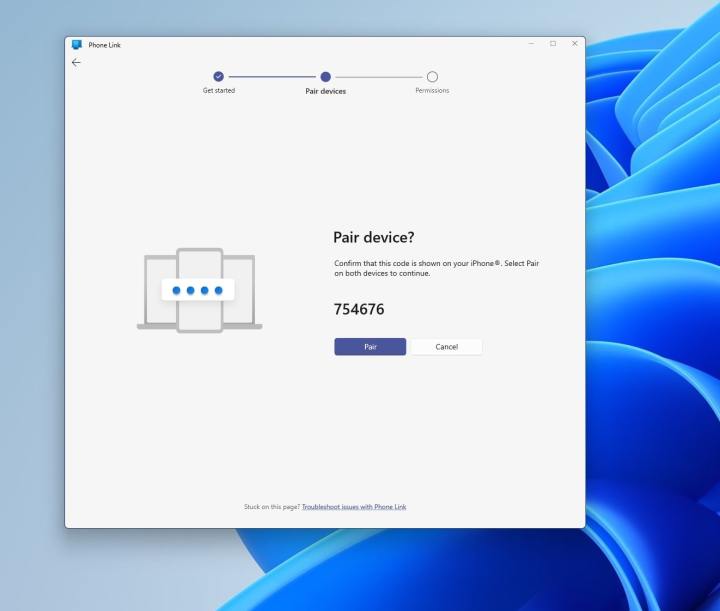
Step 6: You'll see a prompt on your PC to pair your iPhone with your PC. Accept the prompt and make sure the PIN matches what is shown on both devices. Choose Yes
Step 7: On your PC, choose Continue. Head to your iPhone to complete the additional options needed. You'll need to Allow notification access and allow shared system notifications, and Sync Contacts.
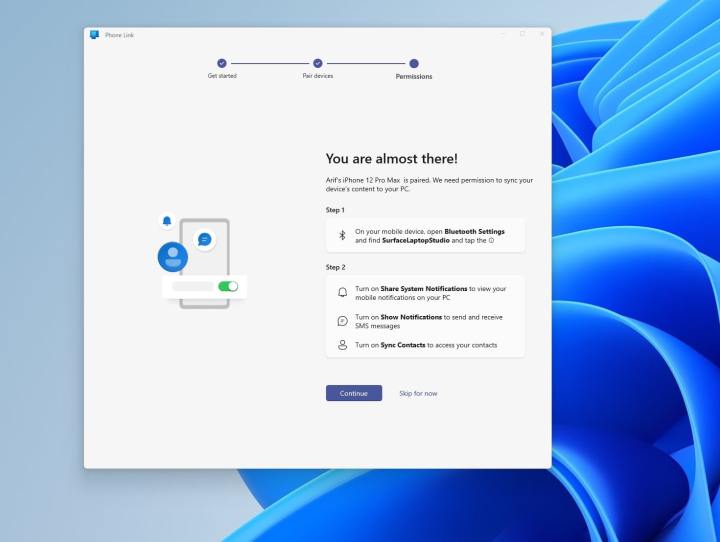
Step 8: When the setup is complete, you should see your iPhone mirrored within the Phone Link app, with access to messages, calls, and contacts, giving you easy iMessage access on Windows.

How to use iMessage on Windows using a MacBook
Another way to get iMessage on Windows is to use Chrome Remote Desktop. First, though, you'll need to set up your iOS and Mac devices.
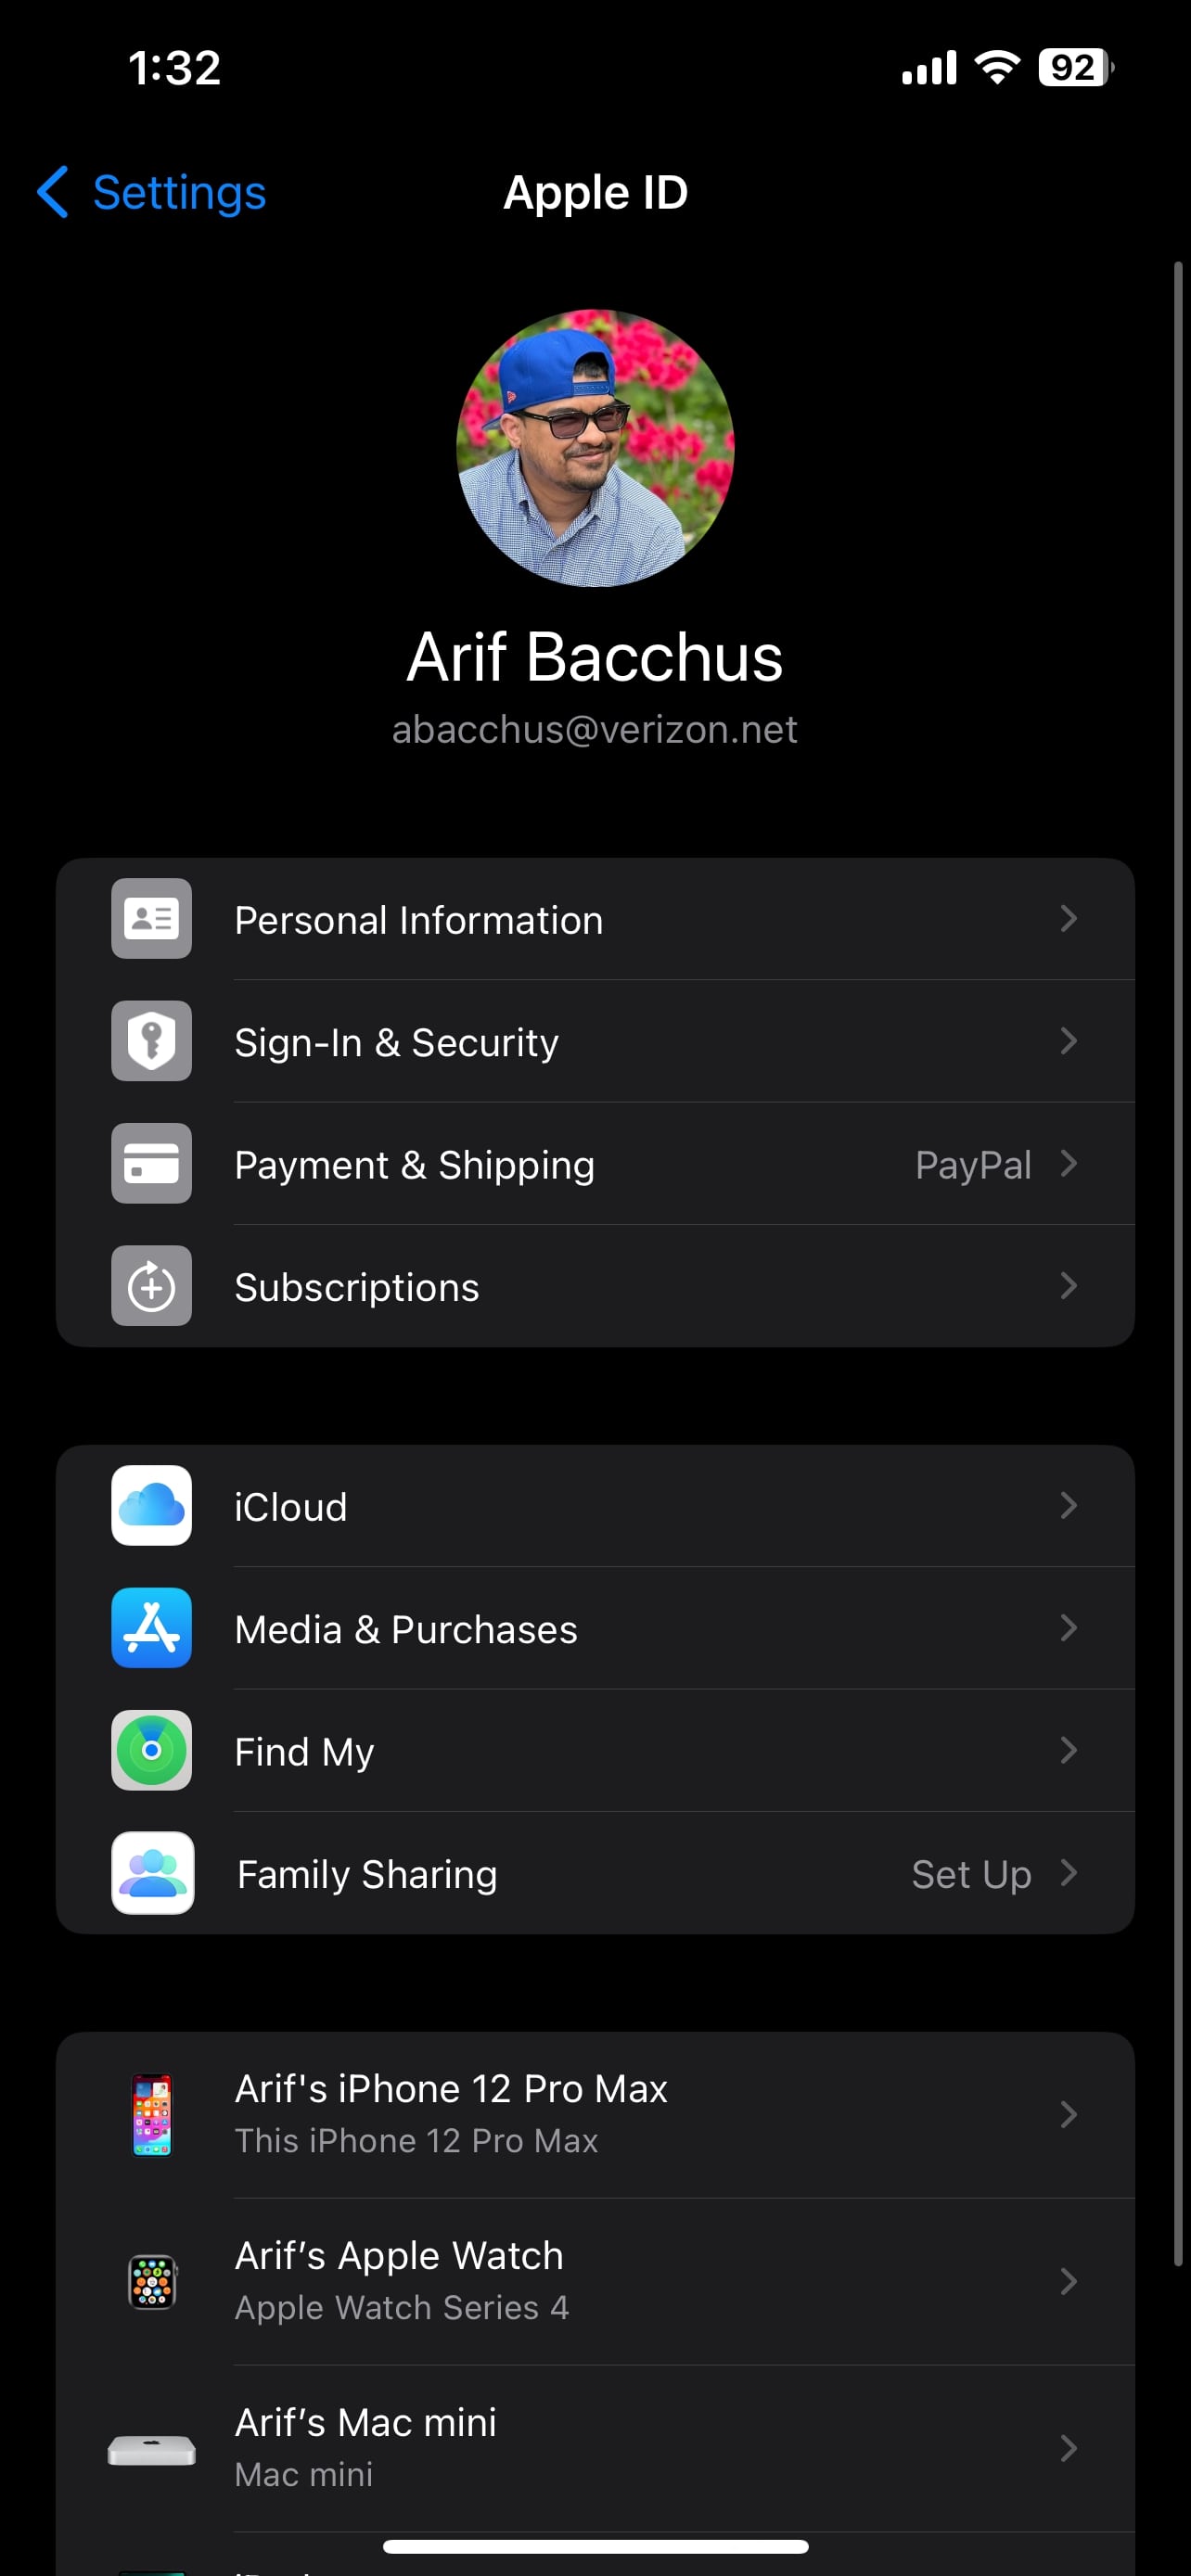
Step 1: Open the Settings app on your iPhone, and select your Apple ID account. Then, select Select iCloud.
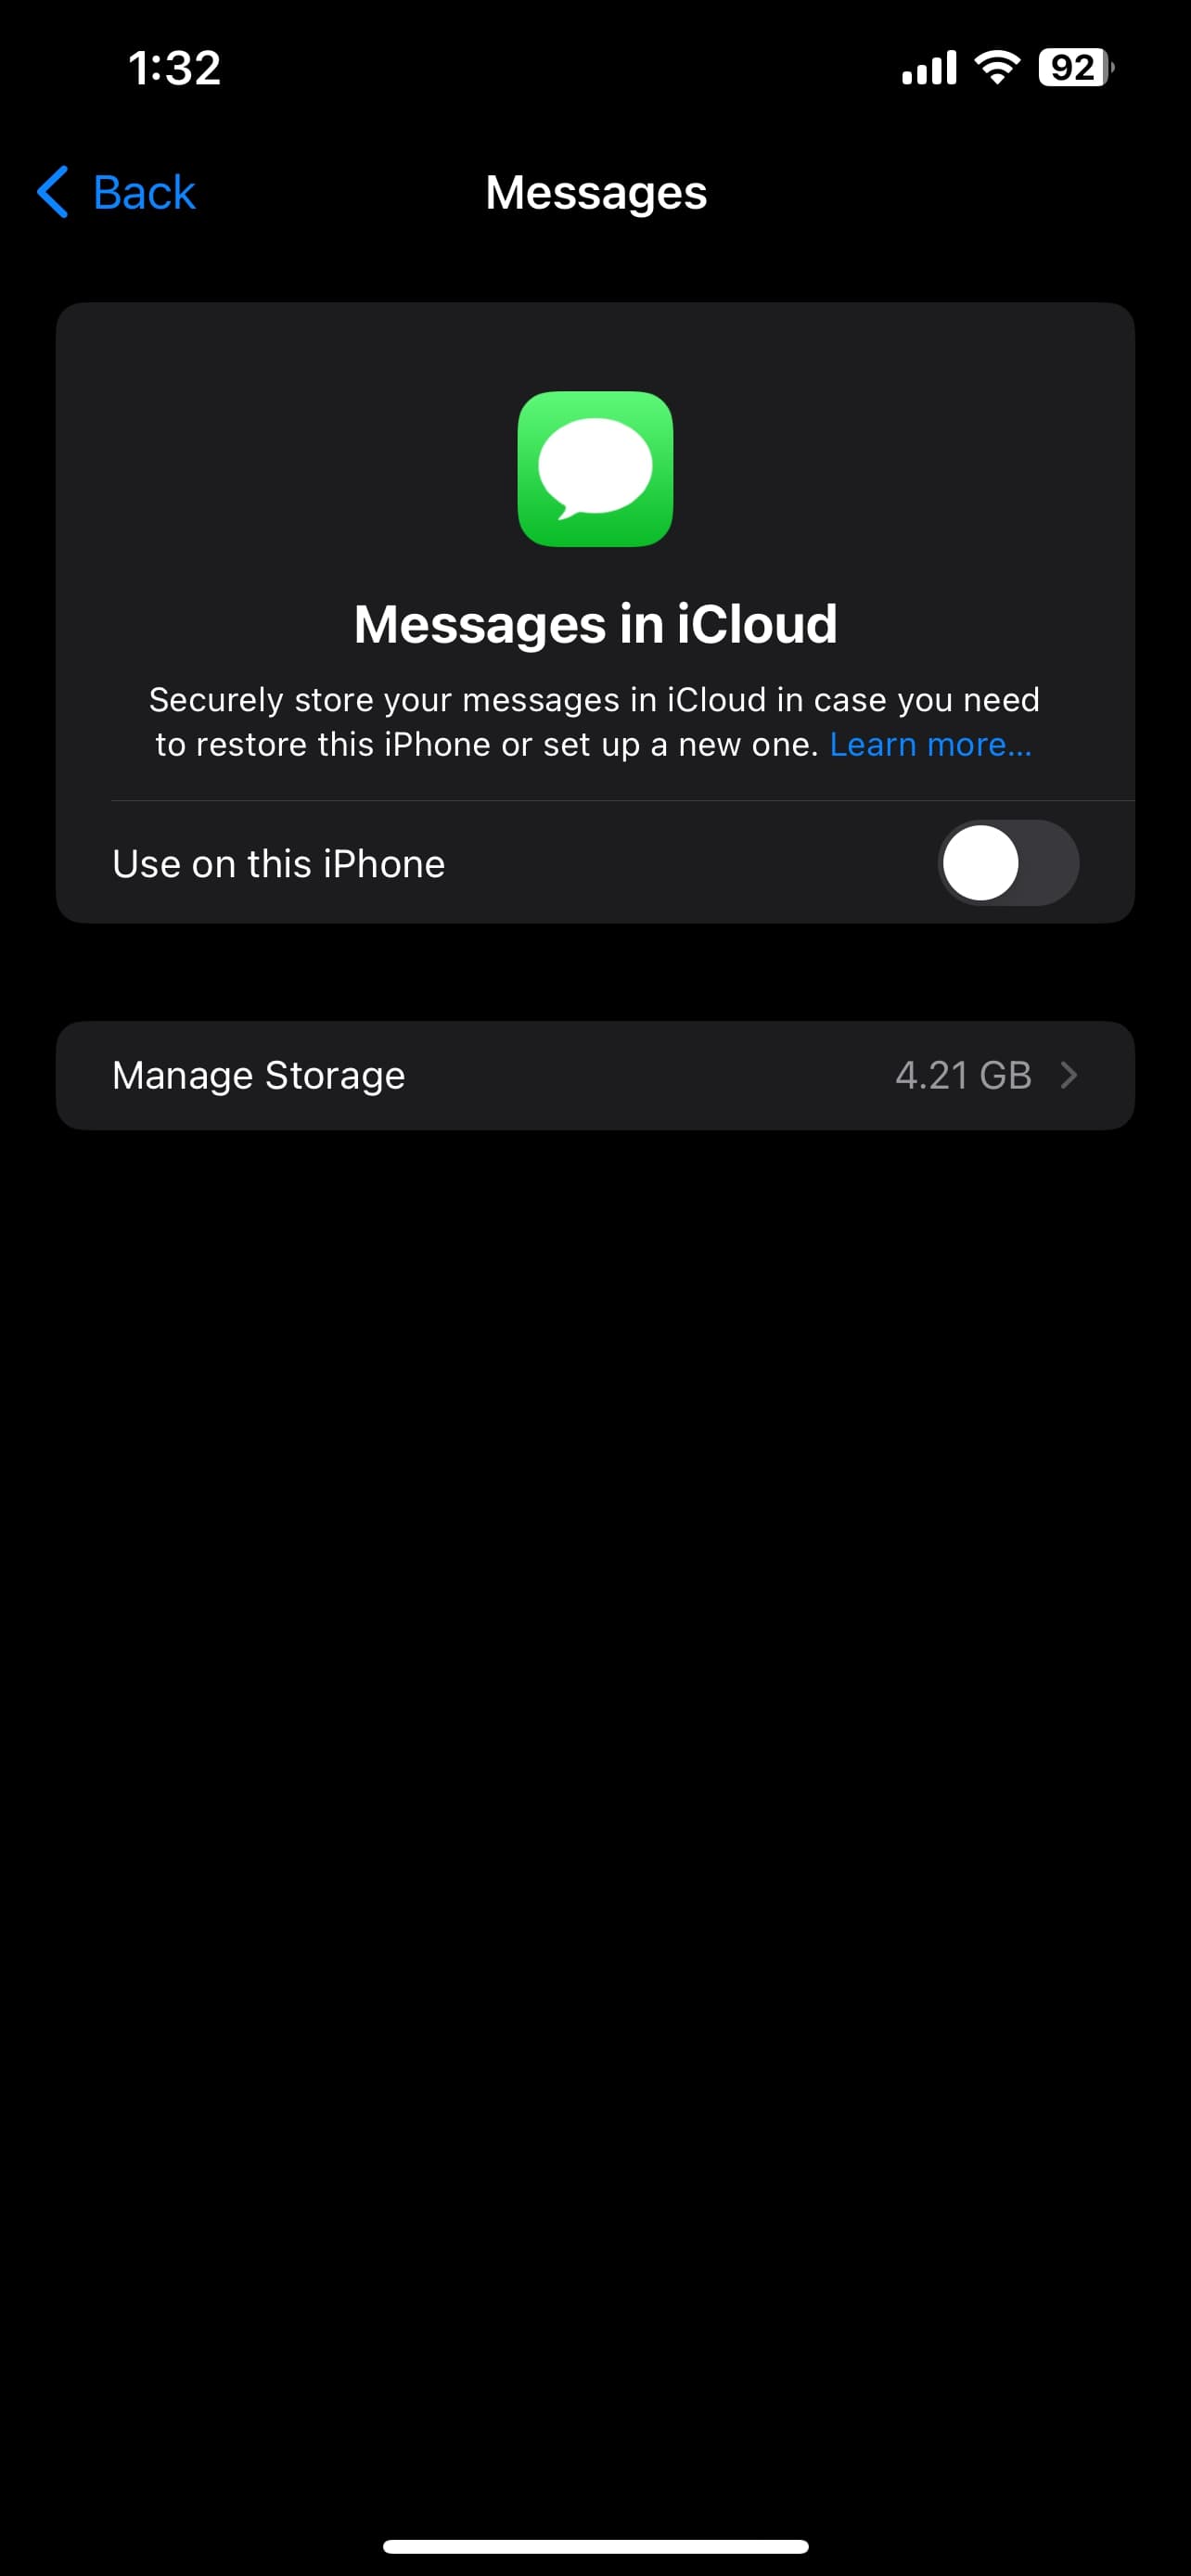
Step 2: If it isn't already, toggle Messages to green to confirm it's using iCloud.
Step 3: Switch over to your MacBook, and launch the Messages app. Then sign in with your Apple ID and password. If you have two-factor authentication enabled, enter your verification when prompted.
Step 4: In the app's Menu bar, select Messages followed by Settings.
Step 5: Select the iMessage tab when it pops up.
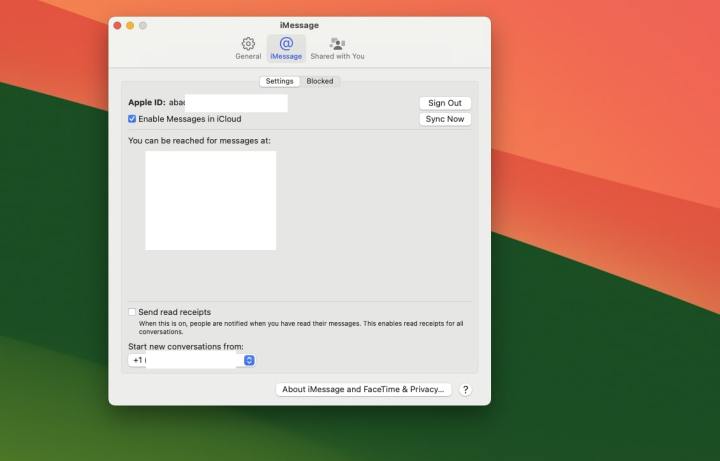
Step 6: If necessary, enable your account and Messages in iCloud.
Step 7: Activate the number and email address that you want to use with iMessage on Windows.
Step 8: Choose where you want any new conversations to start, then select the Sync Now button.
Step 9: Now that iMessage is working, we need to setup Chrome Remote Desktop.
Download the Chrome browser from the official website and install the application.
Step 10: Sign in to your Google account within Chrome — or make one if you don't have one.

Step 11: Navigate to the Chrome Remote Desktop page and select Share this screen. Then select the blue download button next to Share this screen, followed by the Add to Chrome button in the pop-up window. That will download the Chrome Remote Desktop extension. If prompted, grant the necessary settings permissions.
Step 12: To use iMessage on Windows, your Mac needs to remain active, so it might be worth navigating to System Preferences >Energy Saver, and setting your Mac to not sleep automatically when the display is off. Alternatively, you can activate the Mac while using iMessage and leave it to go into standby when not in use.

Step 13: On your Windows PC or laptop, install Chrome from the official website if you don't have it already, and sign in with your account, or create one if you don't have one.
Step 14: Navigate to the Chrome Remote Desktop extension page and select Add to Chrome to add the extension to your Chrome install.
Step 15: On your MacBook, navigate to the Chrome Remote Desktop web app, and select Share this screen > + Generate Code.
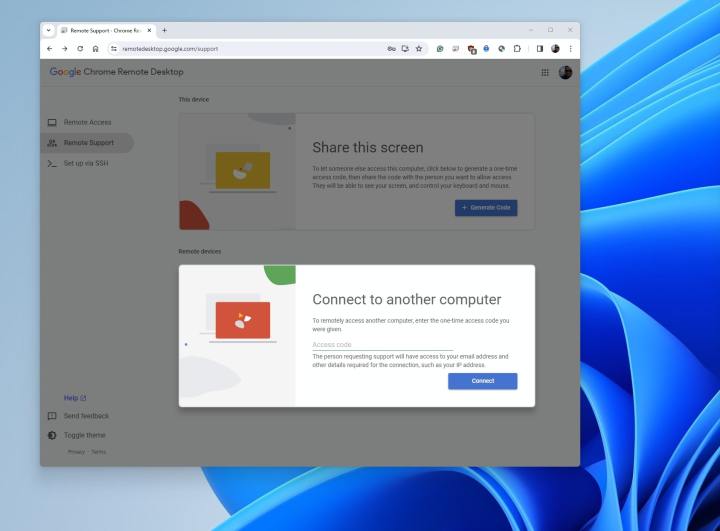
Step 16: On your Windows PC, navigate to the Chrome Remote Desktop web app and select Share this screen. Then, under the heading Connect to another computer, input the code you generated on your MacBook.
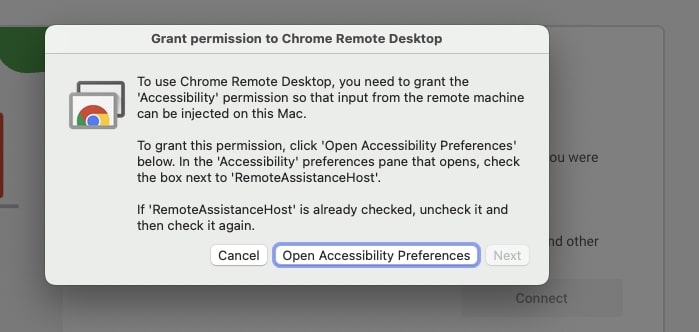
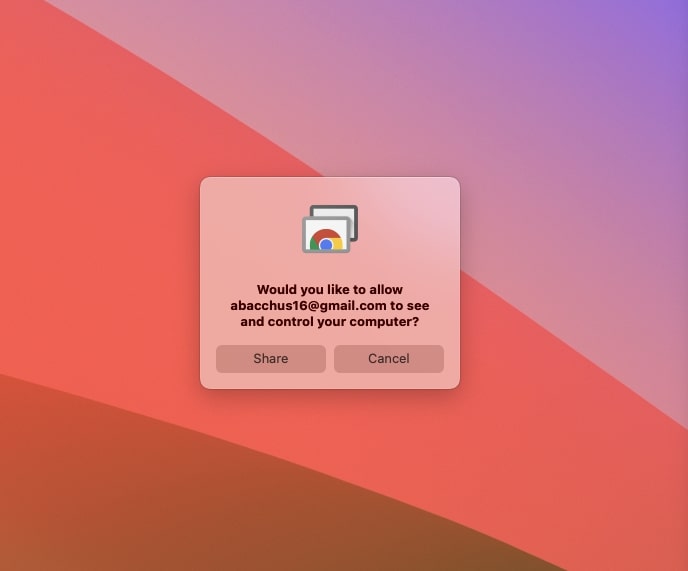
Step 17: When prompted on your MacBook, give permission for the connections.
Step 18: If you followed these steps correctly, you should now have your Mac's screen streamed to your Windows PC. You can then launch the iMessage app through your streamed MacBook.
And those were two ways that you could use iMessage on Windows. The easiest way is to use the Phone Link app, but there's still the issue where you won't necessarily see all the iMessages from your iPhone on your PC. You'll only see ones that you've created on your PC itself. Still, it's a good way to text from your PC using your iPhone, if you don't mind that caveat. For complete iMessage access, using the Chrome Remote Desktop is good, too, but you'll need to own a Mac. There is a third method, too, which is the Intel Unison app, but it requires a lot of extra setup, whereas Phone Link is a more native-like solution.
Editors' Recommendations
- How to change your MAC address on Windows and Mac
- How to create a Memoji on a Mac
- How to convert FLAC to MP3 on Mac, Windows, and web
- NordVPN free trial: Try the service for free for a month
- How to forget a network on a Mac