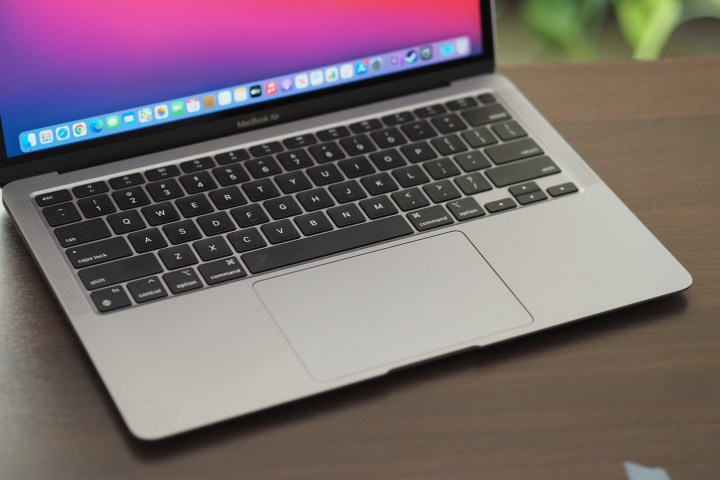
Whether you’re buying a new iMac or are using a decade-old MacBook, there’s a lot you can accomplish with your system that you may not realize you can.
Apple has built a huge number of clever features into its computers that can make things a little bit easier and more convenient, but many remain buried deep within menus and preference panes.
Here are six things you can do with your Mac that you might not know about — as long as you’re updated to Big Sur, the latest version of MacOS, which will allow you to access a lot of these features.
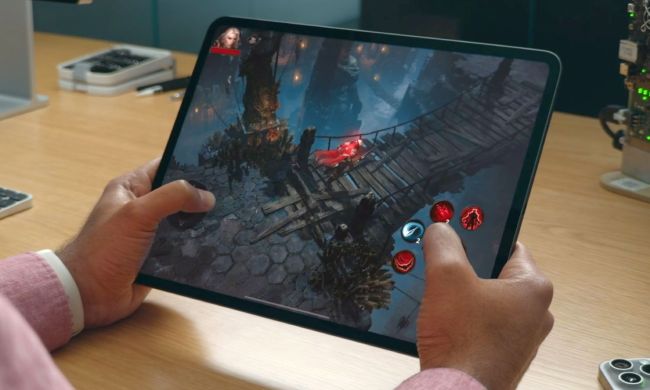
Run iPhone apps and games

Now that almost every Apple device uses processors built on the same Apple Silicon architecture (including the redesigned iMac), that means the integration between them all is even tighter than ever. As long as you have a Mac with an M1 chip, you can run iOS apps and games right on your desktop.
To get started, open the App Store app and click your name in the bottom-left corner. Then click the iPhone and iPad Apps tab at the top, then click the cloud icon to download and install your favorite iOS apps.
Alternatively, whenever you search for an app on the App Store, click the iPhone and iPad Apps tab on the search results page to download iOS versions to your Mac. Any that say “not verified for MacOS” might not be perfectly optimized, but should still run well enough.
Use an iPad as a second screen

Wouldn’t it be great if you could kit out your Mac with a graphics pad using what you already have? Well, if you have an iPad at home, you can — thanks to a feature called Sidecar. This built-in tool lets you connect your iPad to your Mac as a second screen. Pair it with an Apple Pencil and you can draw on your iPad and see the results pop up on your Mac. It’s pretty nifty.
Sidecar is not just limited to artistic endeavors, though. You can use it as a second monitor for a MacBook, extending your desktop and keeping clutter off your main display, saving you from having to buy another monitor if you already have an iPad.
To get started, connect your iPad to your Mac using either a cable or over Wi-Fi, then click the Display menu in Control Center on MacOS Big Sur, or click the AirPlay menu bar icon in MacOS Catalina. From there, click your iPad to connect to it. You can run your iPad as an extension of your Mac or mirror its content (which is useful when using it as a graphics tablet).
Unlock your Mac with an Apple Watch

Speaking of hooking up secondary devices, pairing your Mac with an Apple Watch unlocks a brilliant feature that saves you a ton of time. With an Apple Watch on your wrist, you can unlock your Mac without ever having to type in your password. In fact, you don’t have to do anything — the Mac simply recognizes your Apple Watch and does the unlocking for you. Magic.
To set it up, ensure both devices are signed in on the same Apple ID. Now open System Preferences on your Mac and click Security & Privacy. Make sure you are on the General tab, then tick the checkbox next to Use your Apple Watch to unlock apps and your Mac. As the name implies, this feature can also open up compatible apps, and it can even be used to confirm purchases on your Mac. While we wait for Face ID on the Mac, this is the next best thing.
Do math and currency conversions in Spotlight

Spotlight is your Mac’s built-in search function, and you can call it into action by pressing Cmd+Space and typing away. But did you know it can do far more than just find files and open Mac apps for you?
For instance, try typing in a simple math calculation — Spotlight will show you the answer. Need to convert some currency? Type “$50 in Euros” and you will see exactly how much your money is worth. You can convert temperatures and measurements, get dictionary definitions, look up the weather, see sports scores, and much more. It even lets you search using natural language, such as “files opened in the last week.”
Sign your documents

These days, we all get sent important documents over email. But how do you sign them? If you want to enter your signature, you might feel a bit lost as to how you do it. Don’t worry, the solution is very simple.
Various Apple apps let you drop a signature in place, including Mail, Notes, TextEdit, and Photos. Here, we will use the Quick Look feature in MacOS. First, click the file you want to sign, then press the Space bar to open the Quick Look preview. At the top, click the Markup button (it looks like a pencil tip).
On the menu that appears, click the Sign button and click Create Signature. Click Camera to snap a picture of your signature using your Mac’s webcam, or click the iPhone or iPad tab (the exact text depends on what devices you have connected), then Select Device. You can then fill out the signature on your iOS device.
When you have a signature ready, click Done. It will be saved to your signatures. Now simply click the signature to place it on the document. You can then resize or move it as necessary.
Make a custom keyboard shortcut

Lots of apps have built-in keyboard shortcuts, but it can be annoying if a command you frequently use does not have its own shortcut. You can change that, though, and add your own custom shortcuts to almost any app on your Mac.
Open System Preferences and click Keyboard, then click the Shortcuts tab. In the left-hand sidebar, click App Shortcuts, then click the + button. Choose the relevant app and enter the exact path (including capitalization, ellipses, etc.) of the menu item you want to create a shortcut for. For example, in 1Password, the Create new secure note command uses the menu path File > New Item > Secure Note. In System Preferences, the path you need to use is File->New Item->Secure Note. For more on this, Apple has a handy support document.


