Adobe Lightroom is great for managing and editing your photos, especially if you have an expansive collection. One way to make those edits quicker and easier is with presets. Even if you're a dab hand at Photoshop when it comes to resizing images, blending them, and the like, you'll still need to learn how to add presets to Lightroom to make the most of Adobe's other excellent image-editing application.
Using the Import Profiles and Presets tool
Step 1: If you don't have Lightroom, you can buy it, but before you do, you can try it out via a free trial for seven days. You’ll have to enter your credit/debit card info (or PayPal info), but you can cancel that in order to not get charged — head over to our best Lightroom alternatives article if you do decide to cancel.
Once you're ready, open your Adobe Lightroom program on Windows or Mac. We're using the MacOS version (Lightroom CC), but the methods we’ll explain below also apply to the Windows version of Lightroom.
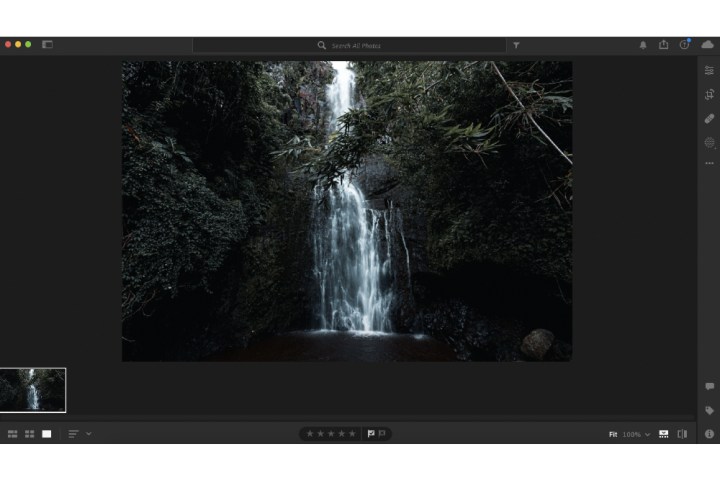
Step 2: Open an image that you want to use the preset on. For demonstration purposes, I’ve used a photo that Lightroom offers to use after installing the program.

Step 3: Lightroom allows you to use its own built-in presets, but you can also download and import them. I downloaded presets via Adobe’s own website — the Architecture photography presets.

Step 4: Click the File tab, and then select Import profiles and presets. Open the presets folder, click the preset files, and click Import.

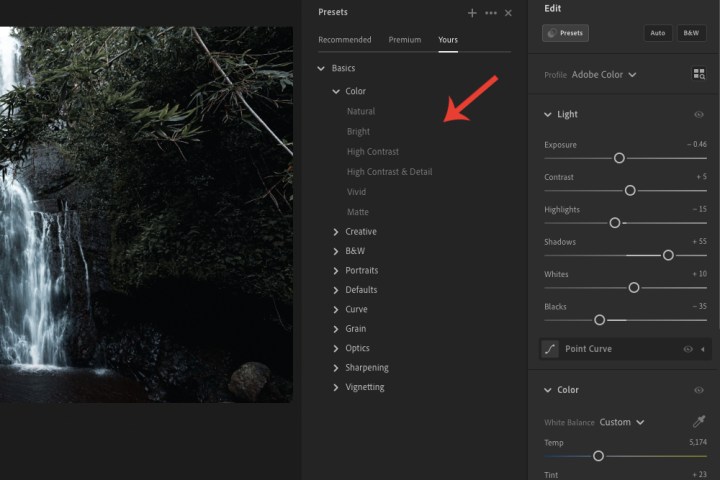
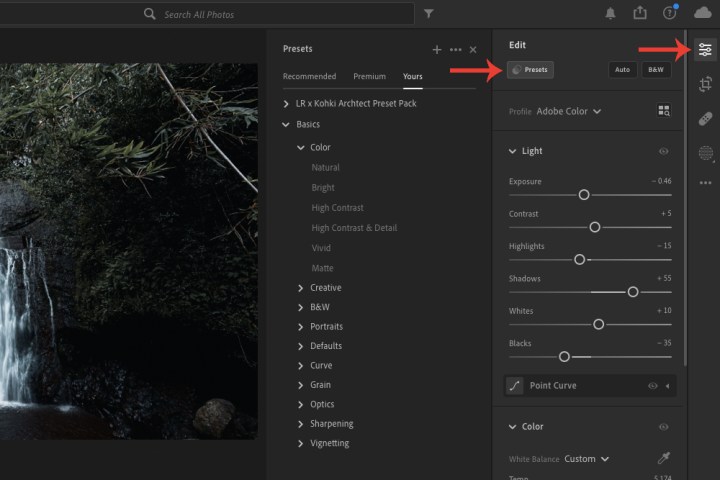
Step 5: Click Edit and then select Presets.

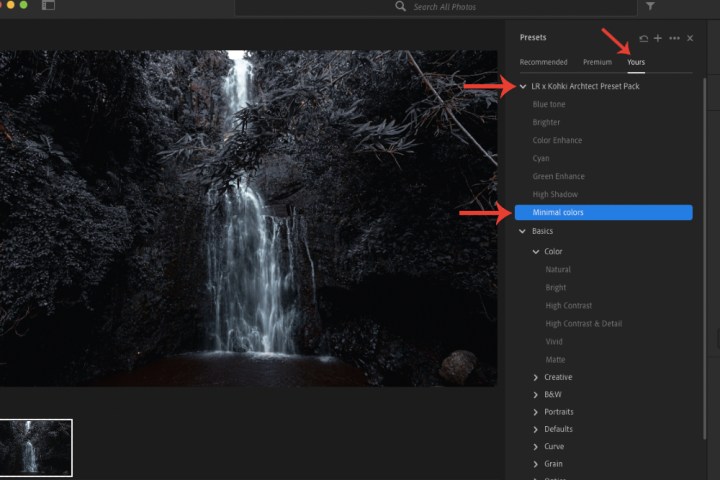
Step 6: Click Yours and click the preset folder you imported. Try out the different presets to see which one you prefer. I applied the Minimal colors preset.
There’s a countless number of presets for Lightroom available to download. Try them out by downloading and importing them until you find some useful presets you’d want to use for your photos.

Why can’t I import presets into Lightroom?
You’ll need to unzip the presets you download. Once you’ve unzipped it, it’ll appear on your system within a folder. I was unable to import the zipped file, but after unzipping it, I was able to import all its presets from that folder.
Not happy with Lightroom and looking for premium and free alternatives? Head over to our detailed guide outlining similar programs.


