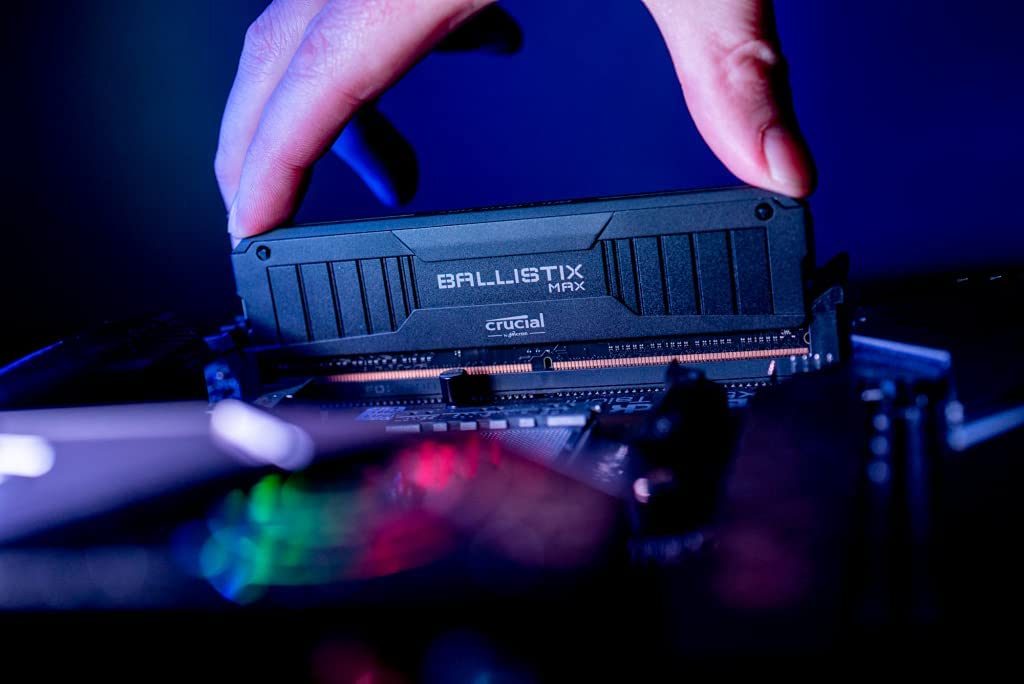
If you know what RAM is, then overclocking it can be a great way to boost your system's overall performance for just about every task. More memory bandwidth means the CPU can work at its full potential — especially if you've overclocked your processor.
Here's how to overclock your RAM.

What are the benefits of overclocking RAM?
Overclocking RAM improves the data transfer rate, which refers to how quickly the RAM delivers data to the CPU to complete a process. If your RAM is too slow (and yes, RAM speed matters), it can create a bottleneck that doesn’t fully utilize the potential of your CPU. If you're running a budget system, this might not matter much, but if your computer houses a top-notch processor, you don't want to slow it down with a memory kit that's underperforming.
The easiest solution to this is to just buy newer, faster RAM. However, you can actually bump up the speeds on your RAM manually as long as you don’t exceed the recommended voltage, and in some cases, you can only get the most from your faster memory kits by performing some system tweaks of your own.
Overclocking your RAM can net some performance gains in day-to-day uses, but it really shines in gaming. Playing games that rely more on the processor than the graphics card will highlight the importance of RAM. Using faster memory speeds up the data transfer to the CPU and may result in higher frames per second (fps).
Whether you're an enthusiast, a gamer, a person who likes to get the most out of their hardware, or simply a curious user, overclocking your RAM can bring a share of benefits — and it's safe if you do it correctly. This guide looks specifically at overclocking DDR4 RAM and DDR5 RAM.

Prepare to overclock
The most important thing to do when you start overclocking RAM (or any component) is to establish a baseline, so that when you do overclock and see how fast the kit is, you'll be able to tell the difference.
Step 1: Take note of your memory's default speed and timings with a utility like CPU-Z. Note down the speed and timings because you'll be comparing them to your new standings later.
In addition to CPU-Z, you'll also want to have a tool like HWInfo running in the background to keep an eye on memory temperatures and for finer frequency tracking.
If you're using an AMD Ryzen processor and you plan to overclock manually, you can also download a tool called DRAM Calculator for Ryzen. This will help you choose the right frequency for your particular hardware.

Step 2: With both of your tools set up, it's time to put your current RAM settings through a bit of a stress test. This is where benchmarking tools come in.
PassMark and AIDA64 are great synthetic benchmarks that will give you some raw bandwidth numbers to help figure out how much of an effect your overclocking has had. Cinebench is a CPU-intensive application that can show how much your RAM's overclock has improved CPU performance. Lastly, Memtest is great for keeping tabs on your RAM, so use it throughout the process.
You need to run these programs before the overclocking and then again once more when you're done in order to compare the scores.
For more real-world testing, CPU-intensive games like Alan Wake II, Forza Motorsport and Microsoft Flight Simulator 2024 can give you a good idea of what game performance improvements you have managed to achieve.

Overclock using XMP and Expo memory profiles
Most modern memory kits come with an XMP or Expo profile, which is effectively a factory-overclock profile. You can activate this in the BIOS to bring the memory up to its rated speed, but that's effectively an overclock and it's the most straightforward way to boost your system's performance, but also take advantage of the memory speed that you paid for.
Step 1: To access XMP and Expo, head into your UEFI/BIOS by hitting your motherboard's respective key on startup. It's typically one of the F1 to F10 keys or Delete. Check our guide on how to use the BIOS if you're unfamiliar with it.
Step 2: With the BIOS open, it's time to look around. Every motherboard is different, but you want to search for overclocking settings. In our ASUS example, it's in the Extreme Tweaker menu. Look in the memory tuning section, and when you find your memory's XMP or Expo settings, choose the one that you want to use.
Save the settings and restart, and you should be able to see your new memory settings.
Many of these kits can go further than the XMP and Expo profiles allow, however. To do so, you'll need to dive into the more time-consuming and complicated world of manual overclocking. We have a detailed guide that explains how to enable XMP.

Manual RAM overclocking
Manual overclocking is the most time-consuming option, but it can also have the biggest payoff if you know what you’re doing. It's also the best way to hit higher RAM speeds than those saved in XMP and Expo profiles. While it might seem a bit scary, you can rest assured that overclocking your RAM should be fairly safe as long as you're careful and don't adopt an "all at once" kind of approach.
**Warning: ** Don't raise your DDR4 memory's voltage above 1.5v and don't raise the DDR5 memory voltage above 1.4V. Going above this can damage your RAM over the long term. You also want to keep the temperature of your memory under 122 degrees Fahrenheit (50 degrees Celsius) at all times to help avoid crashes and instability.
If you're running an AMD CPU, it's also important you consider the Infinity Fabric clock and its synchronization with your memory. Read more in the section below.
Step 1: As with the XMP settings, find the memory-tweaking menu in your UEFI/BIOS, only this time use Manual settings as opposed to the pre-determined XMP options.
Begin raising the frequency slowly, a step at a time. The lower the better, typically. You want to take it slow and steady instead of rushing into it.

Step 2: Once you've adjusted your memory frequency, restart your computer and boot Windows. It's now time to run some benchmarks using the programs we mentioned above. Test thoroughly, not just using programs but also using your favorite CPU-intensive games.
Step 3: If you complete all the benchmarks without crashes or errors, raise the frequency again. If you run into crashes, you can scale back your overclock and consider the job complete, or raise the voltage to see if that improves stability.
Remember to take it slow and do your due diligence with testing. If you raise the frequency too high in one go, you won't know what frequency is unstable and what isn't, forcing you to go further back down to find a point of stability.
Keep an eye on the performance numbers in your benchmarking too. Raising the frequency can sometimes cause an automatic loosening of your RAM's timings, which can affect its latency and performance. Sometimes it's better to have a lower frequency with tighter timings.
Step 4: When you find a frequency you're happy with, perform additional, longer-term benchmarking and stability testing to confirm that even under repeated load, your memory won't cause any system crashes. If it does, lower the frequency or raise the voltage as necessary, and perform another round of heavy stability testing.

How to tighten the timings
If you want to take things a step further, you can always tighten the timings in addition to tweaking your RAM's frequency.
You can typically do so in the UEFI/BIOS in the same section as adjusting the frequency. You'll have to disable XMP profiles and switch to manual overclocking.
Tightening the timings means that you'll be tweaking the various numbers, saving your new settings, and then restarting the computer to see if it runs smoothly. This is a bit of a trial-and-error job and should mostly be reserved for more advanced users who feel confident that they know what to do.
Never change too many things at once, and remember that not all frequency and timing combinations will work well together at all. Play with the settings until the benchmarks return stable results for at least 30 minutes of testing.
Things to remember in regard to AMD and Infinity Fabric
Overclocking RAM with an AMD Ryzen processor is very similar to Intel CPUs, but you also need to consider the Infinity Fabric. It's a proprietary system interconnect architecture within AMD CPUs that has its clock speed synchronized with your memory's. When it goes up, so does the Infinity Fabric's, up to a point.
With DDR4, that 1:1 ratio changes after 3,600MHz, and while that can mean greater overall performance, the latency loss isn't always worth it.
With DDR5, it's a little more straightforward — just make sure that the infinity fabric clock is within a certain multiplier range of the memory clock. Ideally, divisible by .25:1 — so .5:1 is fine, so is 1:1, so is 1.5:1, etc.
Infinity Fabric overclocking is also a possibility for those who want to play with frequencies after de-syncing it from the memory, but that is more advanced overclocking and requires time and energy of its own.
If you'd rather just boost performance by buying a new high-end kit of RAM, here are the best RAM kits available right now. Not sure what to look for? Check our our RAM buying guide.