Given the increasingly digital environment that content creators, businesses, and educators must contend with, having reliable video recording software that is easy to use is crucial. Whether you work as part of a distributed network of global employees, want to provide a video for your online class, or are just looking to send a video to a friend or loved one, Loom has what you need.
But you can go beyond the basics to make it even better. Here are some great Loom tips and tricks to really augment your experience.
In need of a good videoconferencing tool too? We’ve got you covered.
How to use the Loom Preferences menu
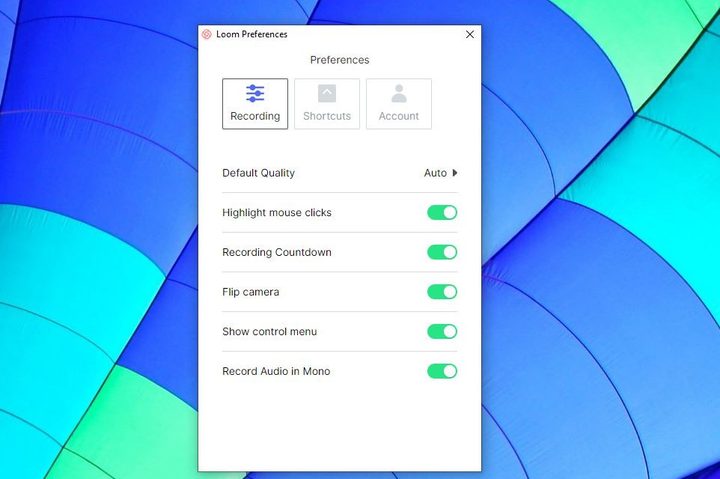
The Loom desktop client has three different recording modes, which are Cam Only, Screen Only, and Screen + Cam. However, you can also quickly access the Preferences menu by clicking on the ellipses in the client’s upper right-hand corner and selecting Preferences to adjust the default recording options to best suit your needs. For example, users can set the quality of their recording to adjust itself automatically according to the available bandwidth or to a set number between 360p or 1080p HD.

You can also decide whether the control menu is visible, choose to have a countdown before your recordings begin, and highlight any mouse clicks that you make while recording. If need be, you can flip which side of the camera bubble you appear on and record your audio in Mono rather than Stereo.
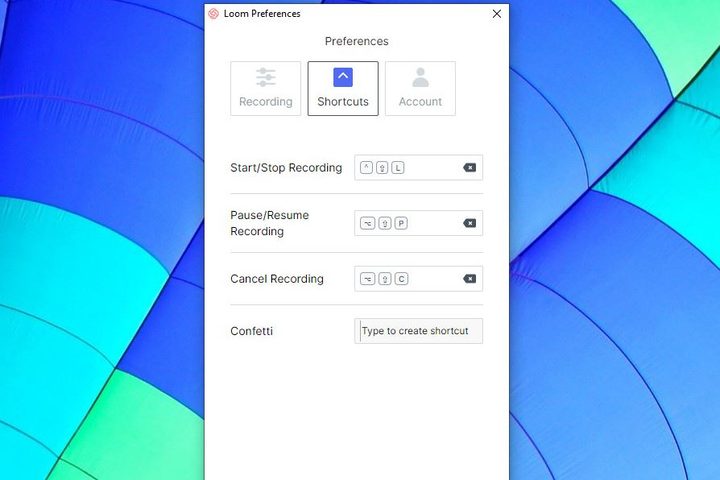
In addition, you can click to learn Loom’s established keyboard shortcuts to perform functions like starting, stopping, pausing, resuming, and canceling recording, and even confetti. Best of all, you can delete the default shortcuts and input your own if you don’t like what’s available. Finally, you can manage your account details and determine whether Loom will automatically load when your computer starts up and whether software updates will download in the background.
How to use Loom’s My Videos and editing features
Once you record a Loom video in the Loom desktop client, you can click on the small black and gray play symbol next to the Preferences menu to open your Loom My Videos page. Whether you have a basic account or a Pro account, you can use your email and password to access an online repository where all of your Loom videos are stored at no cost. The standard limit on the number of videos that basic accounts can save and access is 25, but Loom has temporarily removed the ceiling on the number of videos you can make or access until July 1, 2020.
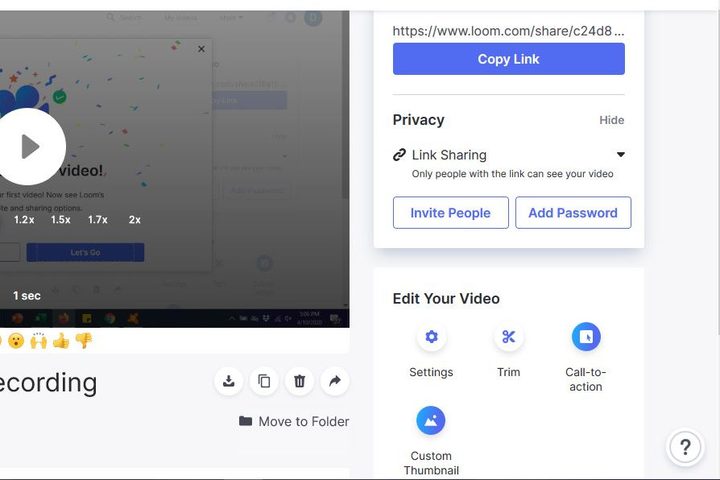
Once you open up your My Videos page, you will be presented with four options to edit, customize, and promote your content. The options are Settings, Trim, Call-To-Action, and Custom Thumbnail. While the first two options are available on the free version of Loom, the other two will require you to purchase the Pro version of the software before being able to use them.
Once you have recorded your video and are ready to move on to the editing process, you can use the Settings menu to toggle several default options on or off. These options include whether or not to allow emoji reactions to your videos (which is a default setting), deciding if people who view your video can leave written comments, and whether you will receive an email notification if they do.
You can also decide whether you want to create an animated thumbnail GIF for an individual recording or if you would prefer to create them automatically for each video. If you have a Pro Loom account, you can decide whether people who view your videos will have to watch a brand ad for Loom with a message prompting them to sign up. Finally, you can also choose whether those who view your video can download it, and if viewers can see how many times the recording has been viewed.
How to use the Loom Trim function
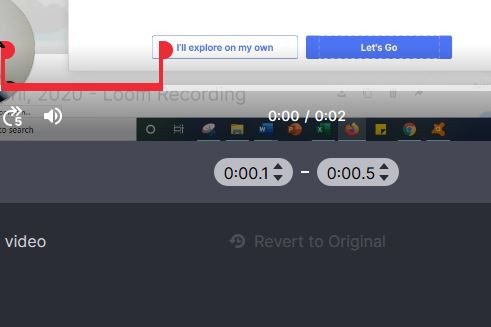
The Trim button resembles a pair of scissors. It allows you to access the trimming function, which enables you to remove individual sections of the video for the sake of clarity or simply to remove errors or audio malfunctions. You can review your footage at various speeds between 1X and 2X the normal speed, drag the red bars to determine the length of the removed section, or use the arrow counters to adjust the length by increments of a 10th of a second. You can also return your video to its original length after editing by returning to the trimming function and clicking on Revert to Original.
How to use the Call-to-Action function
Although this feature usually requires you to have a Pro Loom account, this function has been made available on the basic version for now. The Call-to-Action function allows you to add a button in your video that will open a URL and position it within the video. You can select the shape of the button via a drop-down menu and change the color of the button and its text to suit your needs. While not everyone needs this kind of option, it can help capture people’s attention and direct them to resources and information with more convenience.
How to use the Custom Thumbnail function
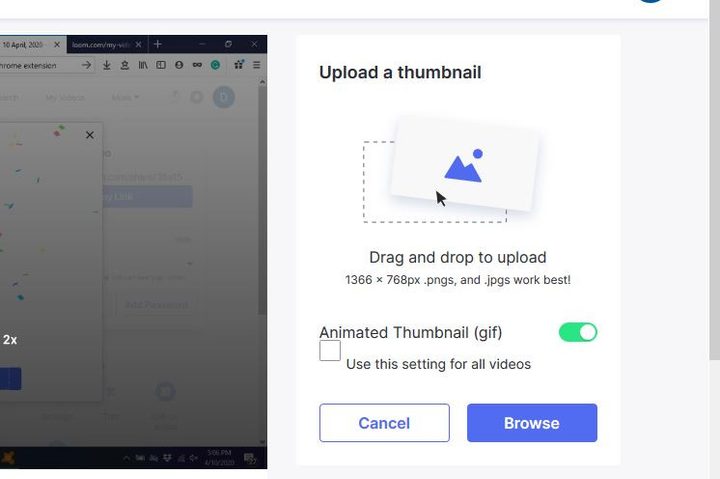
While the Custom Thumbnail feature normally requires you to have a Pro Loom account, this function is currently available as part of the basic version. The basic Loom account will automatically create a thumbnail from your video recordings. As a Pro account user, you can create custom thumbnails for your video. In order to achieve the best visual result, Loom recommends using only JPG or PNG files and at 1,366 by 768 pixels in size.
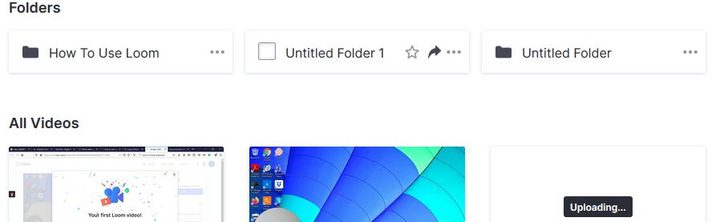
How to create a new folder in Loom My Videos
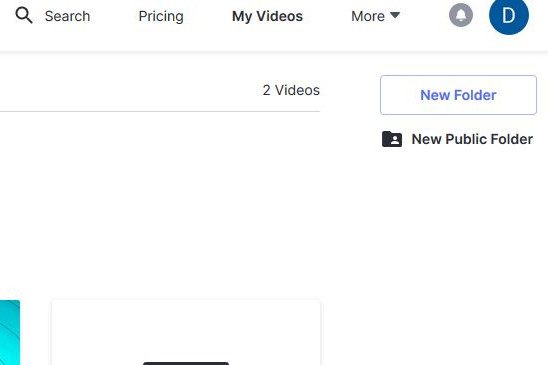
To create a new folder, all you have to do is click the New Folder button in the My Videos page. A new Untitled Folder will appear, and you can rename it however you would like. You can create both public and private folders with password protection and share them with ease. However, in order to customize who has access to a particular video, you will need to have a Pro Loom account. If you want to share your video on Facebook, Twitter, or Gmail, you can do so with a single click.
How to duplicate a Loom video
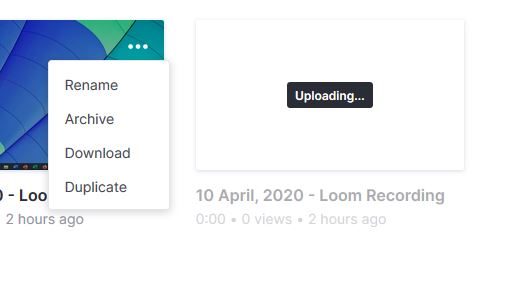
From the Loom My Videos page, you can click on the ellipsis next to a video and click on the duplicate option from the menu that appears.
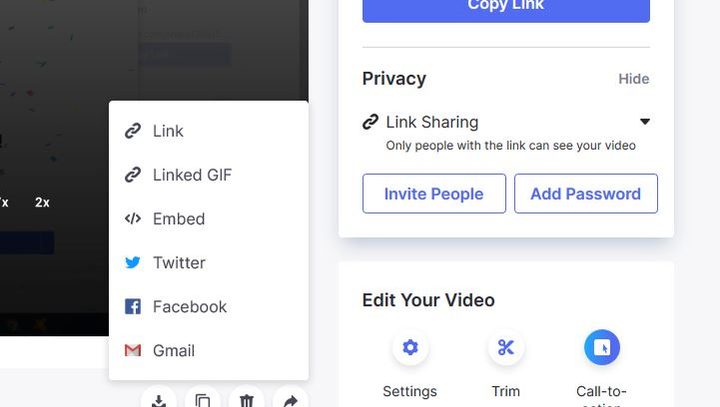
How to share your Loom videos and folders
When you want to share your Loom video, you can decide whether to use Link Sharing or make the link Public. The former option only lets those who have the video link view it while the latter means that your video will appear in Google and other search engines.
Your Loom folders can be shared by creating a public folder that can be found via Google or clicking the share button on a private folder.
How to download your Loom videos
Once you have the video selected, you just need to click on the download symbol under the video screen.