
Every time I buy a new Mac, there are a bunch of settings I change to improve the macOS experience. Some are quick tweaks that solve minor annoyances, while others are vital changes that make my Mac safer, faster, or just plain better.
Whether you’re running an earlier version of macOS or are reading this long after Sonoma has become old news, there are plenty of macOS settings you can adjust to get more from your Mac.
Turn on FileVault
Macs are impressively secure by default, with features like Gatekeeper and Touch ID keeping you safe from a world of nasty surprises. But you can go a step further by enabling a feature called FileVault. This encrypts your Mac’s files and locks them behind your login password, providing an extra layer of security should someone else gain access to your device.
To turn it on, open the Settings app and select Privacy & Security > FileVault from the left-hand sidebar. Now pick Turn On, enter your password, then select Unlock. You then need to pick either your iCloud login details or a generated recovery key from the on-screen options — this will be your backup if you forget your Mac’s password. Once you’ve done that, choose Continue and wait a few moments for FileVault to finishing setting up.
Note that if you forget both your password and your recovery key or iCloud login details, you will lose access to your files, so be sure to keep your passwords safe (such as by using one of the best password managers). Simply put, FileVault provides the much-needed comfort that even if someone takes your MacBook, they almost certainly won’t be able to do anything with it, ensuring your files, passwords, credit card information, and more do not fall into the wrong hands.
Change your Mac’s Dock settings
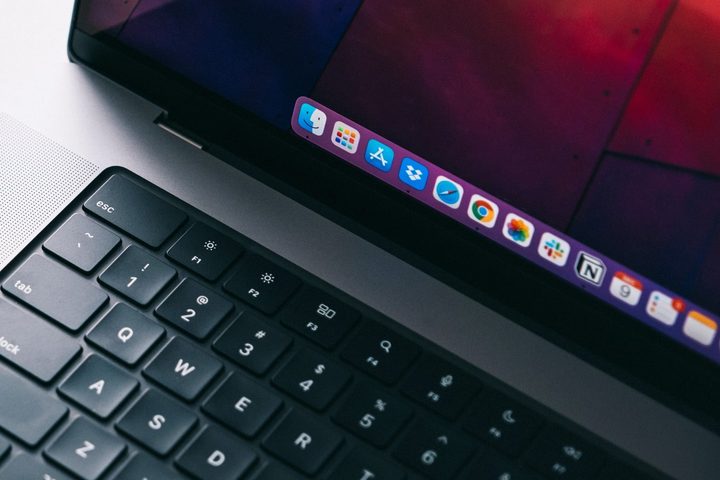
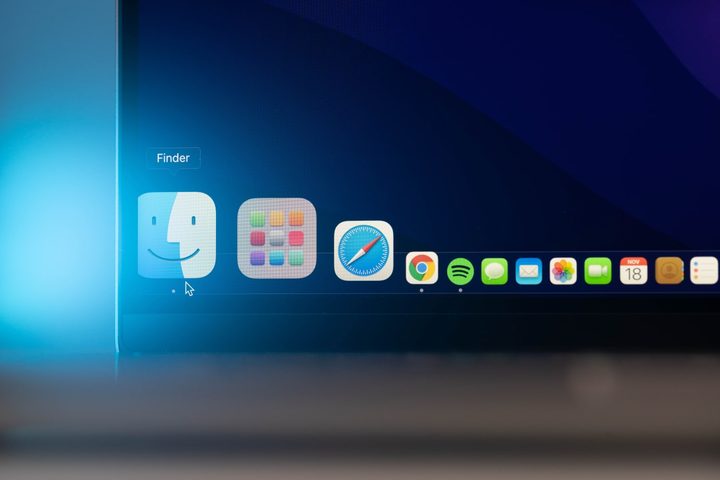
The Dock is such an essential part of macOS that you might not think there’s much to it. But there are actually a bunch of ways you can tweak it to your tastes.
One of the first things I do when I get a new Mac is disable the “genie effect” when you minimize apps. This swipes them down to the Dock like they’re being sucked into a magic lamp, but in my opinion it looks weird and takes too long. To turn it off, open the Settings app and go to Display & Dock, then change Minimize windows using to Scale Effect instead of Genie Effect.
In this section of the Settings app, you can also automatically show and hide the Dock, display recent apps at the bottom of your screen, move the Dock to the sides or top of your display, and much more. Play around with the settings and see what you like, and find more ways to customize your Mac’s Dock.
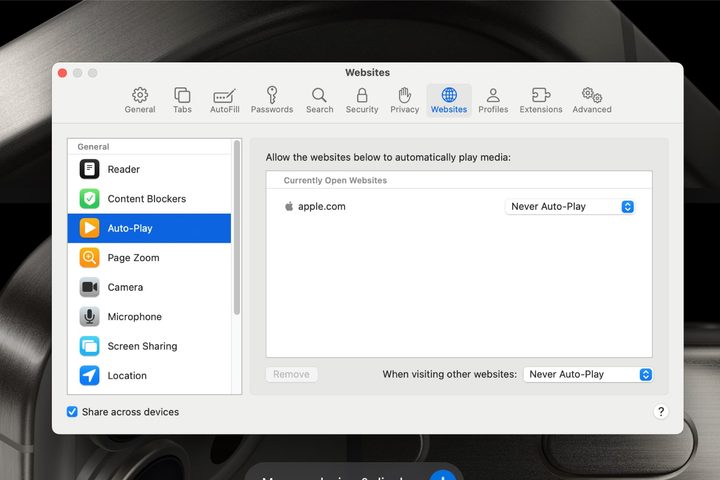
Stop videos from autoplaying
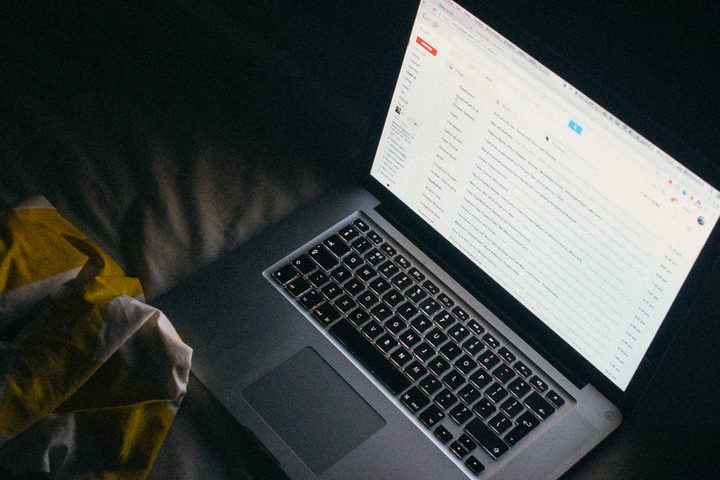
There are few things more annoying than having your web browsing interrupted by an autoplaying video that inserts itself over the text you’re trying to read. No, random news website, I’m not interested in whatever it is you’re so desperate for me to watch, now buzz off.
Instead of wearily clicking the close button every time this happens, I use a better solution — but it requires you to use Safari for it to work. To get started, open Safari, select Safari in the menu bar, then pick Settings > Websites. Choose Auto-Play in the sidebar, then pick Never Auto-Play in the dropdown menu for each listed website. Finally, choose Never Auto-Play in the dropdown next to When visiting other websites.
Many of the best web browsers also have this feature built in, and how you enable it will vary by each app. But whichever one you use, blocking autoplaying videos is one of the best quality-of-life improvements you can make on your Mac.
Unlock extra trackpad gestures
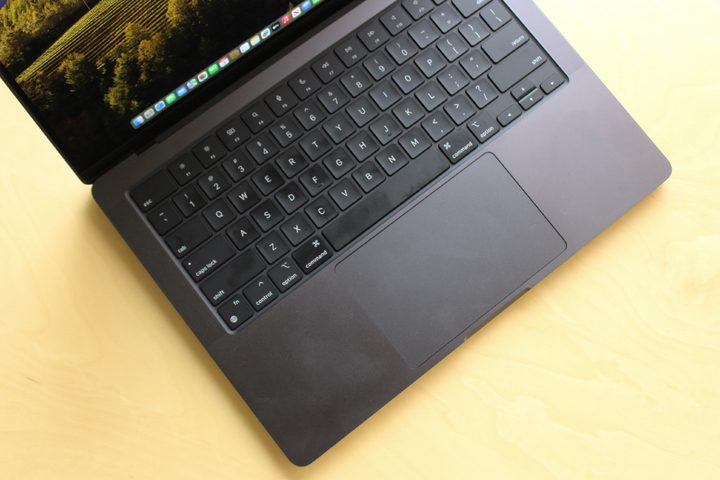
Apple’s operating system is full of great trackpad gestures that help you do more with a few quick swipes. But you don’t have to stick with what Apple gives you — in fact, most gestures can be adjusted to suit you better. What’s more, some of the best gestures aren’t even unlocked by default, meaning there are some secret swipes waiting to be revealed.
Open your Mac’s Settings app and head to Trackpad in the sidebar. You’ll see three tabs at the top; try going through each one and tweaking the options to your liking. One I always change is App Exposé, which hides all open windows except those for your current app. To enable it, go to the More Gestures tab. Next to App Exposé, change the dropdown menu from Off to either Swipe Down with Three Fingers or Swipe Down with Four Fingers.
And if you’re looking to get even more control over your trackpad gestures, I found a superb app called Swish that takes gestures to a whole new level. It’s the kind of app that feels like it should be part of macOS — it’s that good.
Download more apps
As part of the built-in security features in macOS, Apple blocks you from downloading apps from anywhere but the App Store by default. Yet, there are tons of great apps distributed by third-party developers that never make it onto the App Store, and I’d have missed out on all of them if I hadn’t changed this one setting.
To give yourself more app freedom, open the Settings app and find Privacy & Security in the sidebar. Scroll down to Security then, under Allow applications downloaded from, change the setting from App Store to App Store and identified developers.
Sure, you need to be careful when downloading third-party apps, so make sure you only get them from reputable sources. But some of the best Mac apps, including MacUpdater, Discord, Google Drive and more, are not on the App Store. I, for one, know my Mac would be a much sadder place without them.
Set up Hot Corners
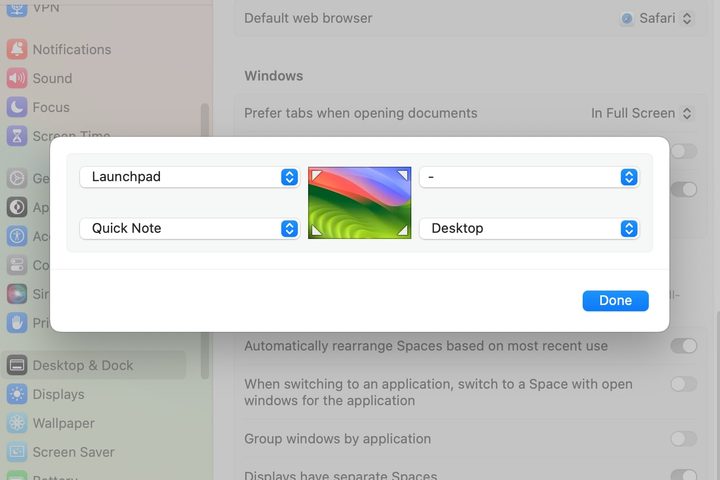
Your Mac is overflowing with handy keyboard shortcuts and trackpad gestures, but there’s another way to quickly activate apps, settings and other tools that not many people know about. The feature is called Hot Corners, and it lets you do all sorts of things by merely moving your mouse pointer to the corner of your screen.
For example, you can launch Mission Control, lock your Mac, show your desktop, start a screen saver, and so much more. There are tons of useful options that will save you time and clicks in day-to-day use.
To enable Hot Corners, open the Settings app and select Desktop & Dock in the sidebar. Scroll right to the bottom and select Hot Corners in the bottom-right corner. Now, you’ll see four dropdown menus surrounding a miniature desktop image. Choose each menu and pick something from the options, or select the dash (-) to clear your selection. When you’re ready, select Done.
Prolong your battery life

Ever since Apple switched its Mac chips to its own Apple silicon, battery life has gone through the roof — it’s not uncommon to get over 20 hours on a single charge with your MacBook. Still, there are ways to get even more juice out of your computer and protect its battery from premature degradation.
To get started, find Battery in the Settings app’s sidebar. Next to Battery Health, select the i button and turn on Optimized Battery Charging, which will prevent your Mac from charging past 80% until you’re nearly ready to use it. This will keep it healthy in the long run.
Next, choose Options in the bottom-right corner and enable Slightly dim the display on battery, then select Done. If you want to eke every drop of juice out of your battery, you can change Low Power Mode to either Always, Only on Battery or Only on Power Adapter. I don’t usually opt to turn this on, but you might decide it’s right for you if you know you’re going to be away from a power outlet for a long time.
Protect your eyes at night
Staring at a bright white screen late at night is a surefire way to both disrupt your sleep and sear your retinas in one fell swoop. Fortunately, macOS has a built-in way to combat this, and it’s called Night Shift.
This uses your clock and location to work out what time sunset is where you are, then automatically shifts your display’s colors into the warmer end of the spectrum and away from the blue tones that can make it hard to get to sleep. In the morning, it puts things back to normal.
If you want to switch on Night Shift, you’ll need to open the Settings app, then go to Displays and choose Night Shift in the bottom-right corner. From here, select the dropdown menu next to Schedule and pick either Custom or Sunset to Sunrise. You can adjust the color temperature if you like, and turn on Night Shift right now if you don’t want to wait until sunset.
To go one step further, there’s an excellent app called Noir that automatically creates a dark mode for every website you visit in Safari, even if they don’t have one set up. I use it all the time for late-night reading.
Change your default apps
When you first get a Mac, it will open files using the apps already installed in macOS. But as you expand your horizons and start using some of the best Mac apps around, you might want to use them instead — for example, by opening web links using Firefox or Chrome instead of Safari. That’s easy to do, but there are a couple of different ways to change your default apps on your Mac.
The first is to right-click an app that you want to change the default app for, then select Get Info. From here, select the > arrow next to Open with and pick an app from the dropdown list. Underneath this, select Change All, then Continue.
The other method affects the default web browser and email clients set in macOS. To change the web browser, open the Settings app and navigate to Desktop & Dock in the sidebar. Under the Widgets header (don’t ask me why), pick an option in the dropdown menu next to Default web browser.
As for your email client, first open the Mail app. Now, select Mail > Settings in the menu bar, then choose the General tab at the top. Next to Default email reader, choose a new option from the dropdown menu. If your favorite app is installed, but doesn’t appear in the list, choose Select and find it in the list of apps that appears, then pick Select again.
Automatically adjust screen brightness
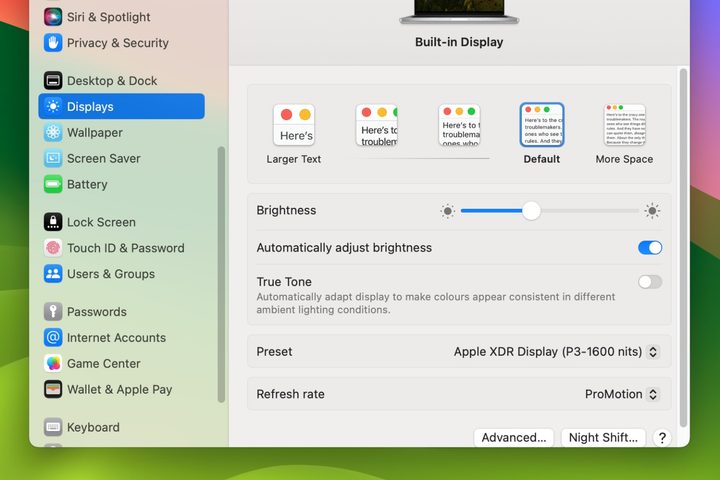
Your Mac’s keyboard comes with a couple of buttons to quickly raise or lower your screen brightness (if you have an older MacBook, you might even be able to do it from the Touch Bar). But there’s no need to manually prod your keys — I like to let macOS handle this for me automatically.
Doing so is easy: just open the Settings app and go to Displays in the sidebar, then switch on the toggle next to Automatically adjust brightness. Now, your Mac will use its ambient light sensor to tweak your display’s brightness based on how light or dark your surroundings are. And don’t worry, you can still manually change your screen brightness if you want to, and it’s a good idea to know how to change your Mac’s screen resolution.


