Since the launch of Animal Crossing: New Horizons, you've enjoyed hours of in-game events from Halloween to New Year's Eve. You've also dedicated plenty of time to crafting, decorating, and terraforming. Those brand new to the game will quickly learn that there are certain inaccessible parts of their island. They'll need to build a ladder if they plan to explore fully. This guide will explain how to craft a ladder in the early stages of Animal Crossing: New Horizons.
Further reading
- How to get iron in Animal Crossing: New Horizons
- Animal Crossing: New Horizons' next free update adds Festival event to the game
- How to crossbreed flowers in Animal Crossing: New Horizons
Invite villagers to your island
Unlocking the ladder will take at least three days, but it all begins by inviting a new villager to your island.
Step 1: Using a Nook Miles Ticket, head over to Dodo Airlines and book a flight to a new island.

Step 2: Once at your destination, you’ll find another villager wandering the shores. Talk to them!
Step 3: After talking with them a few times, you’ll have the option to invite them back to your town. Even if you don’t want that particular villager as a permanent resident, we’d recommend inviting them to live with you anyway — you’ll need them to start the process of unlocking the ladder. Plus, you can always evict them later.
Build a bridge for your island
Now that you’ve invited a few villagers back to your town, Tom Nook will eventually contact you with a proposition — he’d like you to build a new bridge for the town. Here's what will happen:
Step 1: Gather up the required materials — log stakes, clay, and stone — to build your wooden bridge.
Log stakes can be crafted at your workbench from three pieces of wood. You can gather wood from trees by using a Stone Axe. Clay and stone can both be collected by hitting rocks with a shovel, up to seven times at once.
Step 2: Craft your wooden bridge kit — you'll need another workbench.
Step 3: Lastly, you'll need to find the perfect spot to place your bridge. Bridges can run across any river or pond, and they can sit north to south, east to west, or even diagonally.
Step 4: Open your wooden bridge kit to use it at your desired spot.
Stake out plots for your new residents
Once you’ve finished building your bridge, talk with Tom Nook and wait for him to assign you another task. This one is a bit more time-consuming — you’ll have to prepare three plots for new homes and craft many different furniture pieces for the future homeowners. Here's how it goes step by step.
Step 1: When you talk to Tom Nook about this task, he will give you three housing plots to place around your island in preparation for new villagers.
Step 2: Walk around your island and place all three plots. The exact location isn’t essential, but make sure you like where you put them. Otherwise, you’ll have to spend thousands of Bells to move them later in the game.
Step 3: When the task is complete, you’ll get a call from Tom Nook. You’ll be informed that some of the items he wants you to craft rely on resources only available up in the cliffs — sort of a problem for anyone without a ladder. Tom Nook will realize the issue and pass along its recipe.
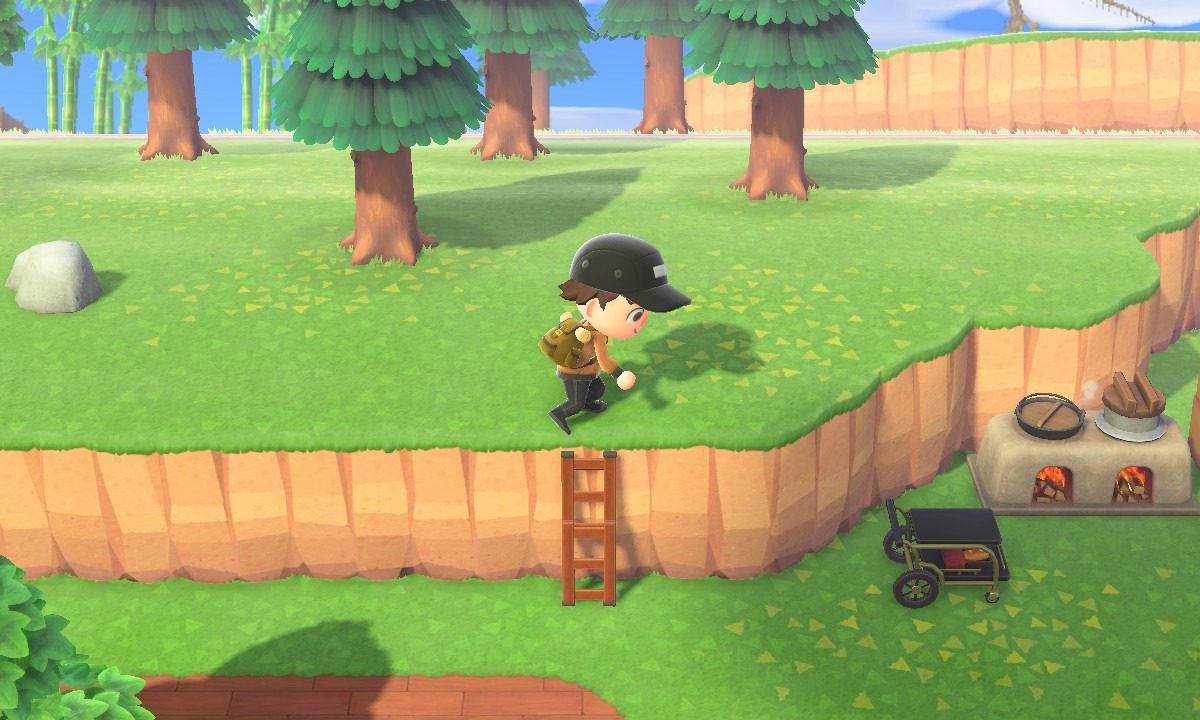
Step 4: Once you have the recipe, simply open it to learn it. You can now craft a ladder at any work bench!
Step 5: For the final step, head on over to Resident Services, where you’ll be able to craft your very own ladder from four pieces of wood, hardwood, and softwood.

All told, this process will take around four days to complete. If you’re willing to time travel by modifying your Switch date, you can probably knock the whole process out in an afternoon. Unlike other tools in New Horizons, the ladder is unbreakable. This means you don’t have to worry about getting stranded in the wilderness after you’ve clambered up a cliff.