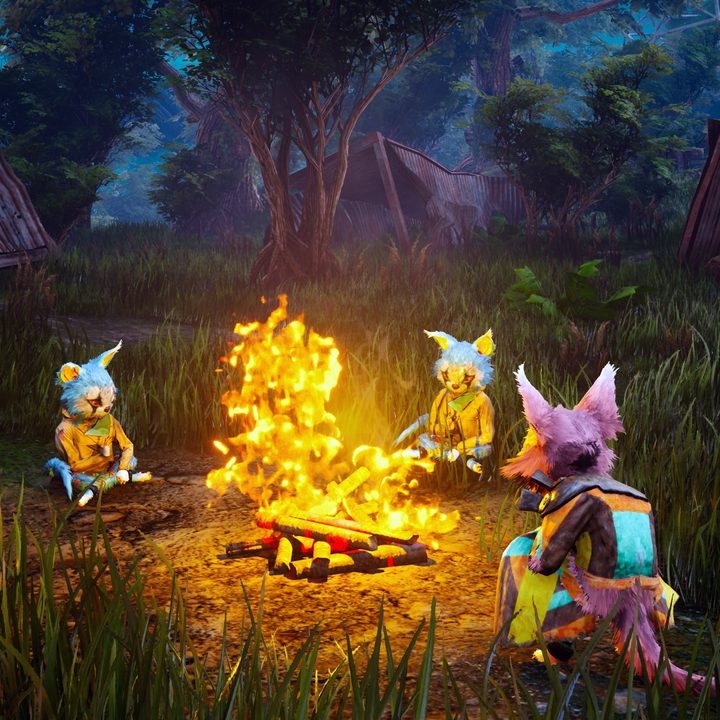
In the world of Biomutant, where humans have all gone extinct and animals rule the land, danger lurks behind every rock and bush. Just like the character you create, the creatures still surviving are not your normal, run-of-the-mill predators but mutated creatures with just as much brains behind their brawn as you. As an RPG, the game ensures that the way you choose to build your character will have a lasting impact on the rest of your experiences. You are asked to pick your starting class before even getting into the game itself, so you really don’t want to choose a dud.
After the character creation process and picking your breed and genetics, picking one of the five (or six) classes is your final step before beginning your adventure proper. Each class comes with its own stats and caters to a different playstyle, as well as offers perks you won’t find out about until later. Technically, they are all viable depending on how you prefer to play. One would be best suited for players who want to make a melee-focused character, while another is better for using psionic powers. The minor descriptions the game gives you may leave you hesitant on which to pick, so we’ve outlined the best classes in Biomutant.
Further Reading
How stats work
Classes and breeds both impact your characters stats. The stats in Biomutant will probably look familiar to anyone experienced with modern RPGs, but with a few unique aspects worth going over. You’ll want to synergize which stats you are buffing when picking both your class and breed to get an edge early on.
Vitality is the most basic. This stat dictates your total health, as well as armor, amounts.
Strength will obviously be related to how much damage your melee attacks deal.
Intellect has three purposes. It will affect your Power, Ki Energy, and energy regeneration rates.
Charisma is all about getting better deals from vendors.
Agility is another basic one that decides your movement speed.
Luck helps you get critical hits and can also improve your loot chances.
Dead-Eye
The top of the list is the Dead-Eye class. This class focuses on dealing crits with ranged weapons. You will start off with a pistol, a two-handed sword, and the special ability called Perfect Reload, which instantly reloads your gun and adds a 20% damage buff for that magazine. The stats are mostly balanced, though obviously with a bit more favor toward ranged weapons, but your melee options won’t be useless with this class. This is a very easy, if not very interesting, class to start off with.
The Dead-Eye perks you can look forward to unlocking are:
Crackshot: +20% damage with nonautomatic rifles.
Quickload: -25% reload time for ranged weapons.
Sniper: +10% crit chance with nonautomatic weapons.
Gunslinger: +20% fire rate with dual-wielded ranged weapons.
Sharpshooter: Two-handed guns deal double damage.
Commando
The Commando class will kick off with a fully automatic rifle and a one-handed melee option. This is a slightly more melee-focused class, but a little more balanced with ranged than the Dead-Eye, thanks to the special ability Fury. This ability makes ranged weapons deal 10% more damage to a target. It’s not much, and the class’s overall crit chance is one of the lowest in the game, but once you get into the perks, you’ll see this class is all about going berserk and getting in close range. If you like high-risk, high-reward classes, this is the one to pick.
Here’s the Commando’s perks:
Stimulus: +20% melee damage and armor while below 20% health.
Adrenaline: +10% melee attack speed while below 20% health.
Shock: Shotgun hits have a 5% chance to stun a small enemy per hit inflicted.
Brutality: +10% critical damage with ranged attacks.
Psi-Freak
The Psi-Freak is where things get a little more interesting than just guns and swords. You’ll still start off with a pistol and also a pair of Spark Gloves. Technically, these are labelled as two-handed weapons, but they function more like single-handed ones in practice. This class is all about — you guessed it — using psionic powers in combat. It also starts out with two abilities, unlike the first two classes. First is the Spark Ball, which has you throw a ball of lightning at whatever you’re targeting. Megamind is less exciting, but having an extra 20% Ki Energy regeneration speed is still handy.
If you guessed the Psi-Freak’s perks would buff its Ki and psionic attacks, you’d be right.
Nocturnal: +10% Intellect at night.
Mind Melt: +10% critical hit chance with Power Damage ability attacks.
Psi Spikes: +10% damage with Power Damage attacks.
Brain Drain: Attacks that inflict Power Damage regenerate your health by 20%.
Saboteur
Of all the classes, this one is widely considered the best, but again is still subject to personal taste. What makes it so good is how high its base critical hit chance is in conjunction with the perks it gets, which we’ll cover below. You start off with two single-handed melee weapons and just a basic pistol. While that may seem like a major negative, and for some could be a deal breaker, the Twin Silver Grip ability you start with lets you dual wield melee weapons. Using two quick attacking weapons, plus the high crit chance, makes this class melt most enemies. The other ability you start with is Hypergenetic, which makes your dodges cost 20% less energy.
In terms of perks, this class is all about avoiding damage and keeping mobile.
Reflexes: 10% chance to dodge enemy weapon based range attacks.
Agile: +20% dodge distance.
Moving Target: +5% move speed while in combat.
Evasive: +20% armor while dodging or in the air.
Sentinel
The final base class in the game, the Sentinel, is a heavy melee-focused class. You start off with a two-handed melee weapon and the basic pistol, but you can think of this class as the tank of the game. Your ability, Toughness, is a flat increase of 10 to your base armor stat, and the perks you’ll unlock all focus on keeping you in alive in heavy combat.
Here’s the full list of perks:
Medic: +10% health regen.
Ricochet: 10% chance for enemy weapon-based ranged attacks to ricochet back and damage the attacker.
Invincibility: +20% melee damage and armor while at full health.
Knock: Dodging into a smaller enemy makes them stumble and fall.
Mercenary (pre-order exclusive)
The Mercenary, at least for now, is only available to people who pre-ordered Biomutant. This is a Japanese-inspired class not too different from the Saboteur. You start off with the same dual wielding ability as well as two single-handed Wakizashi swords and a Katana, which no other class can get. Thankfully, that’s all that is unique to this gated-off class since the perks are all ones you’ll recognize from other classes:
Fury: Melee weapon attacks inflict 10% more damage to the target.
Megamind: Ki Energy regen is increased by 20%.
Reflexes: Weapon-based ranged attacks from enemies have a 10% chance to miss you completely.
Invincibility: Your armor and damage from melee attacks is increased by 20% while at full health.
Brutality: Critical damage from melee attacks is increased by 10%.