Well over a decade after releasing exclusively for the PlayStation Portable, Crisis Core: Final Fantasy VII Reunion is finally available on all major modern platforms for the very first time. This updated version of the beloved title comes packing quite a few quality-of-life improvements and a much-needed graphical overhaul, but it retains the unique complexities that make it stand out among the Final Fantasy VII collection. Whether you’re a returning player or diving into this highly-anticipated remaster for the first time, we’ve got a few tips to make your experience a little friendlier.
Further reading
- Crisis Core: Final Fantasy VII Reunion works best as a portable game
- Crisis Core: Final Fantasy VII Reunion feels like Remake’s B-sides collection
- Final Fantasy VII Rebirth and Crisis Core expand the remake universe
Keep an eye out for NPCs with orange interaction markers
There are a variety of NPCs you can interact with throughout Crisis Core, but not every conversation is particularly useful to your progress. If you enjoy taking in all of the lore about the world, feel free to stop and chat with every NPC along the way. However, if you’re mostly looking to unlock some new missions or optional content, keep an eye out for orange interaction markers that will indicate that an NPC has something of value for you.
Use save points to heal often
This seems obvious, but it can be easy to forget while exploring the world – touching a save point will heal all of your HP, MP, and AP. Make it a habit to constantly run up and touch these even if you don’t intend to save. That being said, you should probably be saving often, too, because nothing sucks worse than losing hard-earned progress.
Use side missions as an indirect difficulty slider
Crisis Core isn’t an overwhelmingly frustrating game regardless of if you choose Normal or Hard difficulty at the start, but it definitely poses quite a challenge throughout its 30+ hour runtime. Luckily, if you find that things are getting a bit too rough for you (or you just want an easier experience), you can always take on the myriad of optional missions to level up and earn some powerful gear. These short and sweet adventures can be started as early as Chapter 2, and by grinding out all of the available missions in the early hours of the game, you can become as grossly overpowered as you’d like. Of course, you can also skip many of them to make the game harder, if you prefer.
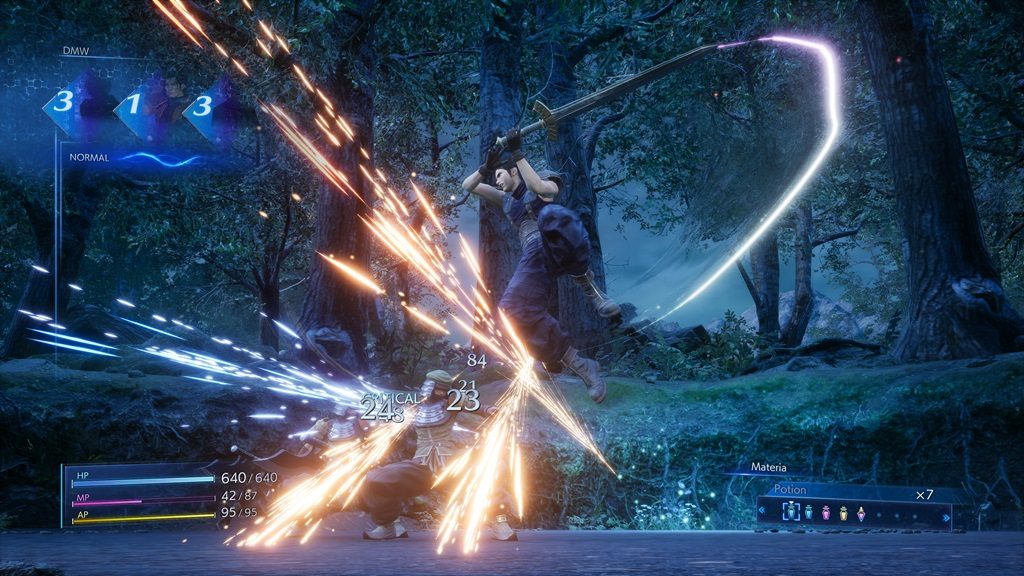
Don’t let DMW buffs go to waste
Look, it’s entirely fine if you don’t fully understand the DMW system, but that doesn’t mean you can’t benefit from the obvious buffs that it grants you. Make sure you don’t let these moments pass you by, as having invulnerability for a short while means you can pummel away at foes without repercussions while getting an unlimited MP buff lets you spam powerful spells or heal yourself without any cost. There are plenty of other useful buffs you can net from the DMW, so just stay aware at all times so you don’t miss out on valuable opportunities to shorten fights.
Stick to the back of enemies to do the most damage
You’ll be unleashing a barrage of magic and melee attacks against your foes, but you’ll make the most of it all by hitting them on their backs. Doing so will grant you critical hits, which can drastically reduce how long it takes to drop the enemy. Granted, you won’t always be able to stick to your opponents’ backs in battle, but rolling behind them when possible to wail away is still preferable to a frontal assault every time.
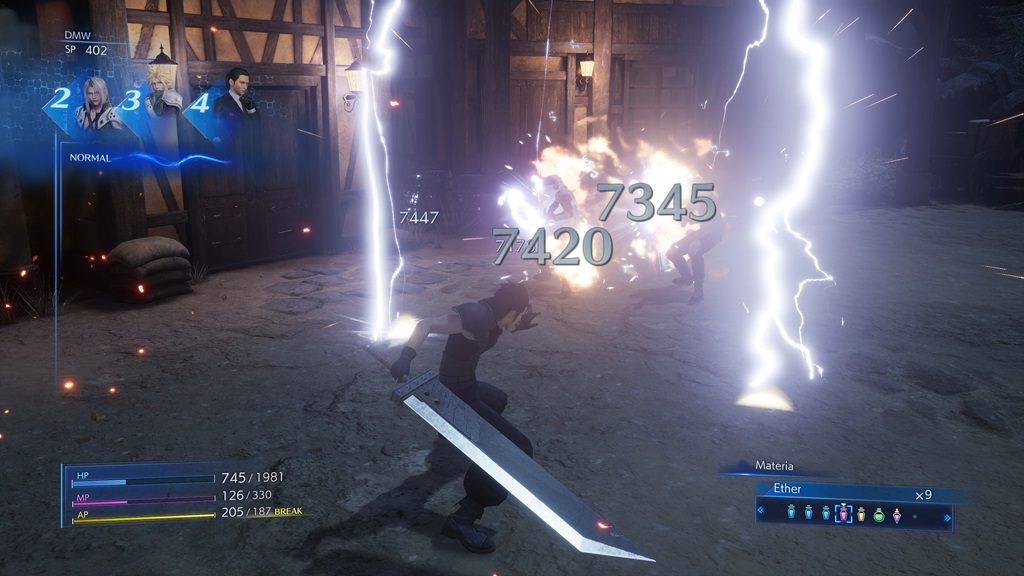
Make use of magic consistently
Melee attacks in Crisis Core can be very powerful – especially AP-based assaults – but magic truly shines here. You’ll find that magic hits pretty damn hard while also letting you keep distance between yourself and your attackers, which gives you ample space to heal or buff with other spells and consider your next moves. Make sure you’re leveling up the Materia that you find works best for your playstyle and keep slinging those spells like a madman.
Stick to the edges of levels to avoid unwanted battles
As you make your way through levels, enemies will attack when you reach specific points on the map. You can avoid a lot of these fights by hugging the outside wall of the level, letting you focus your attention on exploration. That being said, skipping too many fights could lead to you being under-leveled for upcoming boss encounters, so we’d recommend not making use of this option all the time.