
Iron Fist Alexander, also referred to as Alexander the Warrior Jar, is a major fan favorite in Elden Ring. This lovable… creature? … is striking many of the same vibes with people as Solaire, or maybe more like Siegmeyer of Catarina, did in the original Dark Souls, despite him being just a giant pot with arms and legs. He was featured prominently in the early marketing for the game, and was able to be found and interacted with as far back as the first network test for the game. Between his charming, booming voice, refreshingly upbeat and gung-ho attitude, and the manor in which you first find him, there’s hardly anyone who won’t want to help this jar warrior along his way, even if he’s one of the few friendly Jar monsters you will find in The Lands Between.
Alexander’s quest is refreshingly easy to follow for the majority of its path, as he will take a similar journey through the game as you do, though there are plenty of encounters that you can easily miss, especially since this rotund warrior is quite the traveler. He’s also quite prone to finding himself stuck in certain situations — sometimes literally — and requires your help to move forward. Don’t leave this friendly warrior to crumble in some pit alone. Here’s a full walkthrough on how to complete Alexander’s quest in Elden Ring.
See more
- How to get every ending in Elden Ring
- Fastest way to farm runes in Elden Ring
- How to duplicate Remembrances in Elden Ring
How to complete Iron Fist Alexander’s quest
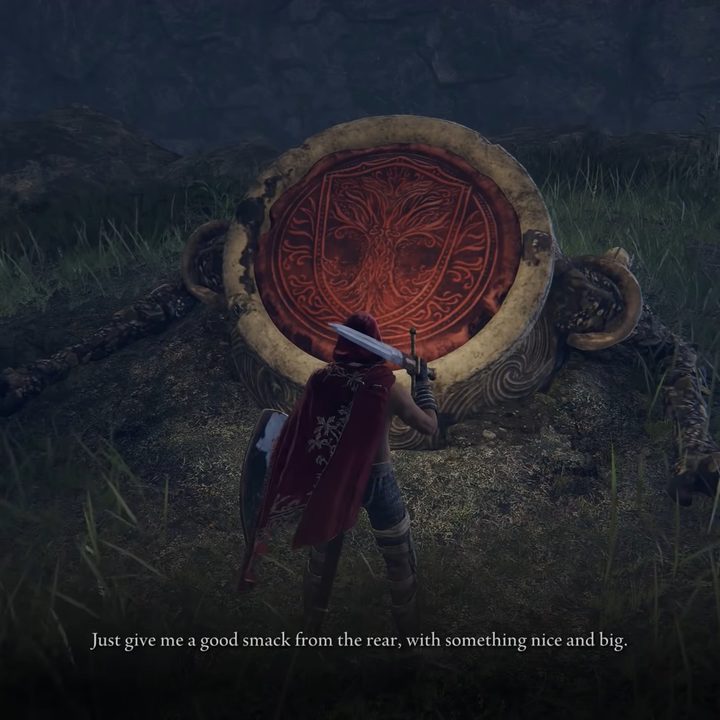
The first step in aiding your friendly jar friend is finding him. He’s one of the very missable NPCs in Elden Ring, left out in the open world for you to find or pass by without ever knowing. You can first find him in Limgrave in the northern Stormhill area, to the west of the river and north from the Agheel Lake North Site of Grace. When riding through this area, keep your ears open for his cries for help. Track him down, find him stuck in a large hole in the ground, and speak to him. He’ll ask you to knock him loose with a strong hit, assuring you he’ll be fine. Grant his request and give him your best swing from behind to smack him loose from the earth. Talk to him again until he has nothing left to say to kick off his adventure to reach the Radahn Festival.
Your next chance to find Alexander is inside the Gael Tunnel, another completely optional location you can visit. This area is right on the border between Caelid and Limgrave, and can be entered from either zone. He’s near the end of the tunnel, hanging out in a safe area and is basically impossible to miss so long as you complete the area. Talk to him here, learning about his detour, and that he’s ready to finally move on to Redmane Castle.
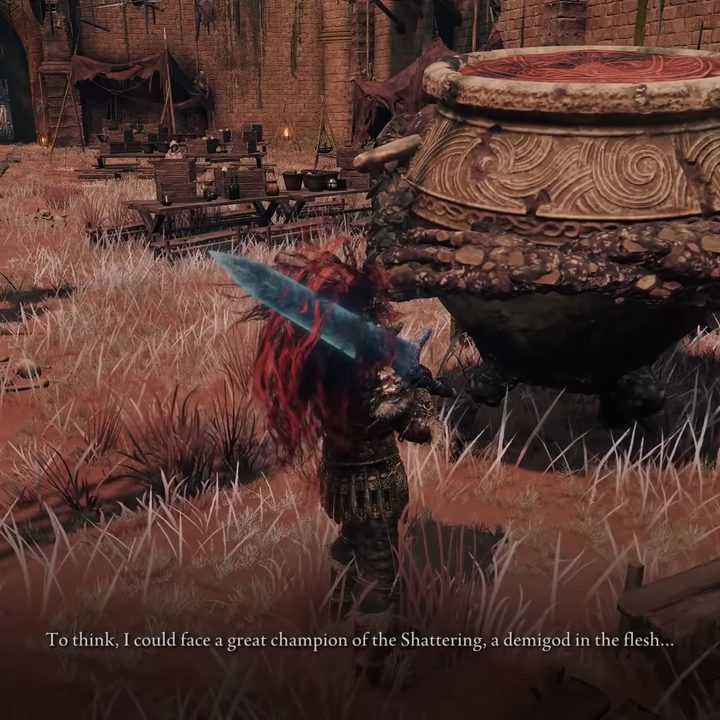
He will manage to make it to the castle this time, so head there next. Before you fight Starscourge Radahn, you can find Alexander in the courtyard with the other warriors. Chat with him here before heading up to challenge this boss. Note: Some players claim that this was the first location they ever encountered Alexander, but we cannot confirm if he will show up here without interacting with him beforehand.
During the boss battle against Radahn, you will have a bunch of summon signs you can use to call those warriors from the courtyard in to help you, including Alexander. You technically don’t have to summon him, but this fight is hard enough already so you might as well just to try to even the odds a little bit. Once defeated, Alexander will appear again nearby the Site of Grace. As always, speak to him here until he has nothing new to say.
Before going straight to the next location, our jar pal needs us, make sure to either have or acquire oil pots. You can craft these yourself so long as you have the Nomadic Warrior’s Cookbook [17], which you can purchase from the merchant down in the Siofra River. The ingredients are one Cracked Pot and one Melted Mushroom. With those items ready, go to the Liurnia region and head south from the Artist’s Shack Site of Grace past the Carian Study Hall right above the secret little village called Jarburg. You will need to carefully platform down the cliff using the protruding headstones to reach the bottom. You will want to get down there sooner or later and visit the other friendly jar creatures, specifically Jar-Bairn.
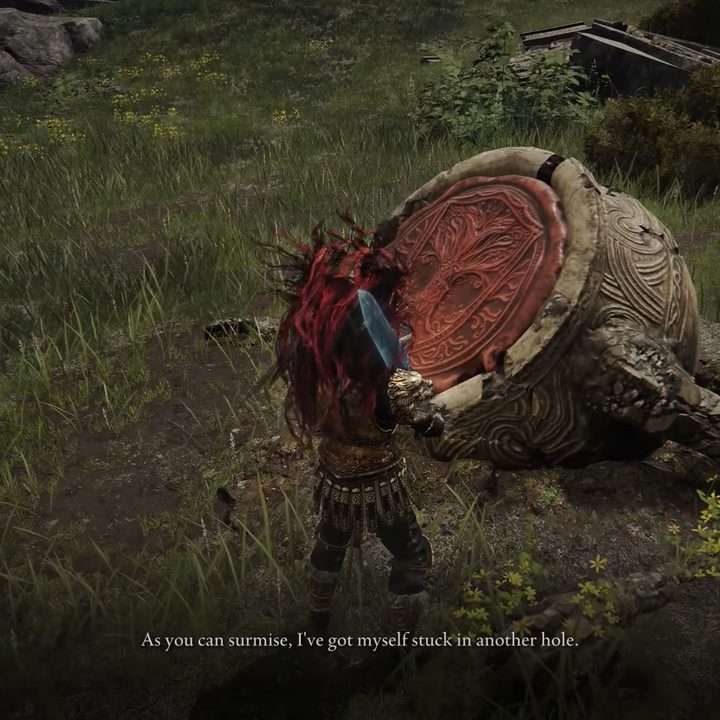
Locate Alexander by following his calls for help once again. Somehow he’s stuck himself in the ground for a second time (that we know of) and needs some more help getting free. A solid smack won’t cut it this time, and he needs to be oiled up so he can slide out. This is where those oil jars come in handy. Oil him up and then give him your strongest whack to release him from his earthy prison. Talk with him again to get his thanks and hear his plan to get stronger by moving toward “the fiery mount in the north.”
This mountain he speaks of is Mt. Gelmir in the Altus Plateau. You will need to cross the entire lava zone here to the Seethwater Terminus Site of Grace and then continue west toward Fort Laeidd. There’s a lava field here guarded by a Magma Wyrm boss you will need to take out before continuing, but if you finished Gael Tunnel you should be familiar with how these fights go. Once slain, cross the lava to a dirt island in the middle where you can find Alexander attempting to harden himself by standing in the lava. There’s a handy rock you can stand on while talking to him to avoid taking lava damage at the same time.
After a brief conversation, Alexander will give you the Jar helmet. He will now also be available to summon to help you with the Fire Giant boss fight, but isn’t required for this quest if you like taking bosses on solo.
Our last location we need to go to unite with Alexander is at the last zone of the game, the Crumbling Farum Azula, but make sure you come with at least one Stonesword Key handy. This is the final dungeon of the game, and once you progress through to the Dragon Temple Altar Site of Grace, head down a drop and through the doorway to the north. Go down a staircase here, jump through an open window, and use one Stonesword Key with the statue to open the fog wall. This will lead to an elevator taking you to Alexander.
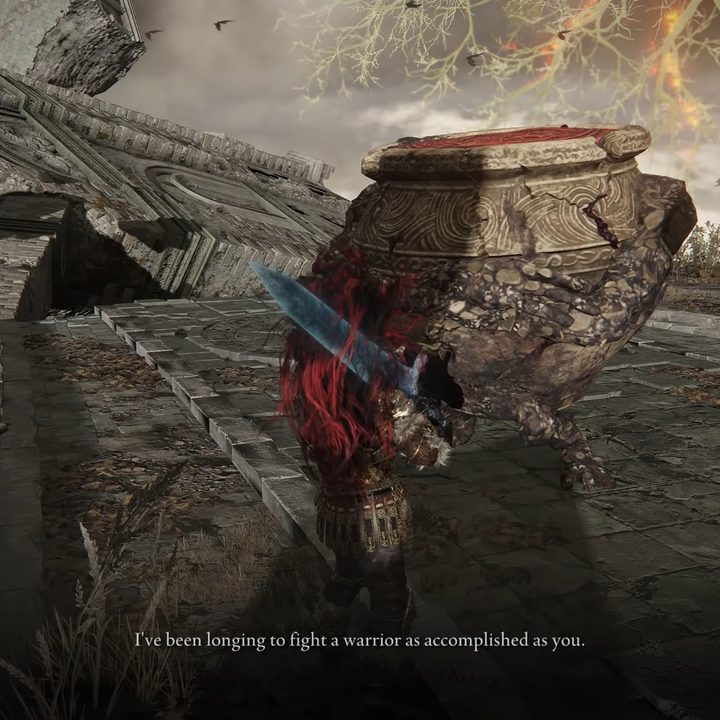
This story has a bittersweet ending, as the Iron Fist Alexander’s last request is to duel an accomplished warrior such as yourself. Don’t let his final wish go unfulfilled, and give him the fight he’s been yearning for. Once you grant Alexander a warrior’s death in combat, you will get the Shard of Alexander and Alexander’s Innards. To wrap up this story once and for all, take both of these items back to Jarburg, which you hopefully went to before to make it easier to fast-travel back, and talk to Jar-Bairn. Once you pass on the remains of the warrior jar, he will give you the Companion Jar talisman. This is kind of a poor reward for such a great quest, only making all throwing jars deal 20% more damage. But in the end, it was the journey that really mattered.


