
There are so many ways to augment your character in Elden Ring outside of simply leveling up. When it comes down to it, what you have equipped can make a bigger difference to your stats than, well, even your stats themselves. Between your weapon, shield, armor, and consumable items, you can turn a decent build into an overpowered beast that can crush a boss as easily as a simple mob. In past Souls games, one of the most important parts of any character’s build was collecting and equipping the best rings to buff up the right stats or give a much-needed advantage in one aspect or another. While rings are gone for Elden Ring, they have been replaced with the nearly identical Talismans.
Talismans are functionally identical to rings. You start out with just two slots to fill, but can eventually max out at four. There are far more than four Talismans in the game, of course, so you will need to pick and choose which are the most important for your character to wear at any time, or for any situation. Some are good essentially all the time, while others are more situational, and others still will never have a purpose for your run. With dozens to find across the Lands Between, it can be hard to nail down which are the best ones. We scoured the map and ran the numbers to pin down the best Talismans in Elden Ring you need to pick up.
See more
- The best Dex weapons in Elden Ring
- The best Spirit Ashes in Elden Ring
- How to get every ending in Elden Ring
Radagon’s Soreseal

The best Talisman, almost universally, is Radagon’s Soreseal. If you just look at the description, you might think it isn’t worth it because of how vague the wording is. The description just says it “Greatly raises attributes, but also increases damage taken” which probably sounds like a bad deal. In reality, the word “greatly” is incredibly understated. What this Talisman really does is increase your Vigor, Endurance, Strength, and Dexterity by a massive five levels when equipped. That’s right, just wearing this one Talisman is equivalent to leveling up 20 times! What about that increase in damage taken? Well, you will take about 15% more damage from all sources, but the amount of HP you’re getting from it alone basically negates that downside. The only player this wouldn’t be a good deal for is spell and miracle-focused builds, but if you’re swinging just about anything, Radagon’s Soreseal will make you hit harder, have more stamina, and increased HP. Just be careful with it as you approach soft and hard level caps, though.
Radagon’s Soreseal can be picked up in Fort Faroth in Caelid. You need to get all the way to the bottom, take a ladder up, cross the roof, and drop down a hole to find it.
Green Turtle Talisman
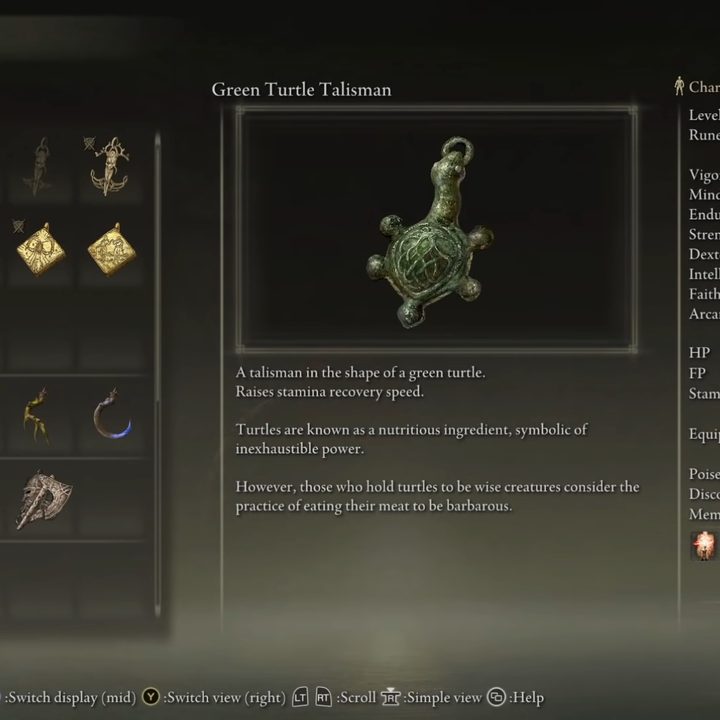
This next pick is again more for builds that use some kind of melee option, though might still be worth it for other builds too. The Green Turtle Talisman is one of those Talismans that, once you use it, will be hard to give up. What it does is increase the speed at which your stamina recovers. Think of the Grass Crest shield from Dark Souls, only as a Talisman instead of a shield. It boosts the recovery speed by eight points, which probably doesn’t mean anything to you as a number, but once you actually see it, you’ll realize how drastic that increased speed is when you need to squeeze out an extra roll or need just one more swing to finish off a boss. You can even stack this effect with the other turtle-themed item, the Green Turtle Shell, to further drop your stamina recovery time.
This Talisman is found in a chest underneath Summonwater Village, but requires the use of a Stonesword Key to unlock a fog gate to access.
Erdtree’s Favor
While not quite on the level of Radagon’s Soreseal, the Erdtree’s Favor, especially the +2 version, can work as a decent alternative or complement. This Talisman is a straight-up increase to your Vigor, Stamina, and Equip Load. If you get the +2 version, you’re getting about 4% more HP, just under 10% Stamina, and 8% Equip Load. Because they’re percentage-based, this Talisman scales with your character, unlike most others that give a flat numerical buff. While still best for melee-minded characters, HP, Stamina, and even Equip Load are stats that every build could use more of, so there’s room for this Talisman no matter what character you’re running.
The basic version of Erdtree’s Favor is found in the Fingefolk Hero’s Cave, locked away behind a fog gate you need to use a Stonesword Key to breakthrough. The +1 version comes much later when you make it all the way down into the Subterranean Shunning-Grounds, but is protected by the boss Mohg, The Omen, who is quite tough on his own. The +2 version is even harder to get. Once you make it all the way to Lyndell, Ashen Capital, a late-game area, go to the Forbidden Lands Site of Grace. Here you need to either manage to beat three Ulcerated Tree Spirits, even one of which is a tough customer, or find a way to sprint past them and loot the Erdtree’s Favor +2 before getting demolished.
Marika’s Soreseal
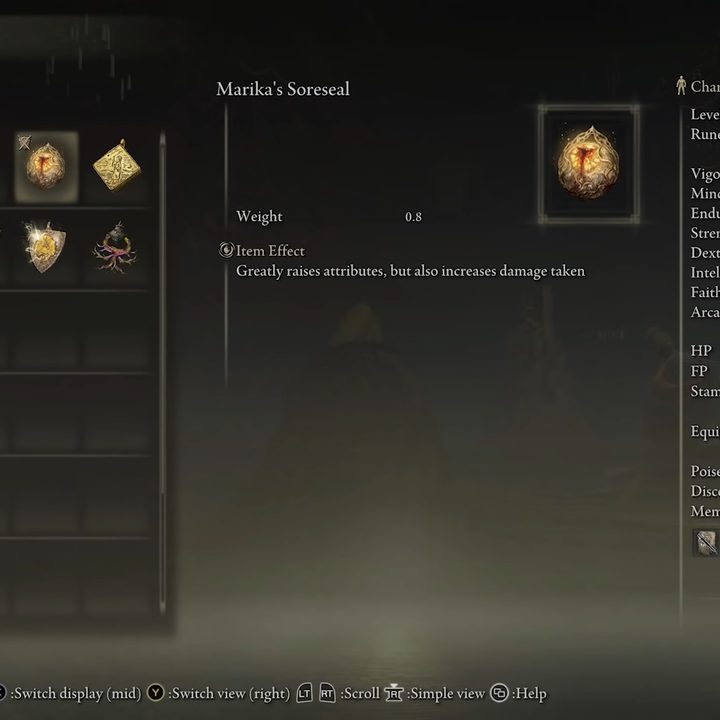
Don’t worry magic users, we didn’t forget about you. Marika’s Soreseal is the sorcery and faith equivalent to what Radagon’s Soreseal is for Strength and Dexterity. This time the Talisman will give you five points in Mind, Intelligence, Arcane, and Faith, again the equivalent of 20 levels, but at the cost of taking more damage. Again, that amount of extra damage is 15%, however, we do have to rank it lower, regardless of if you’re a magic and miracle build because it doesn’t offset that damage with any increase to HP. Ideally, you wouldn’t be getting hit with this build anyway, but Intelligence and Faith builds are already somewhat glass cannons by default, so unless you’re confident in your ability to dodge and avoid getting touched, the risk with this Talisman is slightly higher than the other.
This is another late-game Talisman, unfortunately. You need to reach the secret optional zone called the Haligtree at the end of the Consecrated Snowfields. Once there, navigate the treacherous zone until you get to the Prayer Room Site of Grace. Right off this room is a fog gate that’s locked by two Stonesword Keys, making it quite the investment to pick up.
Graven-Mass Talisman
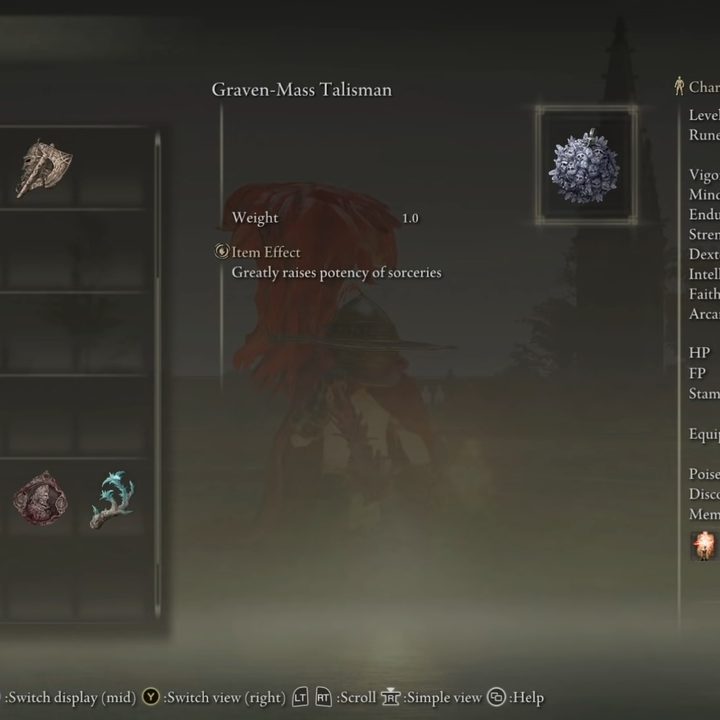
Stick with Talismans built for Intelligence builds, we have the Graven-Mass Talisman. This is a no-brainer for anyone who casts Sorceries as their primary method of attack since its effect is to simply “greatly” increase the potency of Sorceries. Gain, Elden Ring likes to keep the exact stats hidden, but it’s been worked out that this Talisman makes your Sorcery damage go up by a nice 8%. Just like the Erdtree’s Favor, that makes the Graven-Mass Talisman more and more effective as you level up since that percentage increase will just get bigger over time.
This is another tougher to get Talisman. First, you will need to access the Consecrated Snowfields and navigate the snowy terrain to the Albinuraic Rise tower on the east side of the map. This tower, like all the others, won’t open until you solve a little puzzle. In this case, you can do one of two things to solve it: One requires you to use a Bewitching Branch item on either one of the pair of imp statues just outside, bringing it to life and attacking the other. Or, if you have the Fanged Imp Ashes, you can just summon them to achieve the same effect. Once the seal is broken, just enter the tower and claim your reward.
Radagon Icon

Radagon always seems to have the best stuff. While his first appearance was leaning toward melee characters, this one is fully focused on spell casters. It isn’t so much an overpowered Talisman by itself, but a very welcome addition to your other spell-focused build. What the Radagon Icon does is cut the casting time for all your Incantations and spells down by a massive margin. Unfortunately, this is another one you kind of need to feel to experience, since the casting time will be shortened different amounts on a spell per spell basis, but rest assured those bigger, more flashy Incantations and spells with giant lead-ups will feel way better to use. Do note, however, that this Talisman doesn’t affect the speed of Scarlet Aeonia or Dragon-related Incantations.
The Radagon Icon is in the second main dungeon in Elden Ring, the Academy of Raya Lucaria. Once you beat the mini-boss halfway through and open up the Debate Parlor Site of Grace, head into the following crumbling plaza and hug the right side. Hop over a fence and up a ladder to find the item in a chest along this upper walkway.
Gold Scarab Talisman
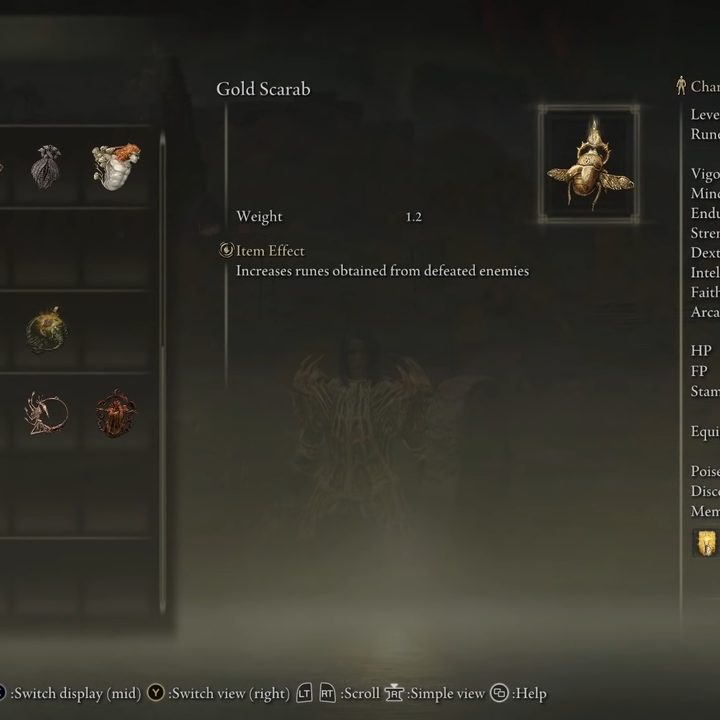
We’ve talked about some Talismans that could be used for most builds, but typically favor at least one style over the other at least somewhat. The Gold Scarab Talisman is one that, without a doubt, each and every player of Elden Ring could make use of. Well, as long as you get it before you beat the game, of course. This finely crafted golden Talisman boosts the number of Runes you earn for every enemy you slay by 20%. We obviously don’t need to tell you have valuable Runes are, acting as both currency and XP for leveling up, and how annoying it can be if you ever need to farm them. 20% can be a massive increase in rewards for higher-level enemies, or if you’re confident enough to equip it during a boss battle, you’ll be really reaping the rewards. You might not want to wear it all the time, but it’s an amazing tool you should certainly have ready if you need to quickly earn some currency or XP.
To get this excellent farming tool, head to the Abandoned Cave in the Caelid region, which is to the southeast of the Minor Erdtree on the map. This cave is full of Scarlet Rot so be quick or have some items ready to cure it. The duo of Cleanrot Knights is your boss at the end. Manage to beat them both and the Gold Scarab talisman will be yours.
Claw Talisman
This pick came down to two choices for us, but we went with the Claw Talisman over the Curved Sword Talisman for a few reasons. What they do is increase the strength of all your jumping attacks and your guard counters respectively. The reason we like the Claw Talisman more, or essentially jump attacks, is because they tend to be more versatile and less risky. Yes, guard counters are kind of the easy, less risky version of a parry and riposte, but still have two downsides in our eyes. One is that not every person uses a shield, and the second is that they’re still pretty risky. Unless you know for sure that an enemy isn’t going to attack again, you can easily open yourself up to damage by fishing for a guard counter. This is especially true for bosses that don’t really break their strings on your block.
Jumping attacks, on the other hand, are not free. You still need to time them, but they’re fully in your control rather than reactionary. Not only that, but they’re even a bit safer to pull off since jumping in on an opponent can occasionally dodge low and sweeping attacks. Plus, for most weapons anyway, you recover a lot faster from a jumping attack than a guard counter, but if you’re confident in your timing, feel free to grab the Curved Sword Talisman.
The Claw Talisman can be picked up nice and early in Stormveil Castle. From the Rampart Tower Site of Grace, take a plunge off the roof, carefully of course, to a lower tower you can climb up with the Talisman waiting at the top. The Curved Sword Talisman, for reference, is also in Stormveil Castle. This time you need to head down to the deepest levels of the castle where you fight the Banished Knight, which is near the start of the dungeon after taking the secret entrance once you get past Margit. The knight is guarding a chest with this Talisman inside.
Bull-Goat’s Talisman
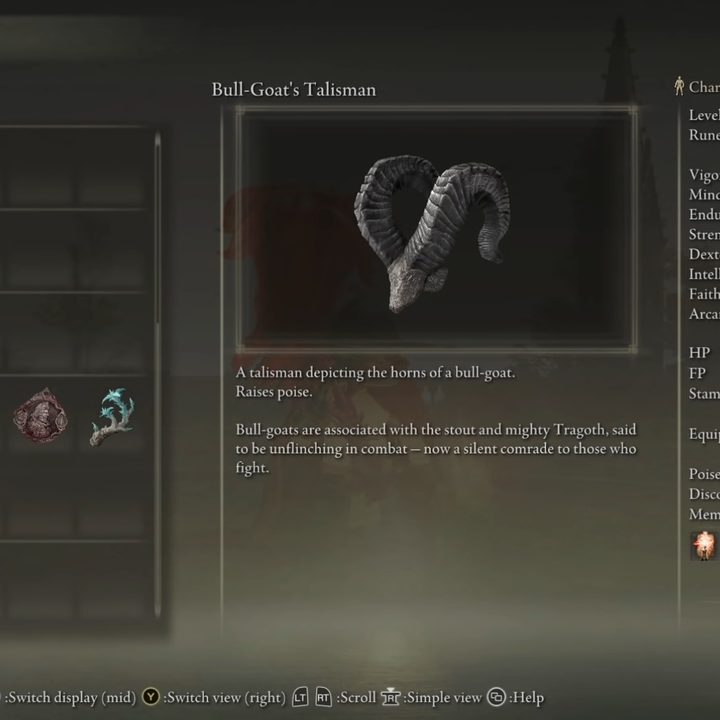
One good complementary Talisman to either of the prior ones or just your general heavy weapons build, is the Bull-Goat’s Talisman. It has a simple effect: Increase your poise. Now poise has been an odd stat in FromSoftware games, changing in importance and function from game to game. In Elden Ring, it is thankfully pretty simple. Poise is almost exclusively tied to what kind of armor you’re wearing, with heavier armors granting higher poise. There are few consumables that can also increase it, but for the most part, it’s all about your armor, or this Talisman. What poise actually does is reduce the chance you will flinch, or be interrupted while trying to do something like attack, if you get hit while doing that action. Basically, the higher your poise, the less likely you are to finish that big swing even if the enemy hits you.
The Bull-Goat’s Talisman increases whatever poise you have by about 33%. Again, we love percentage-based buffs since they scale so well. As you go through the game and get better, heavier armors with more poise, the Talisman will keep getting better right along with you. If you’re going to be tanking hits, knowing that yours will hurt more than theirs, you will need all the poise you can get.
The Bull-Goat’s Talisman is in a pretty treacherous location. You will need to brave the Dragonbarrow Cave, which reaching means avoiding plenty of dragons. Once inside, you need to fight or avoid a giant bear and snatch it off a corpse.
Crimson Amber Medallion
Last up, we can’t blame anyone for throwing on the Crimson Amber Medallion when you have a spare slot you don’t know what to do with. This medallion comes in the base form, which you can even get as a starting gift, and the +1 and +2 variants. Each of them is a straight buff to your max HP, with the base form giving you an extra 6%, 7% for the +1, and 8% for +2. Once again, we have to give it up for a scaling item that will never get out-leveled, but it is still a relatively boring Talisman compared to others. Still, if the worst thing we have to say about it is that it only gives you HP, the most valuable resource you have in Elden Ring, then that’s quite a compliment.
The base version of the Crimson Amber Medallion can either be taken as a starting gift or purchased from the Nomadic Merchant on the east end of the Weeping Peninsula for 1,500 Runes. The +1 version can’t be obtained until you hit Volcano Manor. From the Prison Town Church Site of Grace, head through the town and enter the blocked area using a Stonesword Key. Avoid the enemy and run up the stairs to loot the Talisman. Finally, for the best version, you will need to wait until you hit Lyndell, Captial of Ash, and defeat Maliketh. From the Site of Grace of the same name, drop down into the sewers onto the wooden beam and collect it.


