

After more than a decade, the Thief franchise returns with a fresh series reboot that offers plenty of new gameplay tricks, and a massive world to explore. There’s a lot to see and do, and it can take you a while to get your bearings. There are also plenty of upgrades to sort through, but it takes some planning to get the most out of them.
With that in mind we have a few tips on how to get started, and a couple of things you should keep in mind while playing the new Thief.
Budget
Gold is at the heart of Thief. It’s your reward for completing missions, the reason you collect loot, and the way you upgrade Garrett. It takes serious effort to ever have too much money, which means you’ll have to go on a budget.
When the game first gives you the option to freely move about the City, take the opportunity and explore. Use the Focus ability to look for things you can interact with (highlighted in blue), especially windows you can pry open. These windows lead to homes and businesses, and generally contain an assortment of items to swipe for cash. Take the time to look around the City for as many pry-able windows, doors you can open, locked boxes waiting to be picked, and scattered items as your patience can handle.
Don’t buy anything right away though. Save your money, you’ll be glad you did.
 Tool up

Between the second and third chapters, make your way to the merchant located northeast of the Clocktower in the area marked “Tavern: The Crippled Burrick.” You’ll find him standing alone outside.
This merchant is going to be your primary source of upgrades and refilling your inventory, and you’ll be frequenting him often. He sells “Resources,” including different types of arrows and Focus-restoring poppies, but more importantly he also offers items in the “Tools & Upgrades” and “Trinkets” categories.
First, make sure you’re equipped with plenty of rope arrows. You won’t use these more than a handful of times at specific locations, but there are a few sections in missions where you need them to proceed. If you don’t have any, you’ll be in trouble. Like most arrows, finding them in the field shouldn’t be too difficult, but don’t start a mission unless you have a full quiver.
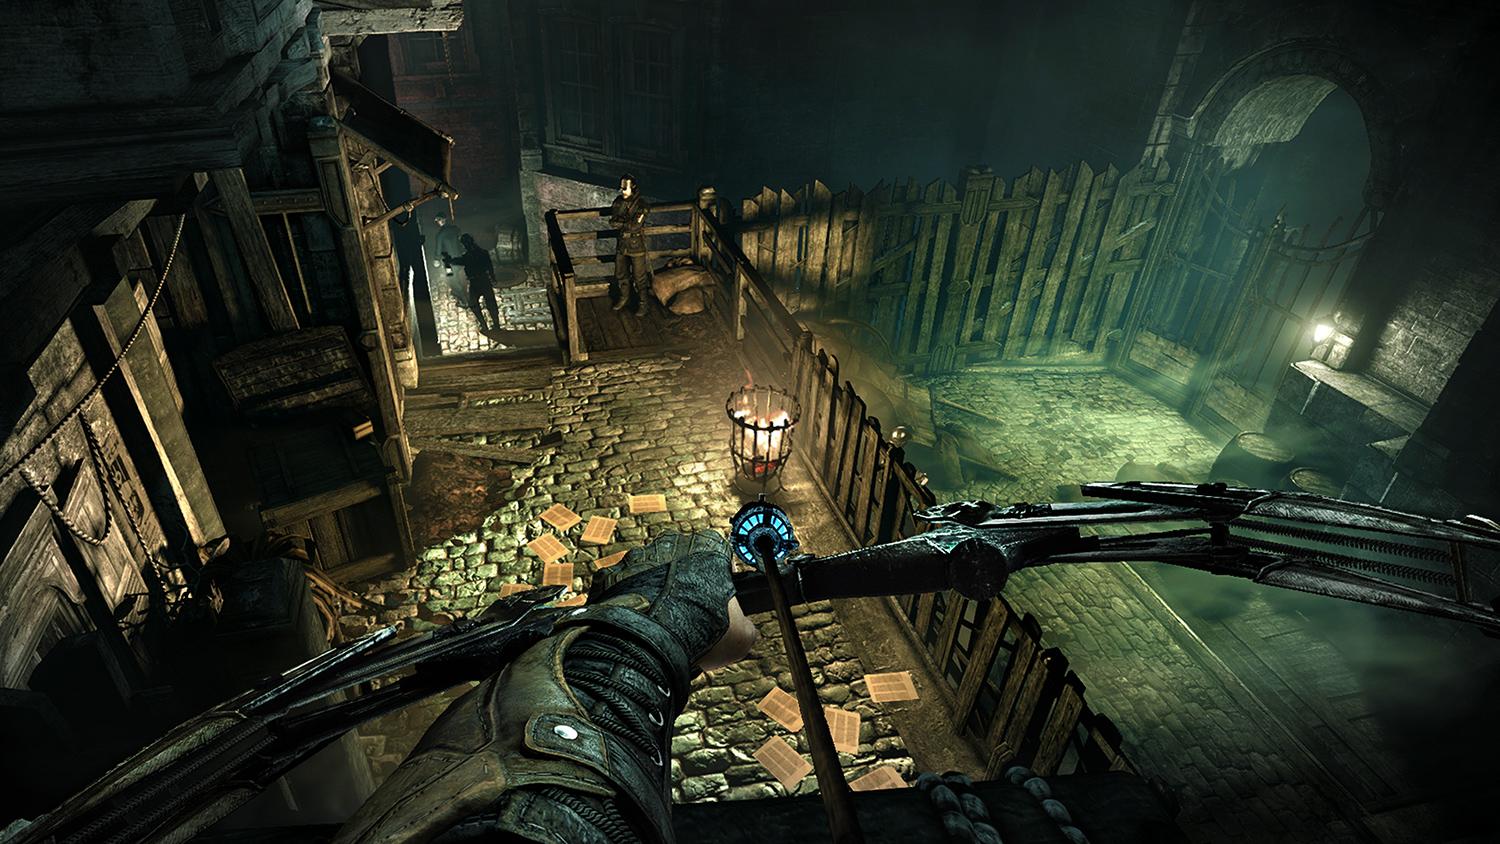
The first thing you should purchase after rope arrows is the wirecutter. Throughout the missions you’ll see the odd box (which shines blue in Focus mode) filled with gears and a chain that can be cut. Until late in the game when these take on a more important role, these are typically secondary objectives you may not even notice at first unless you are looking for them. Interacting with one could provide a safer way through a level or it could defuse a trap that leads to a treasure trove of items. You can often skip these if you want, but you’ll miss out on some alternative routes and plenty of loot.
The next tool you should purchase is the wrench. You use this to open grate covers and pull plaques off of walls throughout the city, for extra cash. Like the wirecutter, adding the wrench to your tool chest this is more about expanding your options. It isn’t vital to progress through the story, but you won’t be able to check everything out without it.
Make a point of purchasing both the wirecutter and the wrench as soon as possible.
After that, look to the razor, which is used to collect specific, rare paintings, one of Thief‘s collectibles. It is the least useful of the three tools, but once you have all three – which you should aim to do before the third chapter – you’ll be able to go anywhere, rob everyone, and grab all the collectibles for yourself.
Plan accordingly
Once you have the tools you need, it’s time to start thinking about how you want to play the game. By the end of the second chapter, you should have at least a decent idea about how you want to approach Thief – whether it’s stealth, combat, or a mix of the two. The merchant carries upgrades that help with all styles of play, but they are expensive. You’ll wish you’d saved more money once you start upgrading in a particular direction.
To that end, identify the upgrades that suit you best (it’s as much a matter of preference as anything) and make a mental note of their cost. Prioritize what works best for you and start saving, making sure to budget enough to also purchase the Resources you intend to use – just don’t buy every arrow available. You’ll find plenty in missions, and if you don’t use a particular type of arrow anyway, it’s a waste of gold. Set goals and stick with them, don’t get distracted by things you don’t need.
If you want to go stealth, keep a few blunt and water arrows and consider investing in noise dampening options like the leather oil, which muffles the sound of footsteps. There is one Holy Grail-valued Trinket that may appeal to you: the “Spectral Aspect” that significantly reduces the chance of enemies seeing you. You can dedicate yourself to saving up and buying it for 28,000 gold, but you’ll have to sacrifice pretty much everything else. It, and its combat counterpart the “Worldslayer” (increases Health and Focus), just aren’t worth it at first. Consider this as a second option once you start replaying missions.
If you do choose to follow a combat-focused path, there are more options to purchase than stealth offers, including multiple Trinkets and Upgrades that increase your battle effectiveness. You’ll need them too, as Garrett doesn’t have much health or power. Because of that, combat is generally best reserved for a second playthrough of a level, where you can earn more money and Garret is more decked out. There just isn’t enough cash lying around to easily upgrade Garrett’s combat abilities without replaying chapters several times.
Two purchases you should strive for regardless of the path you choose – unless you’re going full ghost – are the Quiver capacity, which increases the number of arrows you can store, and “Basso’s Bond,” which lowers the cost of Resources by 25-percent. If you are trying to stay completely unseen, both are secondary concerns though, as you won’t use or purchase arrows as often.

Seconds
Once you unlock the “Basso missions,” which offer multiple, quick robberies that typically involve something simple like retrieving a single item for a specific location, earning gold becomes easier. Accept all the missions available when Basso offers them, then go to the map and select the missions closest to you when you have time. There is no rising degree of difficulty to worry about from mission to mission, so feel free to choose whichever you like regardless of the description.. Keep checking with Basso too, as more jobs become available later in the game.
If you come across a mission with guards, feel free to attack them. It’s easy to get stuck in the pattern of constantly staying in stealth mode. The Basso missions are a separate thing and don’t negatively affect your score. Feel free to play with Thief‘s combat and destroy anyone in your path. Be mindful though. “Client Jobs,” which you also obtain from Basso, do grade your progress.
Most of the Basso missions are as simple as finding the objective on your map, entering, and swiping the specific item. A few missions throw in a twist like looking for a piece of paper with a safe code before sneaking past someone to open that safe, but they are generally straightforward and take just a few minutes. However, a few are a little harder to reach than others.
If you come across a Basso mission where you can’t easily reach the goal, it may require some problem-solving. First, identify where you need to enter using the Focus mode. From there, look for paths to the goal, even if they too are out of reach. Then start backtracking and following the path, looking for objects you can interact with, like a pulley you can shoot or a beam you can hit with a rope arrow. If after a few minutes you still don’t see a path, leave that mission – you may need to come at it from a different direction, maybe even from a different part of the city. The different parts of the City are interconnected, so if you travel around long enough, you’re bound to stumble across the path.
Remix
If you want to purchase the high dollar items and really deck out Garrett, you’ll need to replay chapters. All it takes to do that is to find the original starting point in the City and look for the activation orb. When you approach it, it will give you the option of replaying that chapter.
From your menu you can check how well you did the first time. Make a special note of the percentage of loot collected. If it’s at 50-percent or lower, that means you likely missed at least one hidden area. The loot also includes items pickpocketed, so keep that in mind if you are going for a high percentage. You can keep a running total in your head based on the previous runthrough. If, for example, you collected 200 G your first time through and yet only managed to find 50-percent of the loot, your goal should be to find 400 G or so. You can also replay the chapter repeatedly, so keep trying.
Editors' Recommendations
- How to get and upgrade your broom in Hogwarts Legacy
- Like the best RPGs, Final Fantasy VII Rebirth gets sidequests right
- How to make the best parade formation in Final Fantasy 7 Rebirth
- Final Fantasy 7 Rebirth romance guide: how to date each character
- How long is Final Fantasy 7 Rebirth?


