
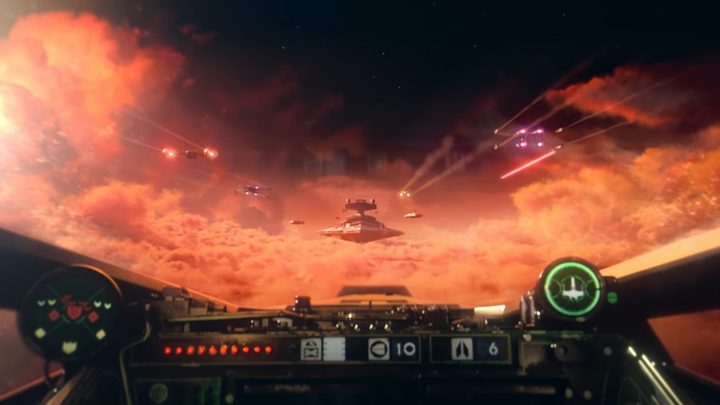
Star Wars: Squadrons is a surprisingly complicated space-combat simulator that owes its core mechanics to the X-Wing and TIE Fighter games of the 1990s. It may look like Battlefront II‘s Starfighter Assault mode, but you can’t just fly around and trust in the Force. You need to hone your pilot skills across the four classes of ships, then master mechanics like resource management and drifting before you’ll be ready for multiplayer.
Our first and most important advice to you is to play through the campaign and tutorials first before you dive into the multiplayer modes. The solo modes give you a crash course in controls and strategies against unthinking A.I. opponents, teaching you key skills before you go up against other players.
This guide will focus on advanced strategies for multiplayer mastery that you may not have picked up from the story mode. Become the ace pilot of your New Republic or Imperial squad for Dogfight and Fleet Battles mode, using some of these Squadrons tips and tricks.
Further reading
- The best Star Wars games of all time
- All of the upcoming Star Wars movies and shows
- All the latest news about The Mandalorian
General tips
The gist of Star Wars: Squadrons success boils down to managing your ship’s energy properly. Power management lets you push additional resources to weapons if you’re taking on capital ship targets, engines if you need to escape a tractor beam or rush to a target, or shields (New Republic only) if you’re under fire.
Hopefully, switching resources will become second nature after playing for a while. But not every player finds it easy, and it becomes kind of like a rock-paper-scissors match in multiplayer, with different players prioritizing different perks. So here are some additional flight strategies to beat your opponents, and have more fun doing it.
Cycling and pinging targets are key
Assuming you’ve played the campaign, you should hopefully know the basics. Press A (Xbox), X (PS4), or F (PC) to cycle between targets if you’re having trouble tracking down your opponents. To target whoever’s in front of you, pull the left trigger (consoles) or tap T (PC); or, to lock onto whoever’s attacking you, press the G key or double-tap A (Xbox) or X (PS4).
Cycling targets should be used in conjunction with the ping system to help your teammates and save yourself. Bombers getting shot up should target their attacker, hit ping, and wait for a fighter or interceptor to come rescue them. Or, a support-class ship spotting an enemy hitting their flagship should ping for help if their allies are distracted. On the other end, be sure to acknowledge pings if you’re in a position to help, so teammates know you have their back.
You’ll want to target more than your enemies, however, particularly if you’re flying a support-class ship. Call up the Targeting Wheel (hold the left trigger or tap 5 on PC) and switch your targets to “My Squadron,” and you’ll be able to find teammates and resupply them. You can target missiles to shoot them down to defend your capital ships, or target capital-ship subsystems and see where they’re most vulnerable.
Be flexible with ship classes
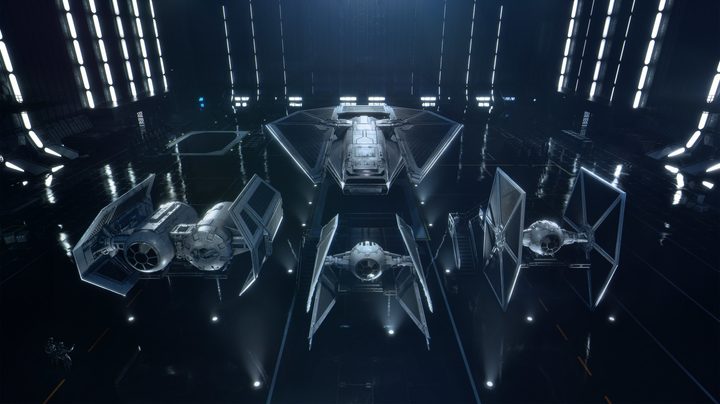
Bombers may be overpowered death machines, but if your squadron is composed of five bombers, you’re not going to last long. You may have a favorite ship, but if you see a couple of other teammates have already claimed it, do your squadron a favor and choose another option. This is especially true in Fleet Battles, where you need a multifaceted team and may want to switch classes if the tide of battle isn’t going your way.
You don’t need to rack up kills yourself. The obvious use for support ships is resupplying teammates, but test out other unique auxiliary tools like tractor beams or beacons that disrupt enemy movements and make it easy for your teammates to take them out. Both support- and fighter-class ships are excellent for ion attacks, making them useful for taking out enemies’ shields so they’re vulnerable to other ships’ fire.
After you’ve experimented with different loadouts and auxiliary tools, you’ll hopefully begin to understand and master your role for each ship class in a match and enjoy disrupting and crippling your opponents as much as taking them out yourself.
Don’t rely solely on countermeasures
When a missile locks onto you, the only hope of survival is proper timing. Deploy countermeasures too late, and the missile will still take you out; deploy them too early, and the missile will keep flying right on through. You must wait until the missile UI shows that it is very close to striking before hitting the button (B on Xbox, O on PS4, R on PC).
The problem is that your mind will become fixated on that “incoming” indicator, letting your opponents get the drop on you in the meantime. The best initial countermeasure is to avoid letting them target you in the first place, by immediately moving erratically once you spot the lock-on indicator to throw them off. We recommend using any boost you have to go into a drift.
Drifting is also handy once the missile locks on. If the map you’re playing in has environmental objects, try drifting at high speeds around it in a 180-degree turn to put the obstacle between you and the missile.
Master the micro-drift
We could probably write an entire guide on how to drift properly in Squadrons and when to use it, but we’ll lay it out simply: You need to send your energy to engines, boost with a full Boost Meter with L3 or Space, then move the right stick or mouse to spin while still moving in the opposite direction and fire upon the person or missile behind you.
The problem is that once you do this, you essentially stop moving while the boost arrests your momentum backward and sends you slowly lumbering forward. The better option to escape enemies is to drift at a 90-degree angle, then cancel and immediately reactivate your boost to send you in another direction without fully stopping. You want to not fully hold the boost trigger down in order to maximize maneuverability.
You may also want to try “retrodrifting,” a cool trick coined by ChessurSB that has you circle-drifting around an object with the nose of your ship continuously pointed at the target. There aren’t too many in-game uses for this trick, but it’s certainly a flashy way to throw off your pursuers!
Buy a joystick and VR headset
Squadrons is that rare game that works equally well in both VR and non-VR. While most gamers will never experience it except on a TV or monitor, PC or PS4 players should absolutely boot it up on your Oculus or PSVR. The game retains its immersive graphics, and you can naturally turn your head to catch sight of opponents instead of having to double-click the right stick, which then blocks you from your yaw and pitch controls while you’re looking around.
We also highly recommend picking up a joystick, which will be easiest for PC players. Like most flight simulators, it has total HOTAS support, and a joystick gives you greater precision of movement than you could ever hope for in a regular controller stick, plus a tactile feeling that you’re actually flying a spaceship!
Multiplayer tips

Thankfully, Star Wars: Squadrons is mostly a very enjoyable experience for casual players. Advanced pilots are pulling off cool maneuvers and shooting down opponents more easily than beginners, but it hasn’t reached a technical, e-sports level of meta-gaming where players have dissected it to the point that there’s only one way to play.
That said, there’s nothing worse than being the one pilot slowing down your squad. Hopefully, some of our above gameplay tricks will help you hold your own. Now, let’s dive into some advice for strategic play and useful loadouts during multiplayer, specifically Fleet Battles.
Killing A.I. can turn the tides
In Fleet Battles, you start by dogfighting your opponents, trying to kill as many enemies as possible to raise your morale, and move into an attacking phase where you can go after larger targets.
Standard Squadrons wisdom states that to boost morale, you should ignore the A.I. enemies and target the players, who are worth more points. However, enemy A.I. are easier to kill, especially for bombers with aux weapons like multi-lock missiles that can target several at once. During the initial phase, you can quickly stack up morale and move into the attack phase without engaging fully with the more difficult (human) enemies.
The same principle can also sometimes apply when you’re defending. Rather than waiting for players to come to you and wreak havoc on your frigates and flagship, take out the A.I., which become more valuable points-wise while on defense. Rebuild enough morale, and the game will automatically switch back to the Dogfight phase and give your capital ships some breathing room.
How to target capital ships and flagships
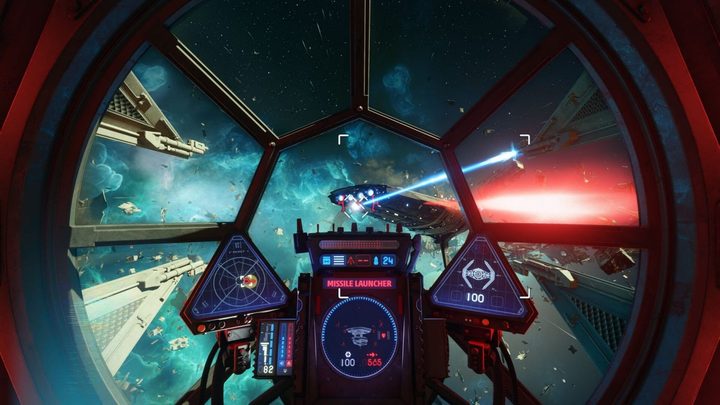
As mentioned before, you can cycle through targets on capital ships or flagships to know where exactly to hit them. Take out shield generators, the targeting system, power system, and tractor beam to slowly whittle down its offensive and defensive capabilities.
Unlike in the old Rogue Squadron games, however, you can’t just coast in front of a capital ship and laser down its defenses; it’ll tear you apart with turrets unless the enemy pilots get you first. So you can keep on the move with drifting and boosting to hit it on the go, give it a wide berth and target it from far off, or disable first before going for actual damage.
The key to the latter two strategies is ion weaponry. For example, ion missiles or torpedoes launched from afar can easily take down shields, because they don’t need to hit a specific target on the ship. Or, you can have one of your faster ships come in and temporarily disable the targeting system with ion cannons, which will allow your bombers to come in and deal heavy damage without worrying about being hit.
Stay off the enemy radar (literally)
You already know that the Reflec Hull prevents your ship from being targeted more than 1500m away, or you can temporarily hide with an aux jammer. But you may not know that it also prevents your ship from appearing on the tactical map. With a bit of patience and energy routed to engines, you can take a quick, roundabout route out of your opponents’ line of sight all the way to their capital ship, and start shooting out shield generators while they’re all committed at the center of the battlefield.


