We're going to let you in on a little secret when it comes to installing an HD antenna: There is no such thing as an HD antenna. An "HD antenna" or "HDTV antenna" is a marketing term meant to make you believe that one antenna is better than another — that it's "high definition" or something. But the simple fact is that an antenna is an antenna is an antenna.
The other simple fact is that an over-the-air antenna is a great way to watch your local broadcast channels for free. It's great as a backup if your streaming or cable service goes out, or it's a great way to just watch the things you want to watch all the time without having to pay a dime, outside of the initial hardware costs.
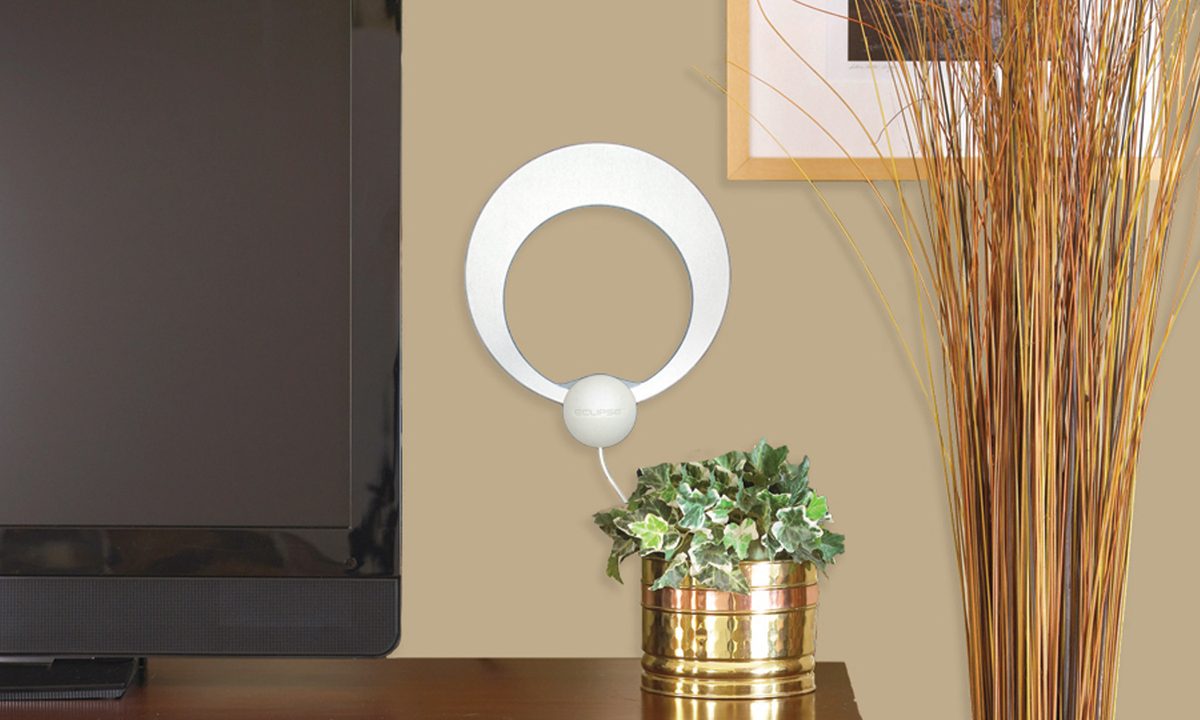
Installing an OTA antenna is a relatively simple endeavor, though there is a little homework to be done first. But otherwise, it's as easy as screwing a few things in and scanning for channels.
How to install an over-the-air antenna
Before you rush out and buy an antenna, you need to do a little research. And then you've got some decisions to make. This will affect what kind of antenna you get and where you put it — and both of those things may well determine which (and how many) channels you're able to get for free.
Here's what you'll need to figure out:
Step 1: Determine what you'll be connecting the antenna to.
Step 2: Figure out where (and how) to mount the antenna.
Step 3: Acquire an antenna and connect it.
Step 4: Scan for channels.

First, a little homework
Here's what you'll need to figure out:
- Are you connecting the antenna to a television? Or an external tuner box? Is it near a window or, even better, somewhere you can run coax cable through the wall to the outside of your home? And if you're going to use a tuner box, you might need a little home networking knowledge.
- Which direction does the antenna need to be facing? Unlike what you're used to with your cell phone, broadcast TV tends to be more directional, so we'll have to find where the broadcasts are coming from.
- Are we mounting the antenna inside? Or outside? The basic rule of thumb is that outdoors and higher is always better than indoors and lower. The idea is that you want the antenna to have as unobstructed a view of the sky — and the radio signal — as possible.
Let's break down what all that means.

TV or a tuner box?
One of the last steps of this process is actually one of the first things you need to think about. Eventually, the antenna you buy is going to need to be plugged into something. That could be your television, which will work just fine. But that could be a little limiting. The TV will have to be located in a part of the home that's easily reached by the antenna cable — and that's not always a done deal.
And plugging an antenna directly into the TV means that any other TVs you own won't be able to share the signal. We can do better.
That's where digital tuner boxes come into play. These are products like HDHomeRun and Tablo, which take the signal from the antenna and share it over your home network so that pretty much any device can play back the free broadcast channels. We're talking TVs, phones, tablets, whatever. And some of these products include digital video recorders so that you can record those free broadcast shows.
Tuner boxes often have more than one tuner inside, which is great because that'll allow different devices (be it your TV or tablet or whatever) to watch a different show at the same time. Two tuners? Two shows. Three tuners? Watch two shows live on two devices while recording a third. You get the idea.
Either way, you'll require an antenna. We'll get to that in a second.

Find your nearest towers
Where you live matters a lot when it comes to choosing and mounting an antenna. You need to have an idea of just how far away the broadcast towers are and which direction they are from your home.
Fortunately, there's an internet for that, with handy maps that will show you all of your area broadcast channels, the location — and, more important, the direction — of their antennas.
One such resource is from the Federal Communications Commission itself. Just plug in your ZIP code (it's close enough for our purposes) and then click on the broadcast channel you want to explore. It'll show you the relative location and direction of the antenna. If the broadcast is coming from the west, you'll want your antenna to face west. East for east, etc.
Another option is from AntennaWeb.org, which does the same thing but just looks a little different. They're all using the same data.
One other thing to pay attention to here is how far away the towers are that you care about. You'll find that antennas will include marketing like "50+ miles!" to give you an idea of how far away a signal it can acquire. That's all pretty unscientific. On the other hand, if you know your nearest tower is 100 miles away, a 50-mile antenna might not do the trick.
Inside or outside?
This part is easy: If at all possible, you want to mount your antenna outdoors and as high as possible. The idea is that you want to have as few obstructions as possible between your antenna and the signal. That includes things like walls and the pipes and wiring that live inside.
If you're mounting outside, try to mount above the roofline — a chimney may do the trick. Or you could mount from the soffit. Or you could use a standalone mast and not attach it to your house at all. There are myriad options here — just use the one that's right for your situation.
If outdoors isn't an option, consider a window-mounted antenna. Again, higher is better. And you'll still want to have the antenna pointing in the direction of the towers.

Get an antenna and hook everything up
Now that you've figured out where to put your antenna, it's time to buy an antenna. This part may be a little overwhelming, as there are a ridiculous number of antennas for sale at all sorts of price points.
The bad news is that it's a bit of a crapshoot. The basic rule of thumb for antennas is that bigger is better and that more range is better than not. (That's not always true, and it's possible to be too big or be too close to the broadcast source, but that's another thing for another day.) Get the biggest and best you can within your budget. For what it's worth, I've been using the ClearStream Fusion for years outdoors without issue. And it's almost a no-brainer at a $50 sales price.
For an indoor antenna, try something Buy Now , if possible.
Once you've got your antenna mounted wherever it is you're going to mount it, it's time to hook everything up. That's also relatively straightforward.
Step 1: Connect one end of the coax cable to the antenna.
Step 2: Connect the other end of the antenna to the amplifier, which was likely included with the antenna.
Step 3: Connect the amplifier to the television or tuner box.


Scan for channels
Once everything's hooked up, you have one final step to complete. Whether you've connected directly to a television or to some sort of tuner box, you'll need to scan for channels. That's what lets the device you're using actually display the channels, as well as the channel listings.
And you might well want to scan for channels more than once. If you're not seeing channels that you're pretty sure should be available, try moving your antenna, then scan again. There's some trial and error here, and patience can pay off.
Note that this is separate from any sort of menu information. That sort of thing is separate and, depending on the device you're using, may require some sort of subscription, as well as an internet connection.
To recap: Installing an over-the-air antenna is relatively easy — it's just that there are a bunch of variables at play.
Outdoors is best. Higher is better than lower. And you want the antenna facing the towers. You'll have to balance all that with actually connecting the coax cable to the TV or tuner box.