Apple’s iPhone keeps pushing the boundaries on internal storage, and new models are shipping with up to 512GB. Still, having too many photos on your device could become more of a headache than a convenience. You’ll need to learn how to delete them efficiently, and Apple presents some easy options for doing so using your iMac or iPhone.
Of course, in the process of deleting some old pictures, you might accidentally delete one you intended to keep. Luckily for you, Apple also gives you some simple methods for restoring any photos you delete by mistake. If you want to know more about your iPhone, you can also check our guide on how to reset it.
Delete photos on your iPhone using a Mac
Image Capture is a low-profile app that comes with your Mac and performs all kinds of convenient tasks, including downloading your photos off your iPhone or iPad.
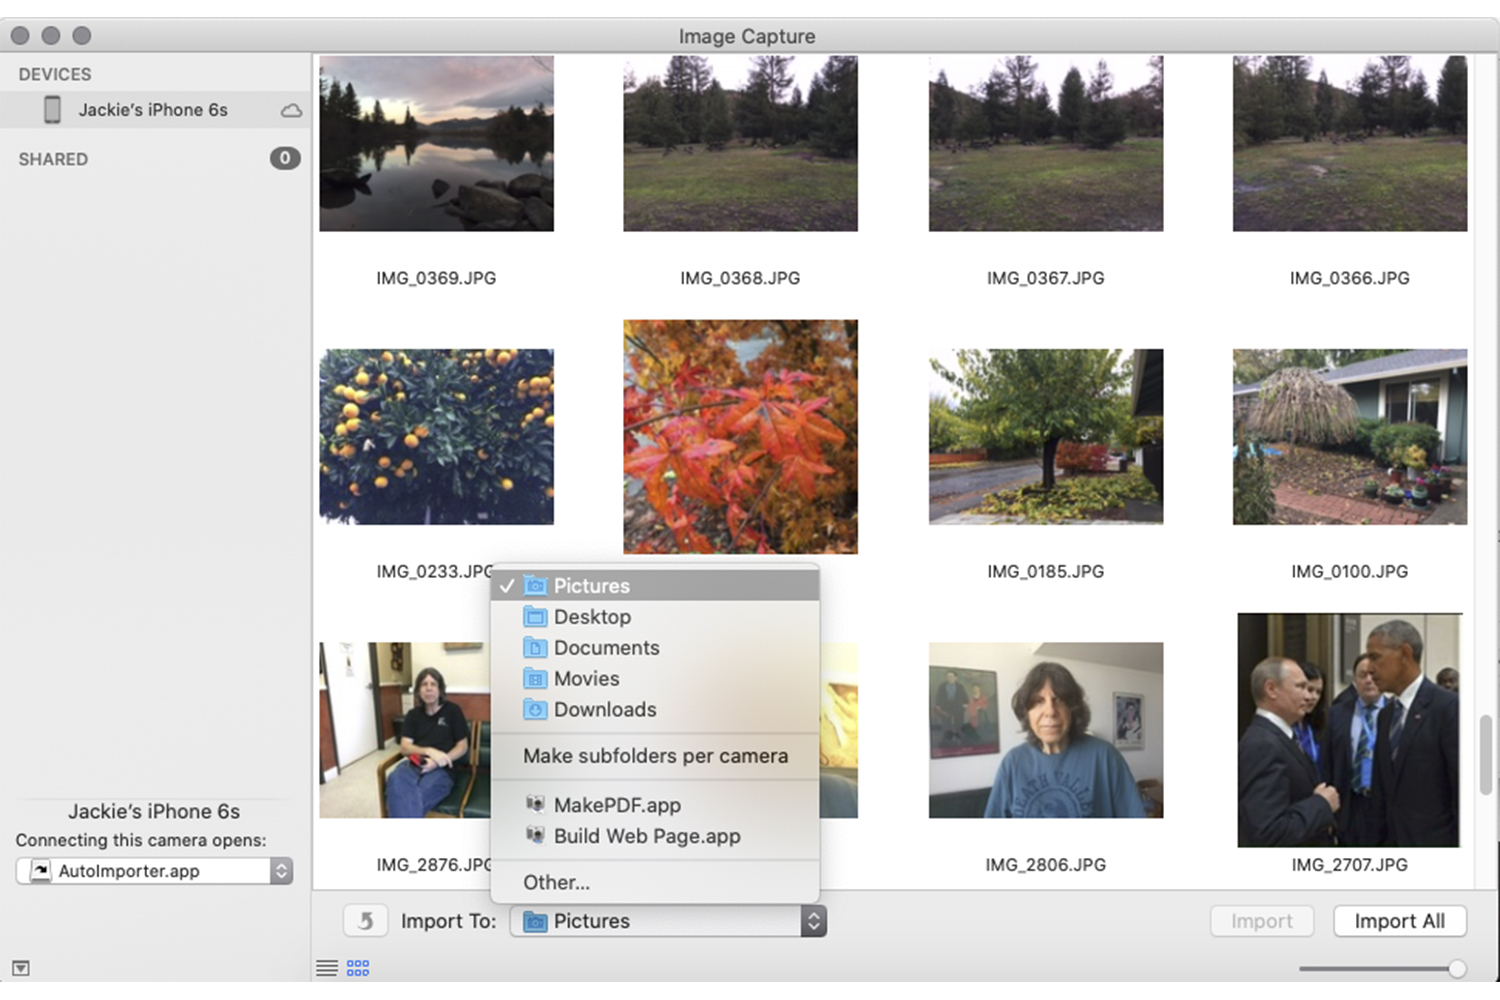
You can plug in your iPhone to your Mac, to view, download or delete your photos using Image Capture. Here’s how to do it.
- Launch Image Capture from your Mac’s Applications folder.
- Connect your iPhone to the computer via USB.
- Select your device from the list.
- View the photos in thumbnail or list format.
- Decide which ones you want to save to your hard drive. Drag the slider to change the thumbnail size for optimal viewing.
- Click the Import To pop-up menu, then choose where to save the images or which app to use to open them.
- To import only some of the images, select them, then click Import. To import all the images, click Import All.
- You can automatically transfer images from your phone to your computer whenever they’re connected by clicking the Show/Hide button in the lower-left corner of the window or by clicking the Connecting this camera opens pop-up menu and choosing AutoImporter.
Delete photos directly from your iPhone
It’s easy to delete one or more photos from your iPhone. Just review all the photos on your Camera Roll and individually or collectively select single or multiple photos by tapping or tapping and dragging your finger across the screen.
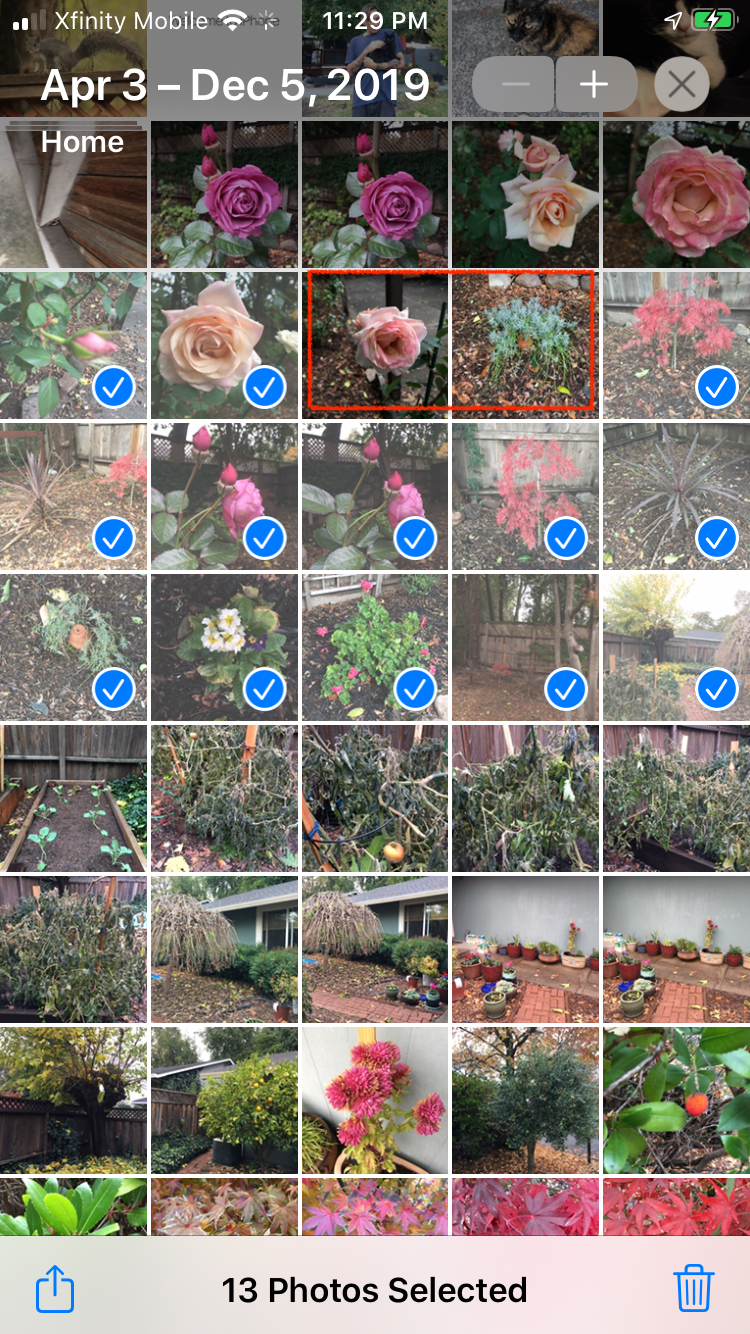
Delete one or multiple photos from the Photos pane
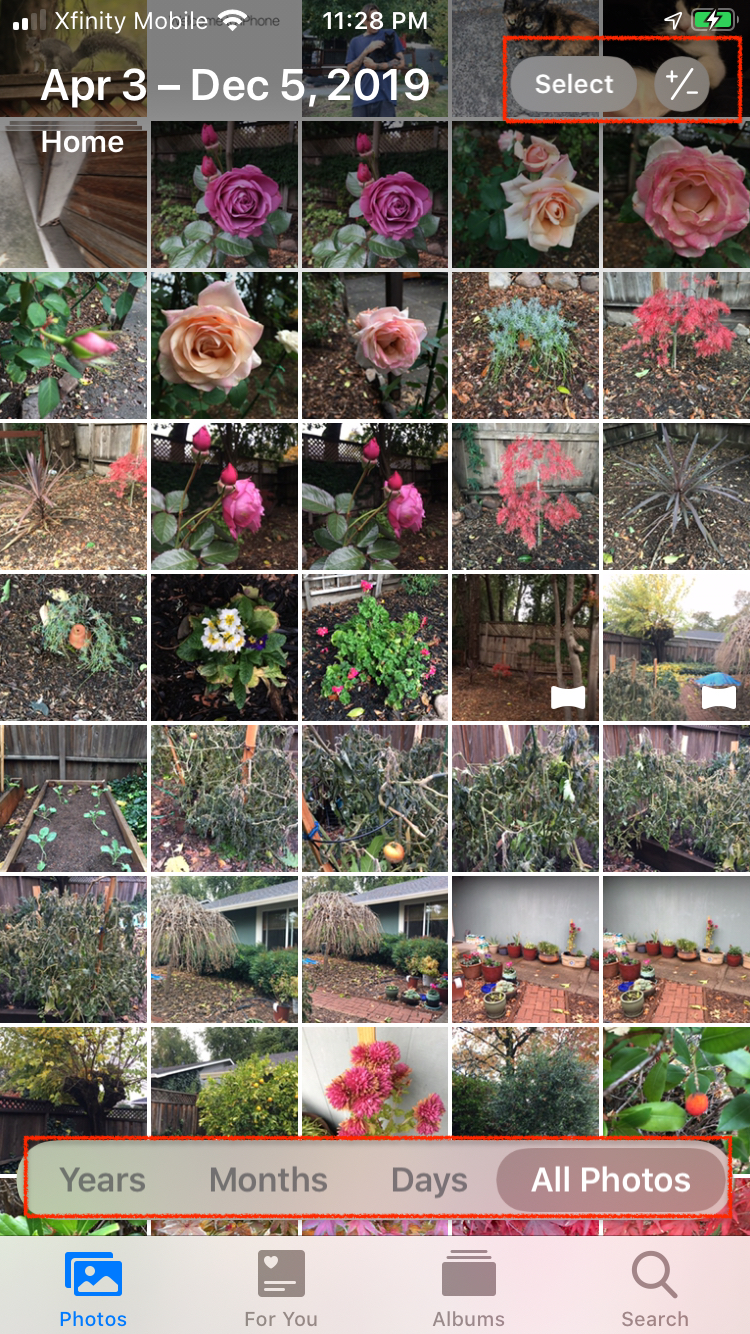
- Launch the Photos app and select Photos in the lower-left corner.
- Tap All Photos. Alternately you can tap Years, Months, or Days to isolate a subset of photos on your Camera Roll.
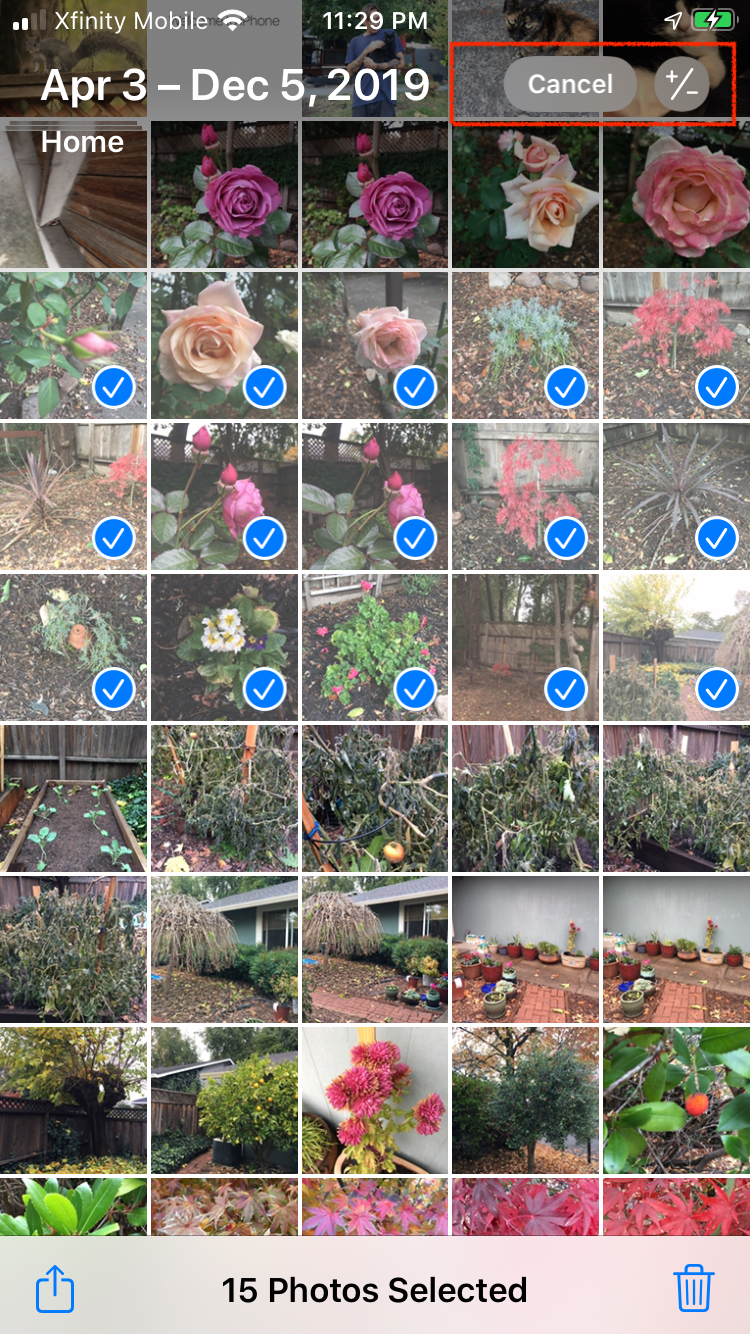
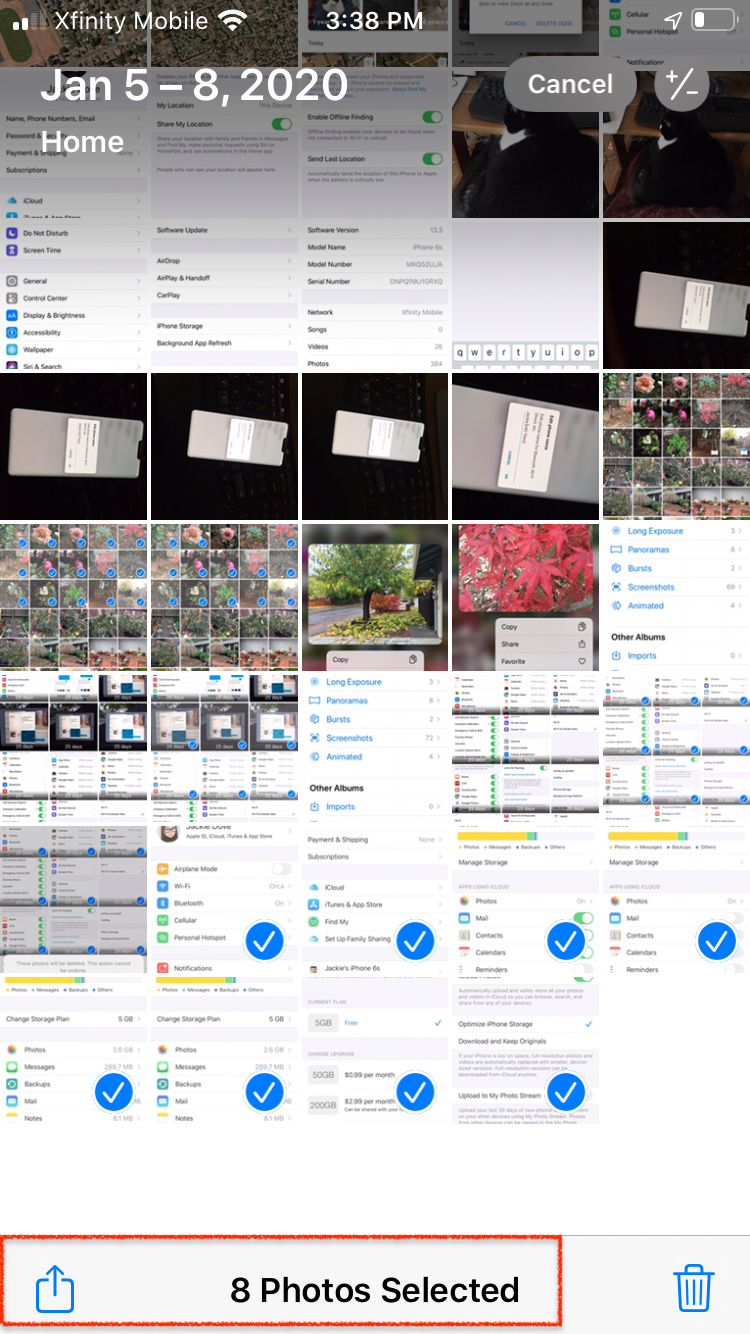
- Tap Select at the top right and tap or tap and swipe to select individual or groups of pictures.
- Add, subtract, or cancel removing photos by tapping the +/- icon at the upper right.
- Tap the Trash icon in the lower-right corner to remove the images.
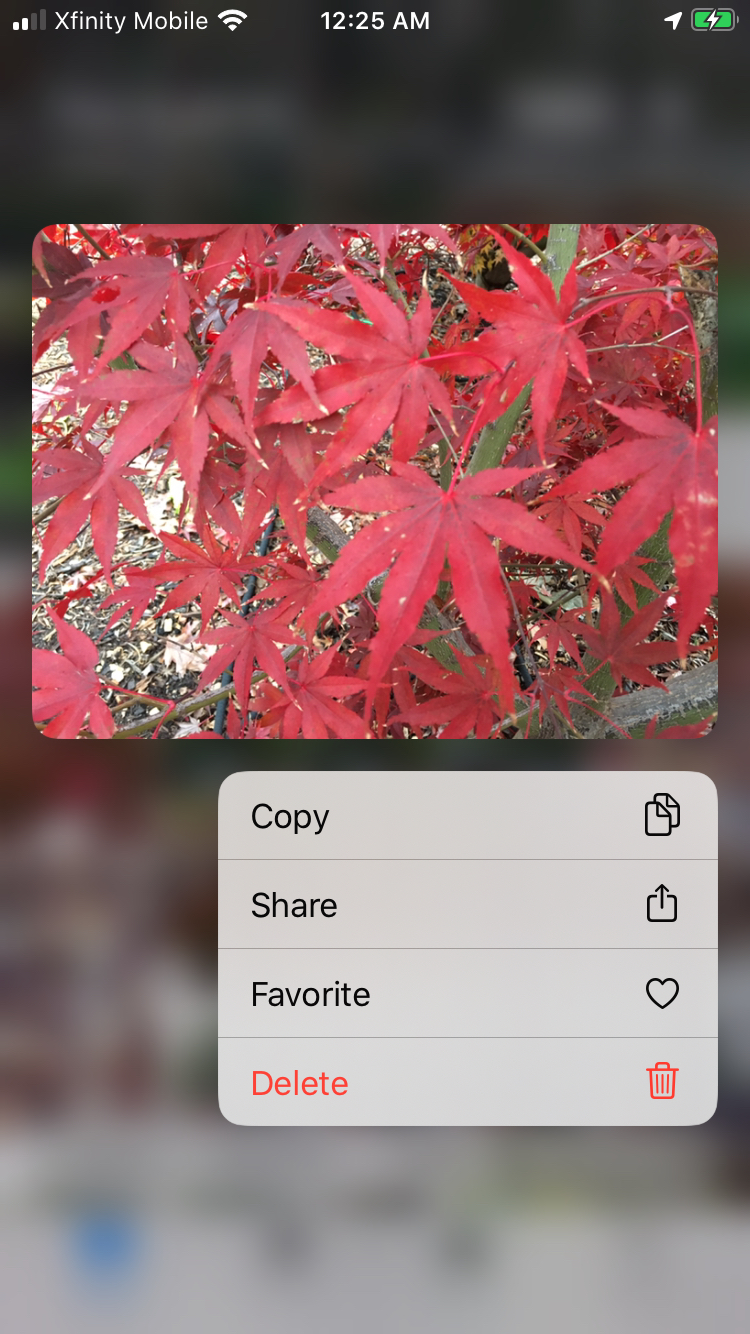
- To delete a single photo, you can also use 3D Touch on an iPhone 6S or later. Tap and hold on a photo to preview it, then tap Delete at the bottom of the menu.
Even if you mistakenly delete an image you want to keep, there’s plenty of time to change your mind. When you delete a photo from the Camera Roll it is moved to a Deleted album, like a trash can, except it gets emptied only after 30 days. That means you can remove photos from the Photos app and still have access to them for a 30-day countdown, which is recorded directly on the photo’s thumbnail.
Delete photos from the Recently Deleted album
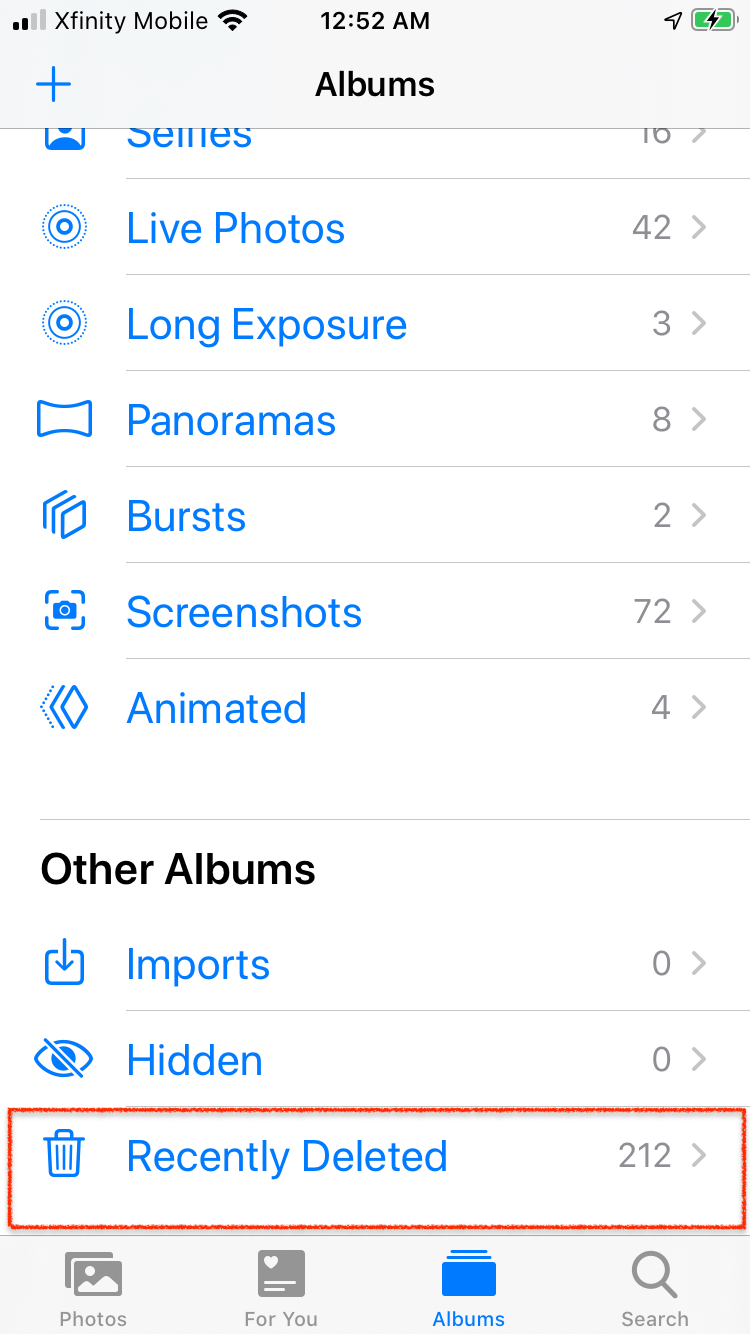
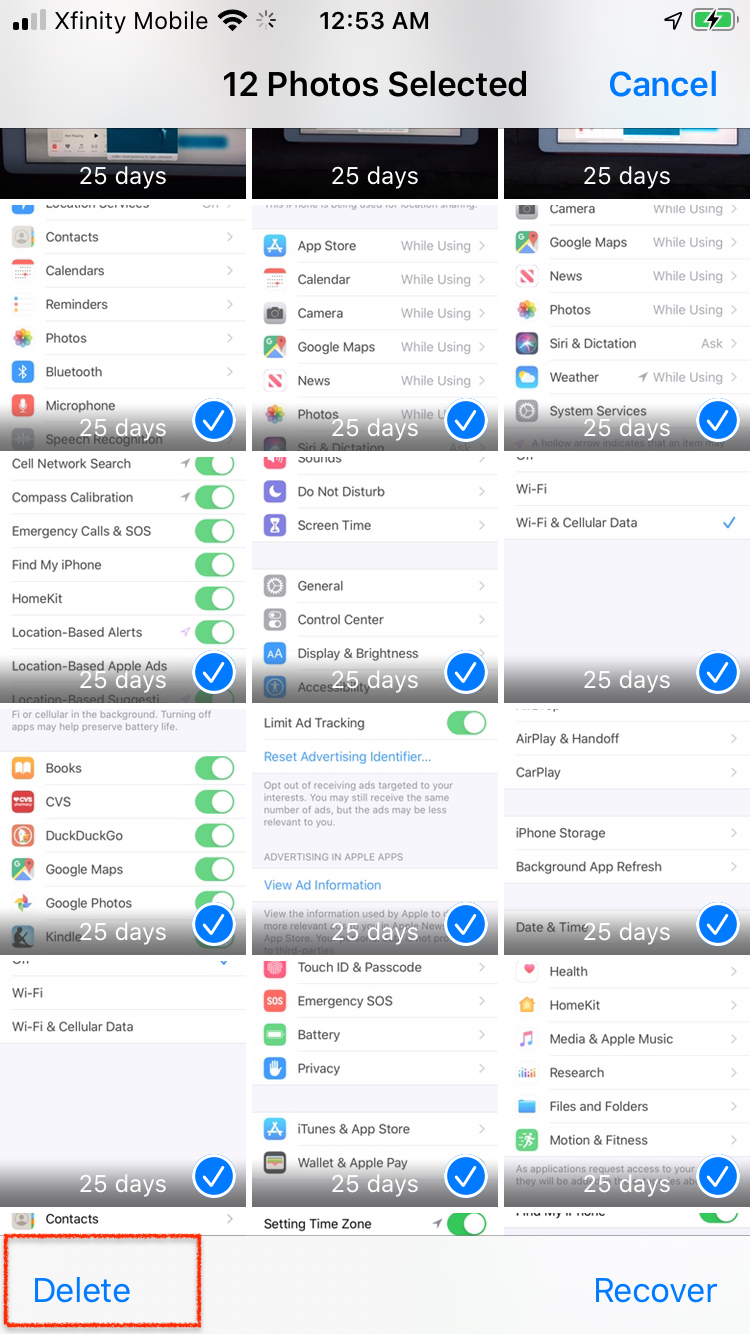
This delete method is helpful if you’re running low on storage space and you’ve already backed up your photos. When you get rid of deleted photos from the Recently Deleted Photos album, it’s forever.
- Go to Recently Deleted in your Photos app.
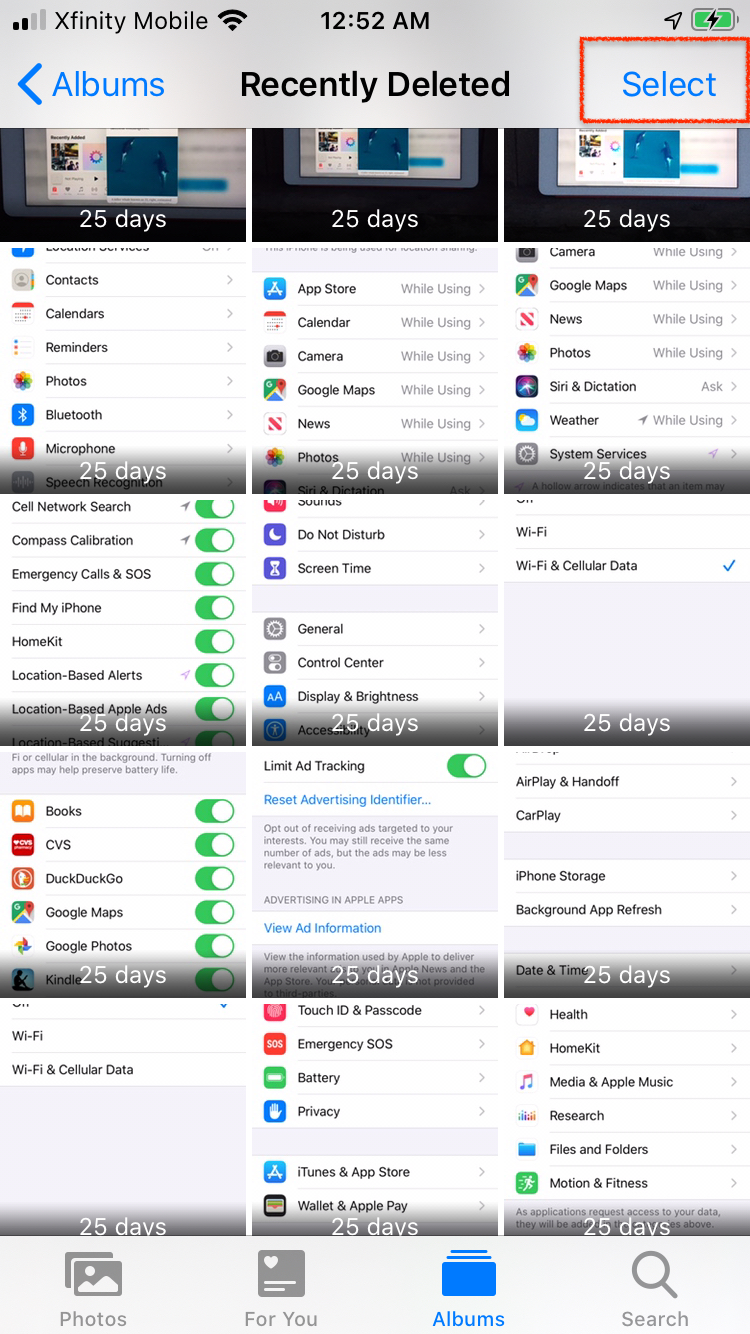
- Tap Select in the upper-right corner.
- Select Delete All in the lower-left corner, or tap the images you want to get rid of and then tap Delete.
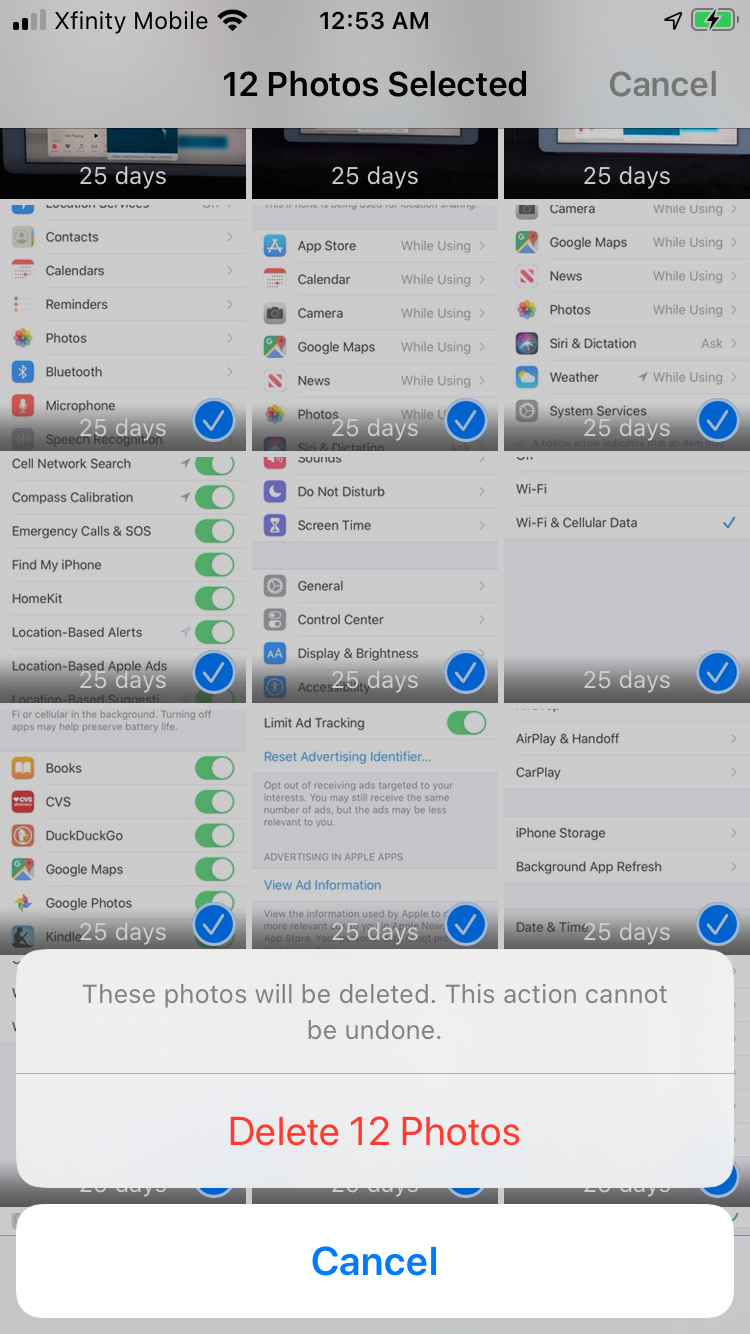
- A warning will appear that specifies that this action cannot be undone, and when you’re ready, select Delete Photos.
Delete burst photos


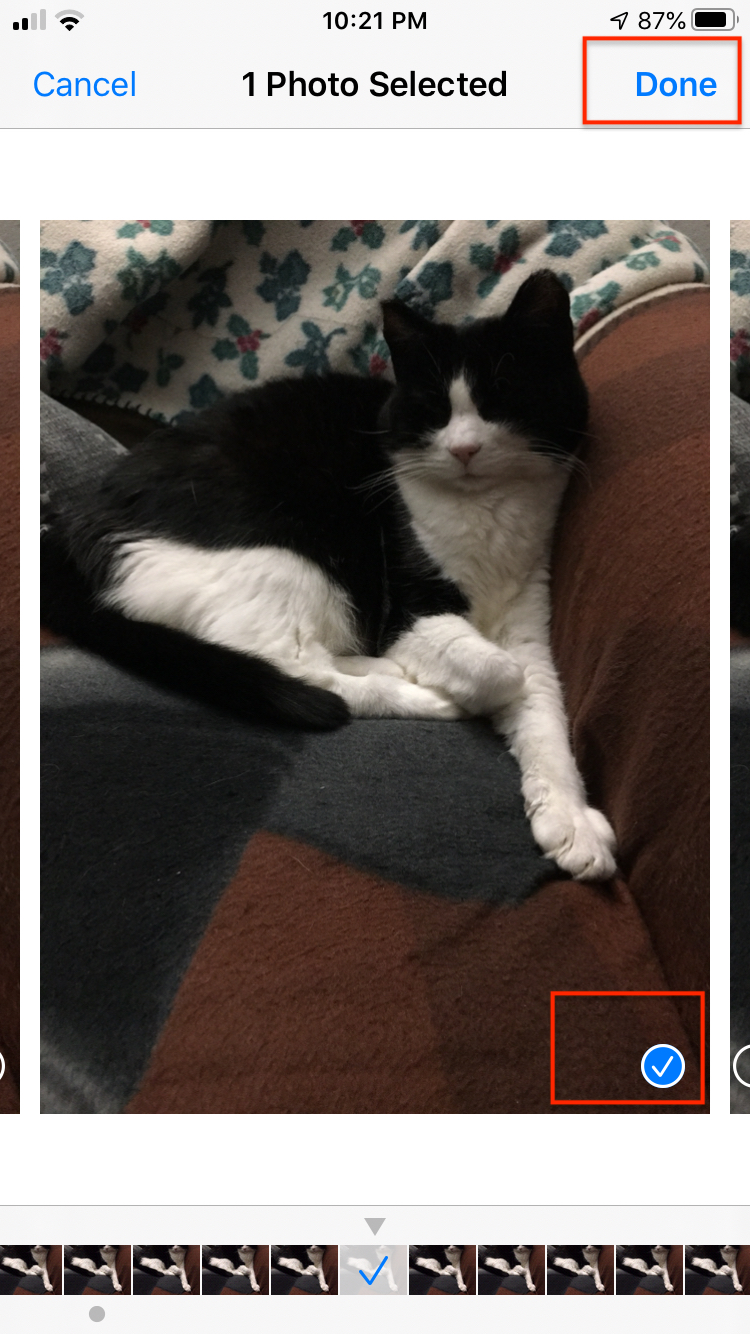

Sometimes your finger just gets stuck on the Camera shutter button and you inadvertently shoot a series of photos when you only want a single shot. Such Burst photos are the result of the tap and hold action that takes a fast series of photos. Your iPhone’s operating system then automatically selects the best photo from the burst, or you can select the best photo manually. Trying to delete 24 or 100 extra photos is not as easy or obvious as it should be. You can keep your favorite shot while not taking up space on your phone with accidental burst images. Here’s how to do it.
- Launch the Photos app.
- Tap on the burst photo (the one with the stacked image icon).
- Tap Select.
- Tap a single photo as your Favorite to keep.
- Tap Done.
- Tap Keep Only 1 Favorite.
Recover deleted photos
If you deleted the wrong photo or group of photos by accident, or you’ve changed your mind about a photo you deleted and want to recover it, it’s easy to get it back. Below are three options for recovering deleted photos on your iPhone.
Recover photos from Recently Deleted album
If you haven’t deleted your photos from the Recently Deleted folder, then iOS will keep these photos for 30 days. Here’s how to restore them.
- Go to the Photos app.
- Go to the Recently Deleted folder.
- Tap Select in the upper-right corner.
- Tap Recover, or select individual photos you want to recover and select Recover.
- If you have the iCloud Photo Library enabled, you can use it to navigate to your iCloud account and follow the same steps.
Use your Mac to restore from a backup (iOS 13 and macOS Catalina)
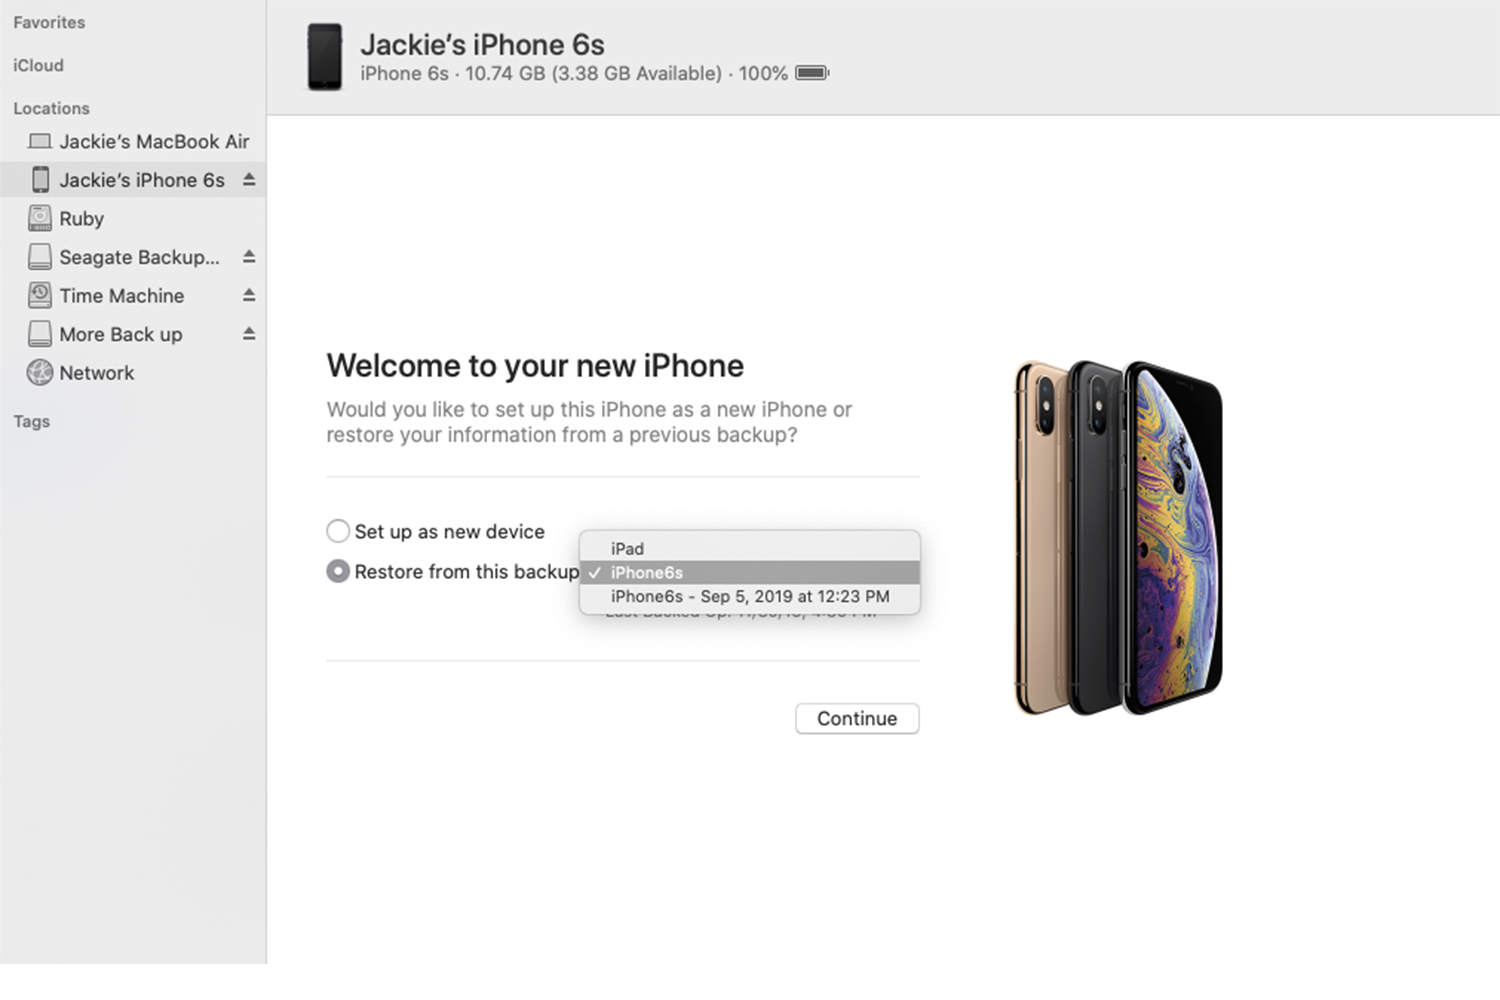
If you habitually perform iPhone backups on your computer, your photos should already be backed up, which means you can restore lost images. Because you are restoring your entire iPhone from a backup, the photos that re-appear on your iPhone are the same ones that were on your iPhone on the day that you backed up. So first make sure to back up your new photos somewhere else first, if you want to save them, before restoring from a previous backup.
- Connect your iPhone to the computer, and choose your iPhone.
- In the Summary tab, choose Restore from this Backup and choose the backup you want if there’s more than one.
Back up using a third-party app
Using a third-party app multiplies the protection for your photos. You can never have too many backups of something as irreplaceable as your photos, as backup systems can fail at any time. You never want to be in a position where there are no further options for recovering lost pictures. Always have both a hard drive backup and an online backup — or more than one.
If you have a Google account and Gmail, backup is free up to a total of 15GB. For iPhone, using iCloud is always an option, as is using Apple’s Airdrop to download photos to your computer. You can also store photos in Dropbox, though the capacity for free storage is limited, as it is in iCloud.
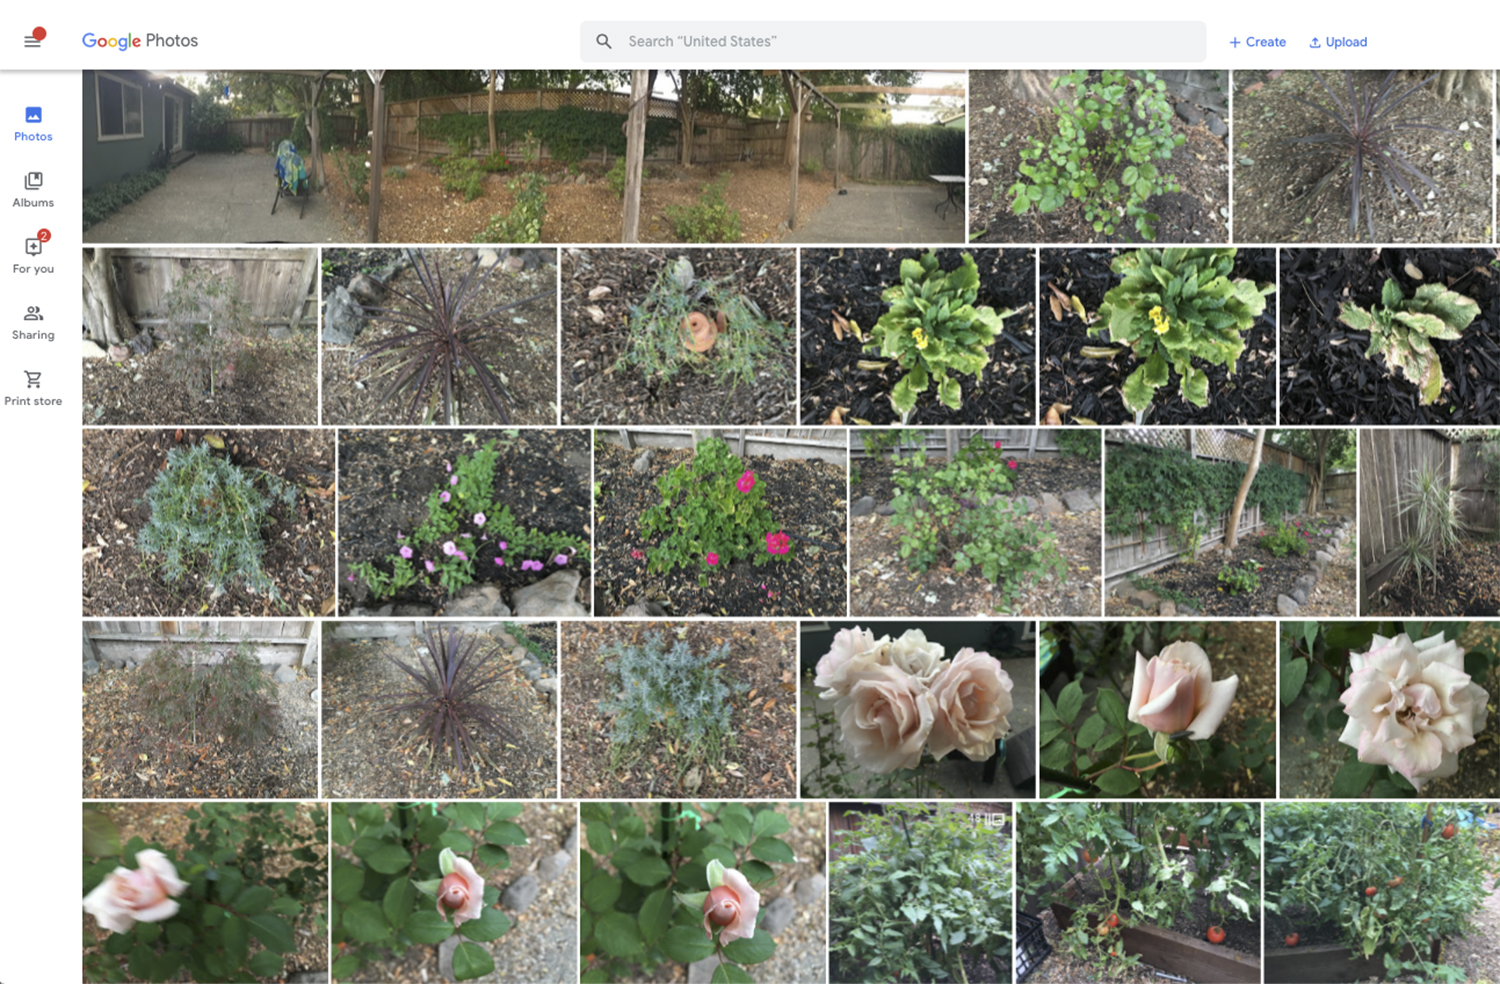
Google Photos
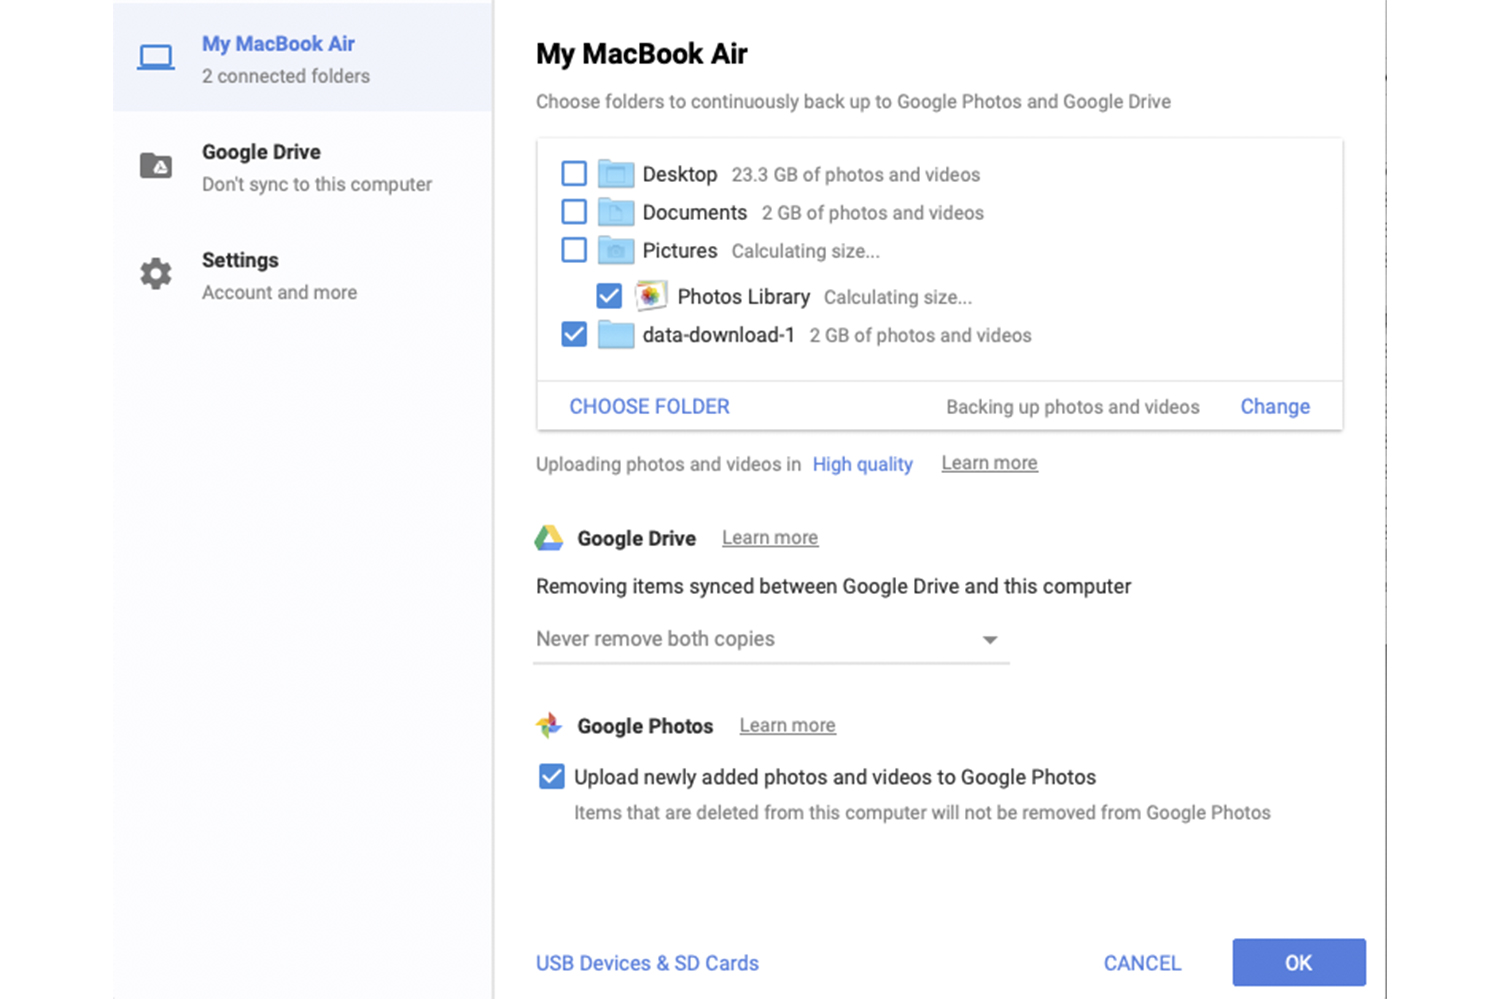
Google Photos is one of the best ways to automatically back up your entire Camera Roll while removing the clutter of old snaps on your iPhone. Also, download Google’s Backup & Sync app for your Mac or Windows computer and program the app to automatically sync images from your computer to the online Photos app. Once launched, the app lives in the top menu bar on your desktop and you control it via Preferences. From your phone, tap to launch Google Photos then swipe down. The app immediately begins to back up the photos in your Camera Roll and notifies you when it is complete. It then offers the option of removing the photos from your phone. You can do that, or you can first back up the photos to your hard drive by importing them into Apple Photos on your Mac. Choose the High Quality setting, which will compress photos larger than 16-megapixels and videos with a resolution higher than 1080p, saving you space but keeping a high level of quality.
Dropbox
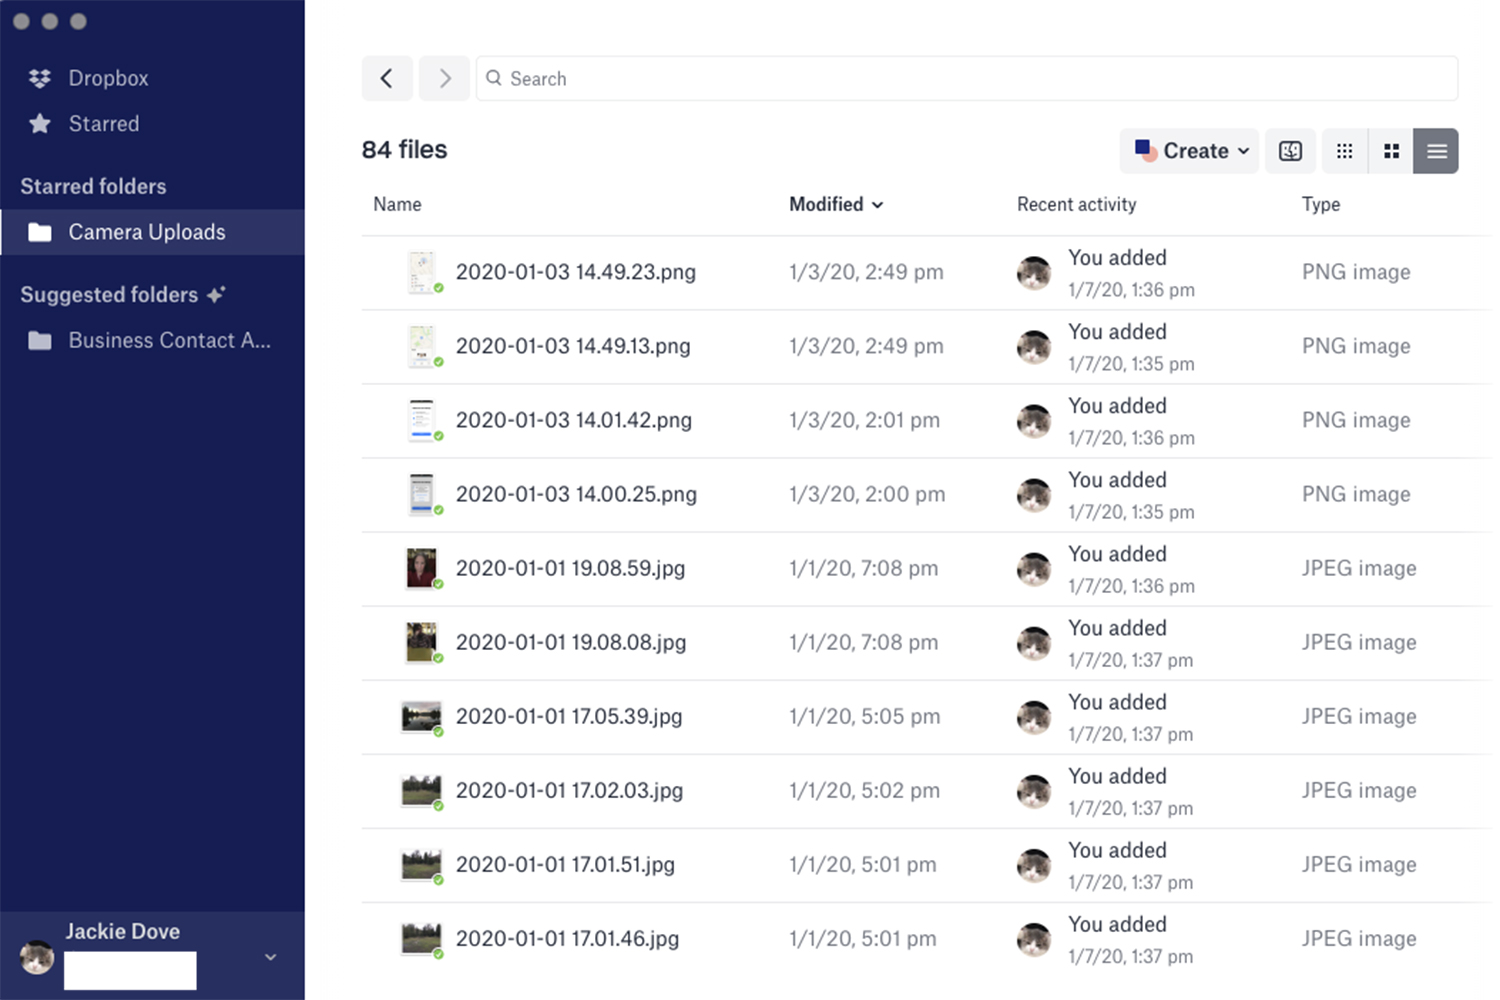
Dropbox offers a handy way to back up your photos and a way to recover photos you accidentally deleted from your Camera Roll. With the Camera Uploads feature, your phone or tablet will automatically add camera roll photos to Dropbox. Dropbox will copy your photos automatically when you connect a phone, camera, or memory card to your computer. Dropbox starts with 2GB of free storage, and when you need more, paid plans offer more space for your photos, videos, and other files. Individual plans are 2TB and 3TB, costing $10 and $17 per month, including 30-day and 180-day backup and recovery respectively.
iCloud

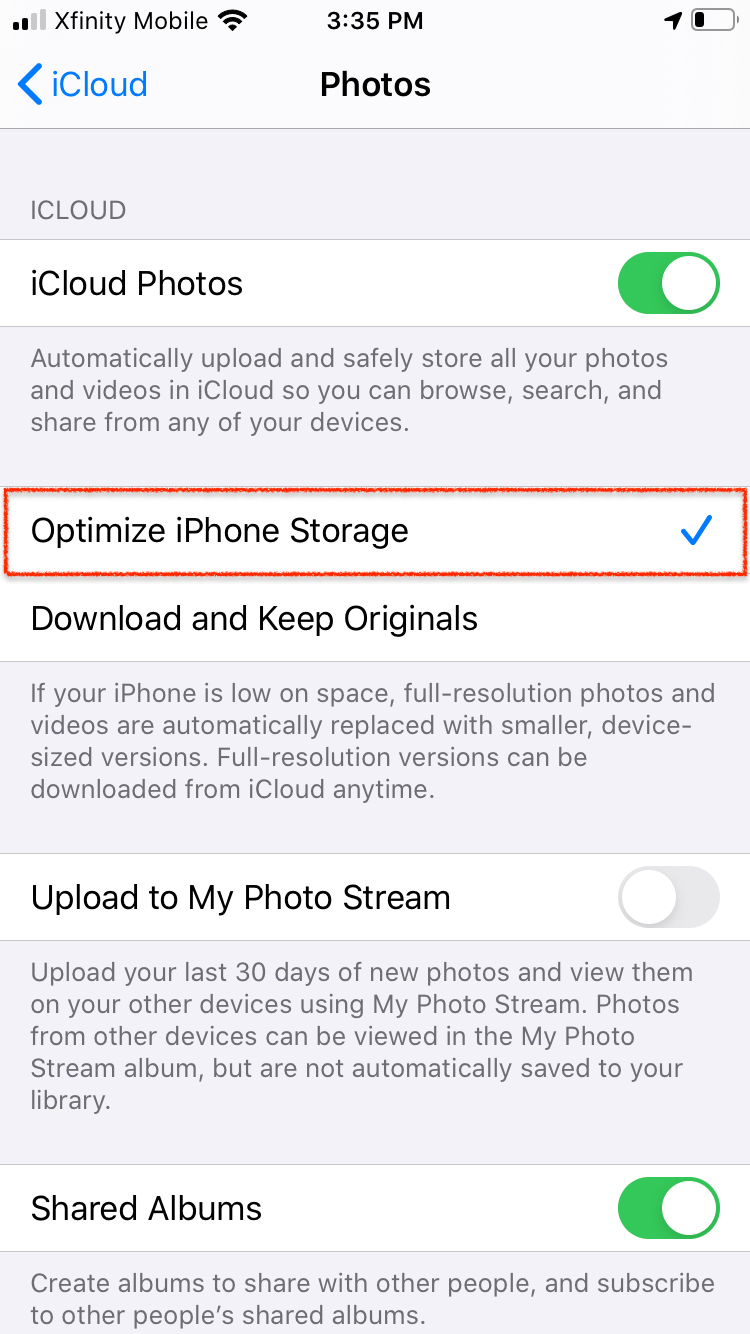
You can make room on your device without compromising any of the content saved to your phone through iCloud Photos. In the app’s settings, you can enable the Optimize Storage feature. From there, iCloud will take over and automatically save any high-resolution images or videos to the cloud while still giving you access to pictures and videos with a smaller file size on your device. Optimize Storage determines which space-saving photos and video can remain visible on your phone while putting original, full-resolution images in iCloud.
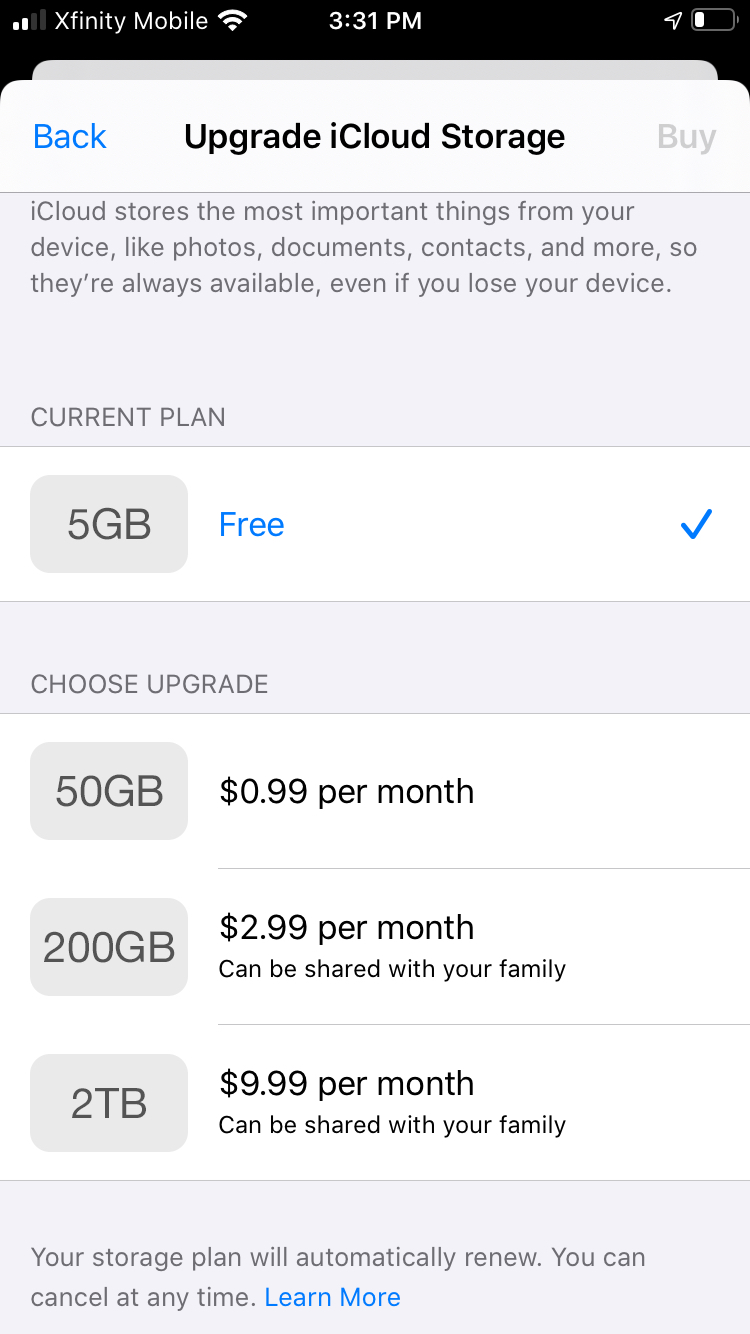
Of course, this feature only really works if you have plenty of storage available in iCloud. If you have ample space, you’ll be able to store photos and videos without an issue automatically. Apple starts off by giving every user 5 GB of free space. From there, you’ll need to purchase more space as you need it. You can follow these steps to optimize your phone’s storage.
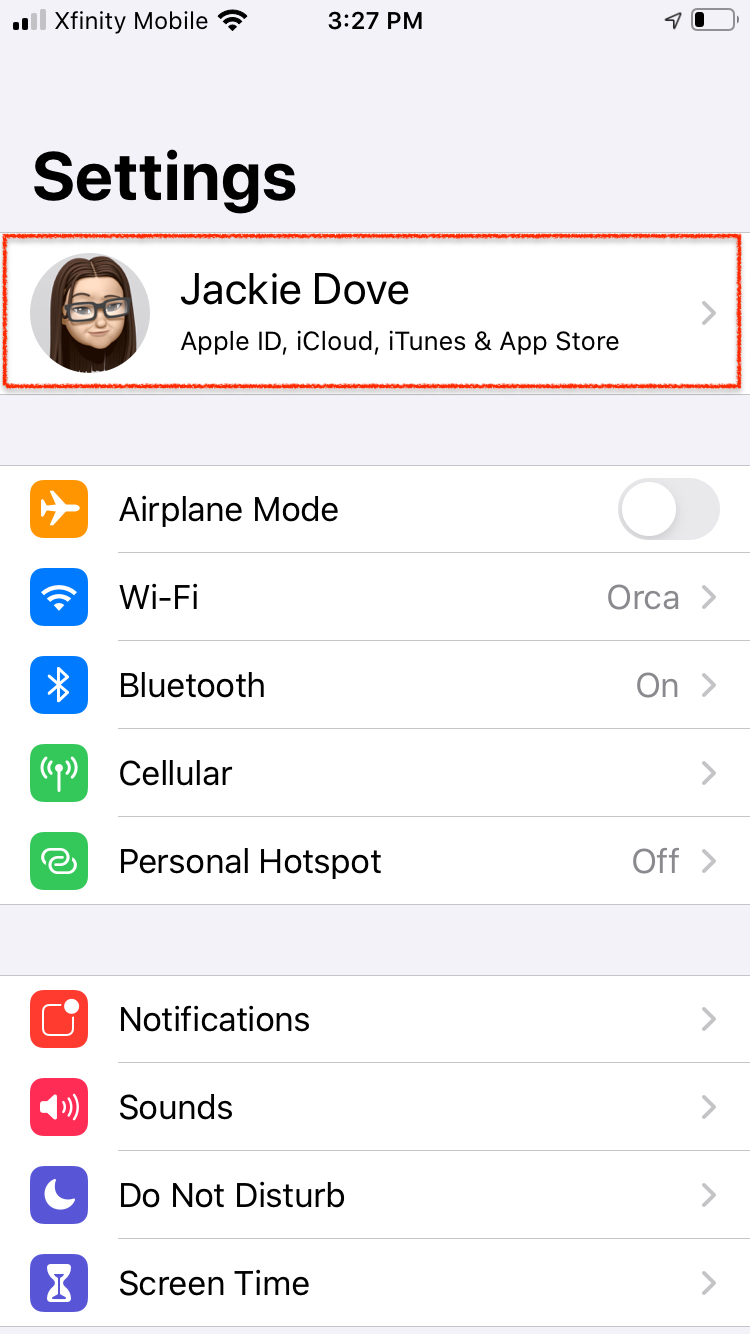
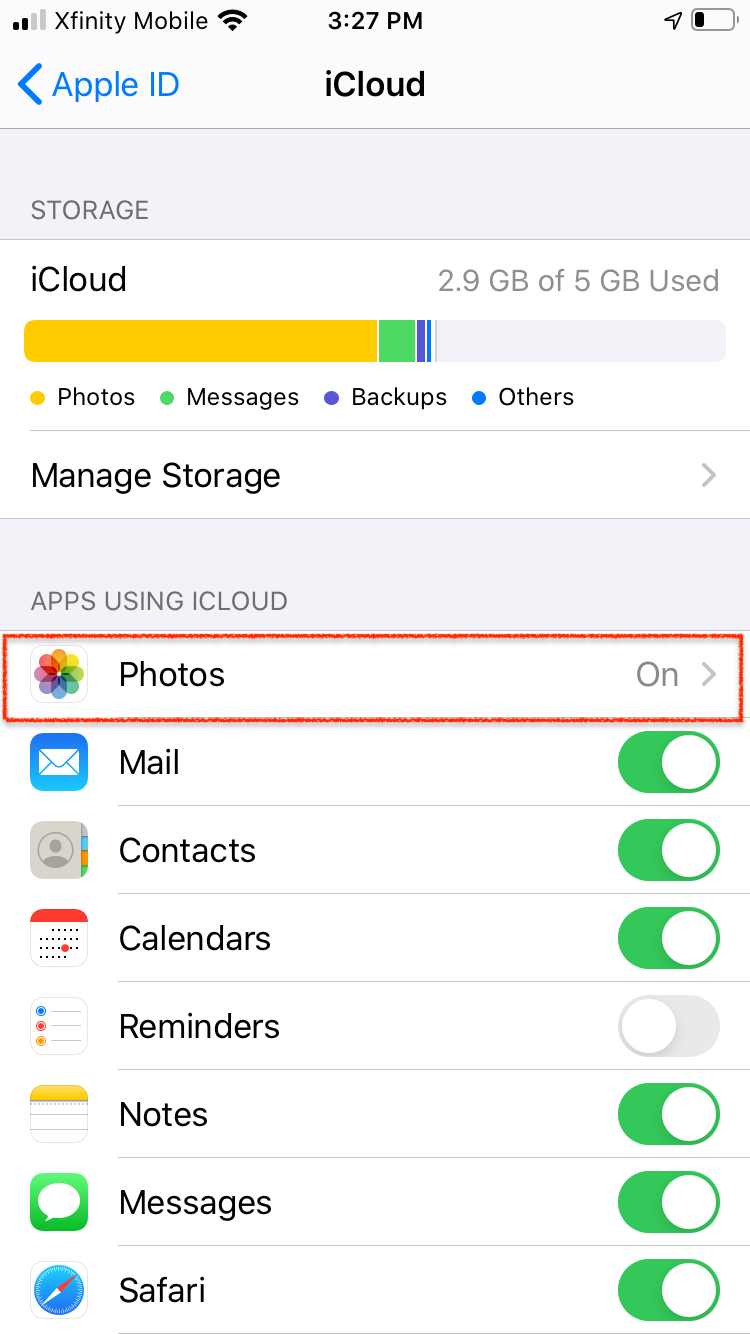
- Select Settings > Your Apple ID > iCloud > Photos.
- Toggle on iCloud Photos.
- Select Optimize iPhone Storage to create storage space on your device.
AirDrop
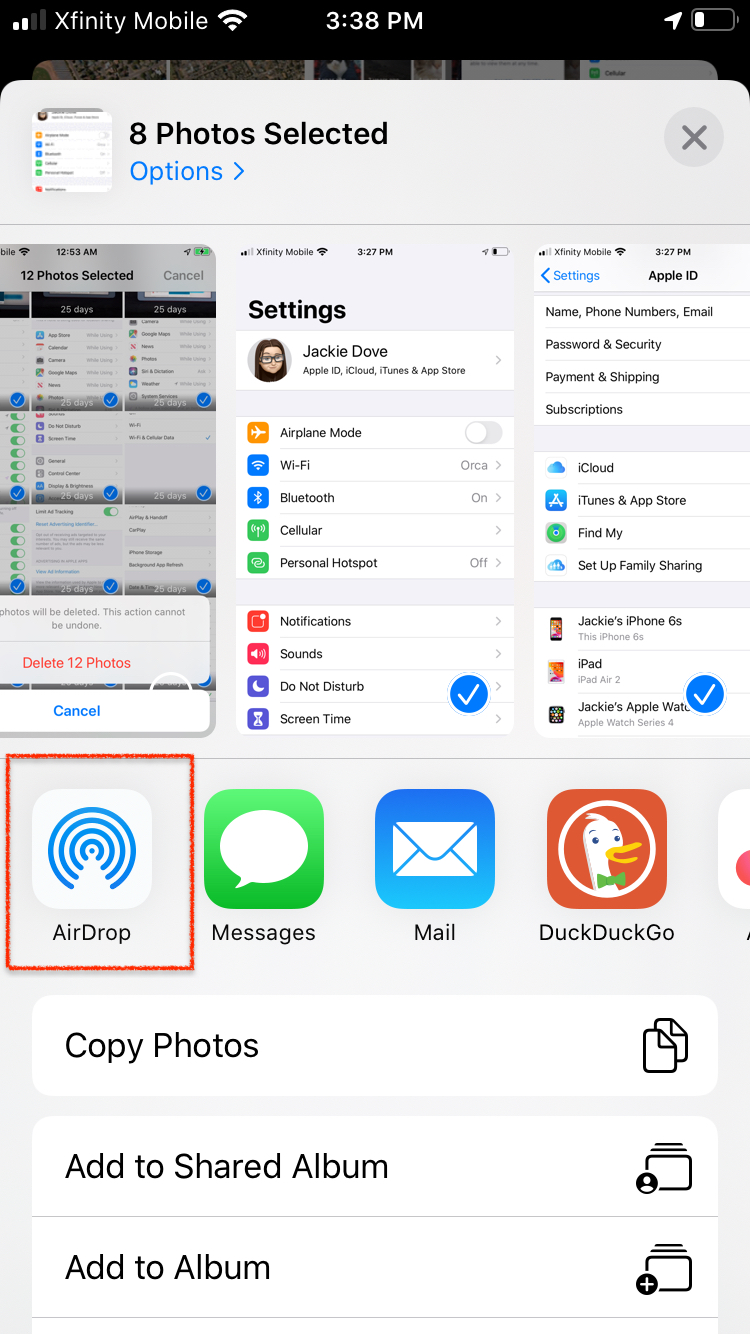

AirDrop, featured in macOS and iOS, is a fantastic and direct tool for sharing and sending photos from your iPhone straight to your hard drive. If your iPhone has Wi-Fi or Bluetooth capabilities, you can use AirDrop. In order to share photos, ensure that your hotspot is turned off (in case you were using it). Then, go to the Photos app, tap Share, and swipe left or right to pick out your preferred photos. From there, select the AirDrop user or the Apple device that you’d like to direct your photos to. It’s free to store on your hard drive or a connected drive.
Editors' Recommendations
- This is the iPhone concept of my dreams
- Best phone deals: Save on the iPhone, Galaxy Z Fold 5, and more
- Are you having iPhone alarm problems? A fix is coming soon
- iPhone 16: news, rumored price, release date, and more
- iPhone SE deals: Refurbished 2nd and 3rd Gen iPhones