Roku remains the undisputed market leader in the streaming device segment, with over double the market share of the next largest competitor. Having recently launched its own line of televisions, Roku continues its expansion into living rooms all around the world.
The companies streaming devices include a streaming stick, small set top streaming boxes, and streaming soundbars. If you've just picked up your first Roku device, here is how to properly set it up on your TV.
If you’ve never set up a Roku or similar streaming device before, you may not be sure where to begin; it’s a little more complicated than just “Plug it in.” But don’t worry, we’ve got the steps you need to quickly set up a Roku device, and all the factors you need to consider.
Connect your Roku to your TV's HDMI port
Step 1: Unpack your Roku device. You can plug all Rokus directly into an HDMI port on a compatible TV, projector, or A/V receiver. All current Roku devices, including the set-top box Roku Ultra, come with an HDMI cable.

Step 2: Find an open HDMI port on your TV or chosen device to plug in your Roku. All modern Rokus need an HDMI port to work. Older Rokus may have a composite connection you can use with older TVs, but it’s not a common setup these days. If you are seriously short on HDMI ports, you can use something like an HDMI splitter, but this can affect streaming quality. The good news is that Roku actually offers to ship one of these extender cables for free if you’re willing to fill out their form.
Connect your Roku to power
Step 1: Plug your Roku device into a nearby power outlet. Rokus come with power adapters designed for this purpose. If your Roku device uses a USB cable for power, you can also choose to connect it to a USB port on your TV instead of to an outlet, but just be sure the port supplies enough current to power the Roku.

Step 2: Some Roku devices, like the Roku Streaming Stick 4K come with a slightly different USB power cable that includes a long-range Wi-Fi receiver. You can also connect this to either an open USB port on your TV or to a wall outlet. Fortunately, today’s TVs typically come with a set of USB ports, so you’re likely to have open ports.

Turn on your TV
Your Roku is now ready to start. Turn on your TV and select the HDMI input where you have plugged in your Roku device. Your Roku should detect this active input and power on. You’ll know it’s working when you see the Roku logo appear on your TV.

Set up your Roku remote
Your Roku also came with a remote. There are several different kinds of Roku remotes. If you have one that uses batteries, open the battery cover and insert fresh batteries. If you have a remote that charges, it should have come with a full charge.
Step 1: If you have a simple remote, you can point it at the TV and start using it. If you have a voice remote (these are distinguished by their voice search buttons), you’ll have to pair it with the Roku via Bluetooth by holding down on the pairing button on the back of the remote. We have a guide discussing this in more depth here.
Step 2: If you are using a voice remote, Roku will now ask to set up the voice remote to work with your TV. Follow the on-screen instructions. As long as your voice remote paired successful with your Roku’s Bluetooth, this step should be simple.

Connect your Roku to the internet
Now it’s time to pick some settings! You'll start by choosing your preferred language before it’s time to connect the Roku to the internet. Most users will prefer to connect the Roku wirelessly to their Wi-Fi network. If you want a cable connection for a more reliable streaming experience, some Roku models (such as the Ultra) allow you to run an Ethernet cable from the device to an open Ethernet port on your router.
When you are ready, select Wired or Wireless. The Roku will look for wireless networks if you are choosing Wi-Fi. Select your network name from the list (you may see it twice if you’re using a dual-band router, once for each band option). Type in your Wi-Fi password using the on-screen keyboard that appears, and select Connect.

Update your Roku's software
When your Roku successfully connects to your network, it will look for an update. Even brand new Rokus are likely to need a firmware update before they are ready to start, so you’ll probably have to wait for your Roku to download and reboot, which can take several minutes. If it doesn't automatically update for some reason, here's our guide on how to update your Roku software manually.
Confirm your display type
Your Roku will suggest an optimal display type based on the HDMI connect you are using. Many of today's television and A/V receivers require users to enable an "enhanced" HDMI mode for 4K connections. So if your Roku is defaulting to 1080p on your 4K display, check those settings.
Create or link to a Roku account
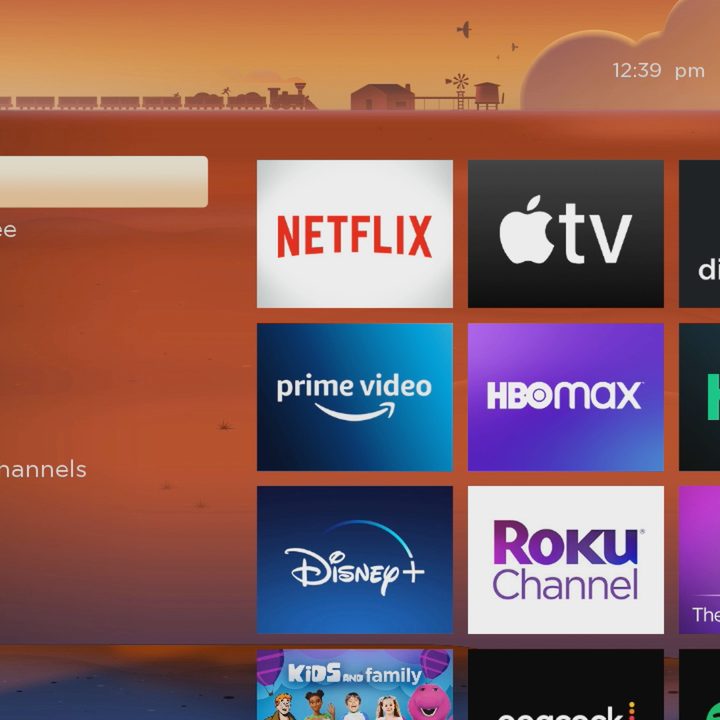
You will now be prompted to create or link a Roku account. If you have a Roku account already, have your login info handy. If you don’t have a Roku account, you will now have to create one, so note your login and password information. There is no fee associated with creating a Roku account, but you need one to activate your Roku.
These days, Rokus use two-factor authentication, so you’ll have to hop onto another device like your smartphone to follow a link and authenticate the device. With that done, you are ready! The Roku should go to its home screen, and you can start exploring.
Things to know about setting up Roku devices
Some Roku players and sticks offer 4K resolution, HDR optimization, or both. You will need a TV compatible with 4K and/or HDR to successfully use these features, as well as content that supports them. The HDMI cable that comes with your Roku device should be able to handle these features too, but you may want to confirm that your TV’s HDMI ports support at least HDCP 2.2.
Roku recommends using an outlet connection for power when setting up, as it’s more reliable to have an independent source of power apart from your TV. A good surge protector can help solve outlet availability in your home theater.
If you have a dual-band router, you may not be sure which band to choose for your Roku. Generally, a 2.4GHz band will have a longer range, but that may come at the cost of slower internet speeds. The 5GHz band tends to have shorter range but will offer faster speeds if possible. Since Rokus and home theaters tend to be fairly close to Wi-Fi routers, there’s usually no issue with picking the 5GHz band and keeping your 2.4GHz band a bit clearer.