
How to set Activity Zones on Blink cameras

Activity Zones are a key feature of Blink security cameras, as they allow you to choose which areas of your property will be recorded. This means you can use Activity Zones to exclude areas that could trigger false notifications – such as a busy public sidewalk or a road in front of your home with heavy traffic.

Difficulty

Easy

Duration

15 minutes

What You Need

You’ll need to tinker with the settings a few different times to perfect your setup, but getting started with Activity Zones is simple. Here’s how to set Activity Zones on Blink cameras.

The Blink Outdoor Camera 4 mounted on a brick wall.
Blink

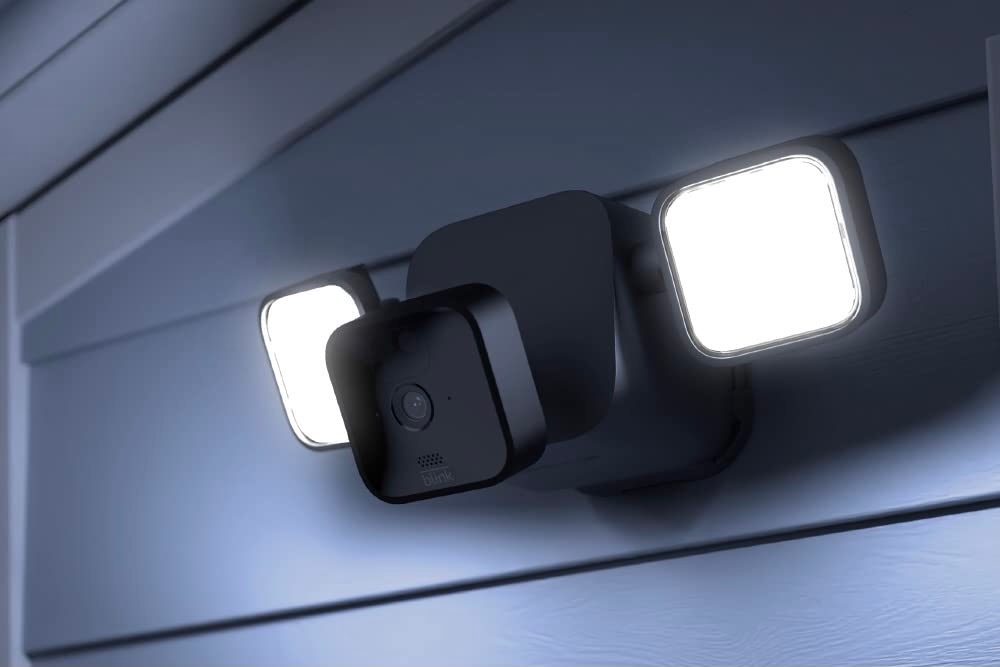
How to set Activity Zones on your Blink camera

You’ll need to use your Blink app to set Activity Zones for Blink cameras. Regardless of which camera you own, the process is largely the same. Here’s how it works.

Step 1: Open the Blink smartphone app and select the Camera Settings option for the camera you want to modify.

Step 2: Select Motion Settings, then enter the Motion Zones menu.

Step 3: Here, you’ll see a screenshot of what your camera is recording. If the image looks old, press the Update Photo button to refresh it.

Step 4: You should see a grid overlay running the length of your image. Tapping on a square in the grid will turn it into an inactive Activity Zone – meaning motion will not be detected in that region.

Step 5: Depending on your camera, you may be able to zoom in on the image to access a smaller grid. This allows you to create a more precise Activity Zone.

Step 6: Once you’ve tapped on the areas you’d like your camera to ignore, select Done.

Step 7: Any motion in the squares you deactivated will be ignored. All the squares that remain are considered your Activity Zone.

Step 8: If you’d like to delete all your changes and start from scratch, you can select the Reset Zones button to activate all squares on the grid.

Step 9: It requires some trial and error to get your Activity Zones working flawlessly for your property. Consider making minor changes to your settings every 24 hours until you've perfected its layout.

Editors' Recommendations

Jon Bitner
Jon Bitner is a writer covering consumer electronics, technology, and gaming. His work has been published on various websites…
How to format the microSD card on Tapo security cameras
The Tapo C120 out in the rain.

One of the most compelling features of Tapo products (like the Wire-Free 2K Outdoor Cam and Indoor/Outdoor Cam) is support for local storage. Many Tapo security cameras let you install a microSD card, so you don't have to rely on cloud storage to save all your videos – instead, they're neatly stored right on your camera. Before you can start using local storage, however, you'll need to format your microSD card. Tapo has some pretty strict requirements for how this works, but the process itself is remarkably simple.

Ready to start saving all your video clips locally? Here's how to format the microSD card on your Tapo security camera.

Read more
How to save Ring Doorbell video without a subscription
Ring Doorbell mounted outside a front door.

Take a walk through any neighborhood, and you're bound to see a few Ring video doorbells installed next to front doors. The brand is increasingly popular, thanks to an ever-growing product lineup that makes it easy to find a device for all budgets and security needs. But one of the peskier features of Ring is the need for a Ring Protect Plan -- a monthly subscription service that unlocks the majority of the camera's most useful features.

One such feature locked behind a Ring Protect Plan membership is the ability to save Ring doorbell videos. Without a plan, you'll really only be allowed to view a live feed of your video doorbell. The plans are pretty generous, with the Basic plan costing $5 per month and offering video history for up to 180 days, making it a worthwhile investment for homes worried about their security.

Read more
Does the Pan-Tilt Mount work with the Blink Mini 2?
The Blink Mini installed in the Pan-Tilt Mount.

The Blink Mini 2 is a solid security camera that clocks in at a great price, making it the ideal option for shoppers on a budget. It takes everything people loved about the original Blink Mini and makes it even better, offering an affordable way to keep tabs on your home remotely. The Blink Mini eventually received a unique accessory known as the Blink Pan-Tilt Mount, allowing users to freely rotate the camera and see all corners of their home. And since the Blink hasn't yet released a Blink Mini 2 Pan-Tilt Mount, many folks are wondering if the original Pan-Tilt Mount works with the Blink Mini 2.

Unfortunately, the Pan-Tilt Mount does not work with the Blink Mini 2. If you're interested in learning more, here's a closer look at why that's the case, along with info as to whether Blink plans to launch a Pan-Tilt Mount for the Blink 2 in the future.
Why doesn't the Pan-Tilt Mount work with Blink Mini 2?

Read more