It's not easy to play Fortnite on a Mac, but it is doable. Apple and Epic Games have had their disputes over the years, with Apple's App Store practices making it tricky to play a range of games on Macs, *Fortnite *included.
Technically, you can play Fortnite natively on MacBooks and Macs running Apple hardware -- though the M1 MacBook Air is probably not powerful enough -- but it won't be the full updated version. You're much better off using one of several major game streaming services, as that will get Fortnite running far more smoothly.
How to play Fortnite using Xbox Cloud Gaming
The most reliable way to play Fortnite on a Mac is to use a cloud-gaming service. Right now, you’ve got three main options: Xbox Cloud Gaming, Nvidia GeForce Now, or Amazon Luna. We’ll start with Xbox Cloud Gaming because it has the advantage of not requiring any paid subscription to play Fortnite.
The drawback of using Xbox Cloud Gaming is that you’ll only be able to play Fortnite with a controller – it doesn’t support keyboard and mouse gameplay at the moment. Also be aware that it runs in your web browser window (using Chrome or Edge, not Safari), so you don’t need to download any extra apps to run it. You will, however, need a steady (and preferably fast) internet connection.
Step 1: First, you’ll need to link your Epic Games account to your Xbox account, which ensures your progress is saved and transferred from other platforms. To do so, head to epicgames.com and select the Person icon in the top-right corner, then sign in to your account. Once that’s done, hover over the Person icon again and select Account. In the left-hand sidebar, go to Apps and Accounts > Accounts. Underneath Xbox, choose Connect > Connect Account. Follow the on-screen prompts to sign in using your Xbox account.
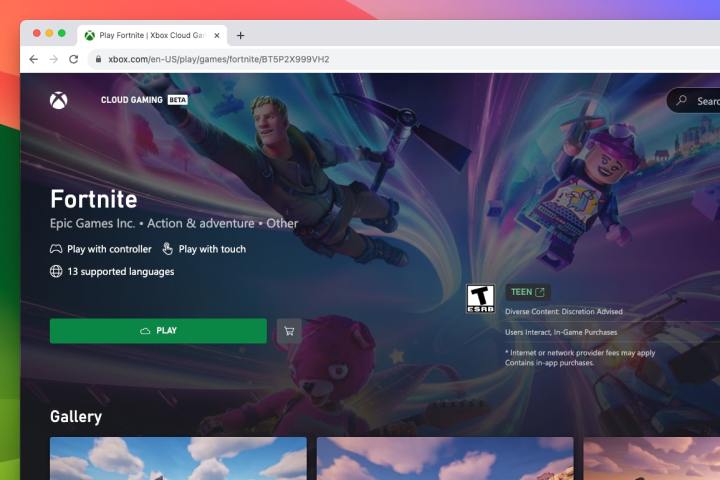
Step 2: Now go to xbox.com/play. Select Fortnite from the list of games (you might need to search for it using the box in the top-right corner). At the top of the page, select Sign In (if you are not already signed in) and follow the on-screen instructions.
Step 3: Now select the Play button. If you instead see a button saying “Browser Not Supported,” you’ll need to switch to a different browser. Chrome or Edge should work.
Step 4: You’ll need to have a controller connected, as Fortnite on Xbox Cloud Gaming doesn’t support keyboard and mouse play. Once that’s sorted, Fortnite will launch and you will be able to play.

How to play Fortnite using Amazon Luna
Instead of Xbox Cloud Gaming, you can play Fortnite on your Mac using Amazon Luna. This game-streaming service is free if you already have an Amazon Prime subscription. If not, you can sign up for Amazon Luna separately. Unlike Xbox Cloud Gaming, Amazon Luna offers the benefit of keyboard and mouse compatibility.
Like Xbox Cloud Gaming, Amazon Luna also works in your browser. You’ll need to use a Chromium-based browser like Chrome or Edge for your games to run properly.
Step 1: Go to luna.amazon.com and make sure you’re signed in using an Amazon account. Select Fortnite from the homepage (you might need to pick Search in the left-hand sidebar and find it that way). Now, select the Play now with Prime button. If you don’t have a Prime subscription, you will be prompted to join Luna+, which offers a free seven-day trial.
Step 2: Once that’s all sorted, choose the Play now button, then select Sign in to Epic Games and follow the on-screen instructions. This will link your Luna and Epic accounts and ensure your progress syncs properly. Finally, pick Play now again to load up Fortnite.
Use Nvidia GeForce Now
The third streaming service you can try is Nvidia GeForce Now. This has the widest range of streaming quality options (with various time limits and frame rate caps applied), but is also potentially the most expensive subscription if you opt for its premium tier. There is also a free tier that works with Fortnite.
There are two ways to play Fortnite on your Mac using Nvidia GeForce Now: in your browser or using Nvidia’s app. We’ll discuss both, starting with the browser method.
Step 1: First, go to Nvidia’s GeForce Now membership page and select Join under your chosen subscription tier, then sign in with your Nvidia account and complete the joining process.
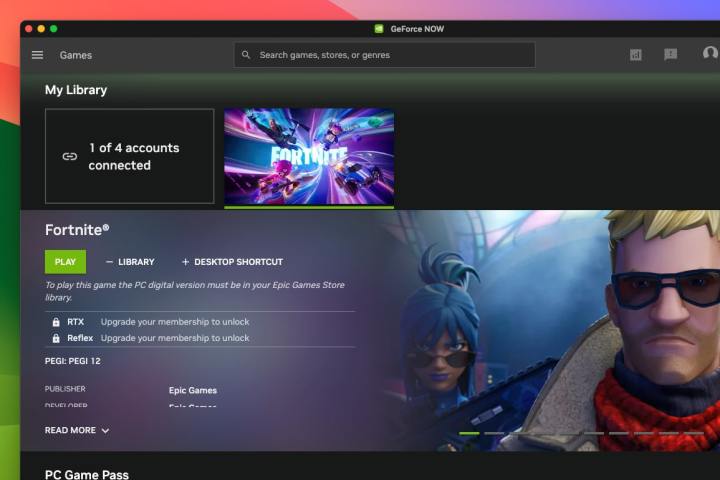
Step 2: Now go to play.geforcenow.com and make sure you are signed in using your Nvidia account. Near the top of the page on the left-hand side, choose Connect your store accounts. Next to Epic Games, select Connect and follow the on-screen instructions.
Step 3: Return to the GeForce Now homepage and select Fortnite, then Play.
Step 4: Alternatively, you might want to use the GeForce Now app instead of playing in a browser. To do so, go to geforcenow.com and select Download in the webpage’s top menu bar. Download the macOS version and install it as you would any other macOS app.
Step 5: The process is now very similar to step 2 above (the GeForce Now app is essentially a wrapper for Nvidia’s website). You’ll need to log in, connect to your Epic account, then head back to GeForce Now, select Fortnite, then choose Play. It’s all done in the same way as laid out in step 2.
How to play Fortnite natively from Epic Games Store
In addition to the above options for using game-streaming services, you can download and play Fortnite directly from the Epic Games Store. However, we wouldn’t recommend doing this due to the restrictions Epic has put in place for Mac users.
For instance, you can’t download the latest version of Fortnite and are instead limited to version 13.40. This doesn’t include any of the latest seasonal content, maps and other additions. You’ll also be unable to enjoy cross-platform play and will be stuck playing against either bots or other macOS users who have downloaded the game from the Epic Games Store. Finally, Epic has disabled V-Bucks in the Mac version, meaning you can’t purchase new items in the game.
If you still want to try this method, here’s how it’s done.
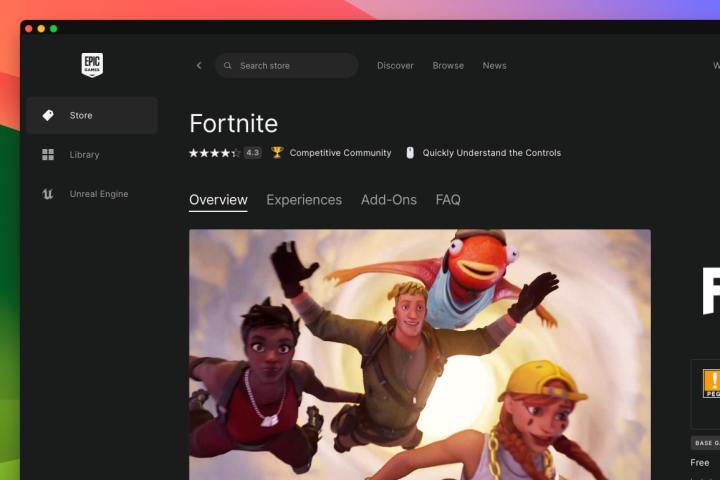
Step 1: Go to epicgames.com and select Fortnite from the homepage (or search for it if it doesn’t appear).
Step 2: On the Fortnite page, select Get to add the game to your library. Now download and install the Epic Games Launcher using the Download button at the top of the page.
Step 3: Once that’s finished, open the Epic Games Launcher app and select the Library tab, pick Fortnite, then choose Install. Once the installation is complete, select Launch to play the game.
There are several ways to play Fortnite on your Mac, and none of them are particularly complex. We’d suggest you start out by trying the free tiers offered by either Xbox Cloud Gaming or Nvidia GeForce Now, or instead opt for Amazon Luna if you already have an Amazon Prime subscription.
It’s probably best to avoid the native version of Fortnite from the Epic Games Store as it is very limited at the time of writing. Hopefully. Apple and Epic can resolve their dispute and enable Mac gamers to enjoy the full, latest version of Fortnite without any restrictions.
There are other options that you might find discussed elsewhere, such as virtual machine software like Parallels Desktop or Windows compatibility apps like CrossOver or Apple’s game-porting toolkit. Unfortunately, most of these don't work effectively, so aren't the best way to play Fortnite just yet. If the lawsuit changes things in the future, though,we'll let you know.
In the meantime, if you get Fortnite running on your Mac, don't forget to check out our Fortnite *performance guide to make it run its best, and here are some tips and tricks to improve your *Fortnite play.
Editors' Recommendations
- 4 high-end features Windows laptops still have over MacBooks
- How to choose between a MacBook and a Windows laptop
- You can play almost any Windows game on Mac — here’s how
- The 6 key things Apple must fix in the next version of macOS
- How to create a Smart Folder on a Mac