
How to turn off PIN on Windows if you don’t need the added security

heres whats coming in windows 10 build 11099 hello
dotshock/123RF

Windows Hello is a convenient way to sign in to your Windows 10 or Windows 11 device using a PIN, alongside other biometric options including fingerprint or facial recognition. It is an essential feature, especially if you have kids, live with roommates, or have sensitive information stored on your PC.

But if you are not worried about security or you just find entering a PIN every time you turn on your PC annoying, here is a step-by-step guide on how to turn off PIN on Windows.

Recommended Videos

Difficulty

Easy

Duration

5 minutes

What You Need

  • PC running on Windows 10 or 11

How to turn off PIN on Windows 10

Step 1: To remove the Windows Hello PIN from your Windows 10 PC, go to the Start menu and select Settings.

Screenshot of Windows 10 start menu.
Image used with permission by copyright holder

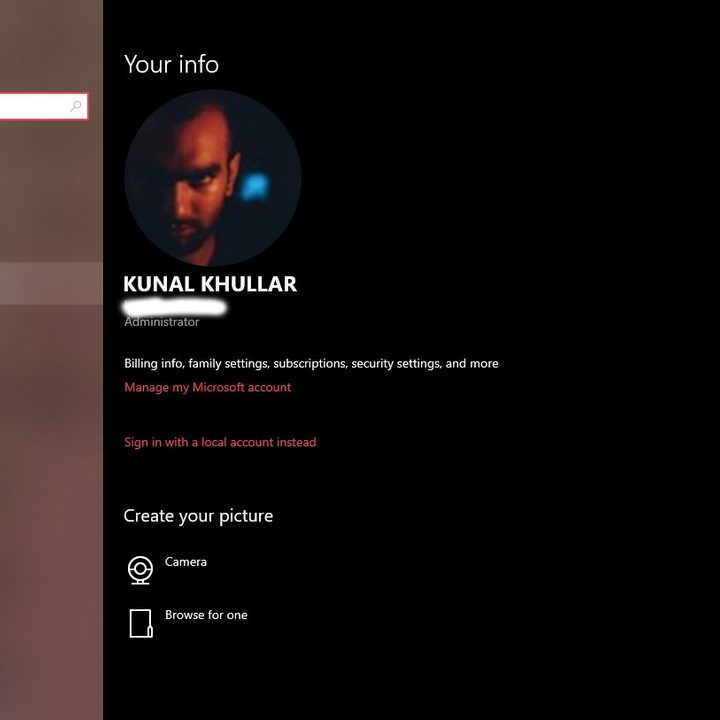
Step 2: Once the Settings window opens, navigate and select Accounts.

Screenshot of Windows 10 settings menu.
Image used with permission by copyright holder

Step 3: Select Sign-in options from the menu on the left.

Screenshot highlighting the Sign-on options on Windows 10.
Image used with permission by copyright holder

Step 4: Select the Windows Hello PIN option to reveal buttons to Change or remove the PIN.

Screenshot of Windows Hello PIN options on Windows 10.
Image used with permission by copyright holder

Step 5: Click on the Remove button. You should now get a confirmation prompt where you need to select the Remove botton again.

Screenshot showing Windows Hello PIN remove button.
Image used with permission by copyright holder

Step 6: In case the Remove button is grayed out, switch off the toggle underneath the Windows Hello sign-in options that reads Require Windows Hello sign-in for Microsoft Accounts.

Screenshot showing toggle to disable windows hello pin sign-in required for microsoft accounts.
Image used with permission by copyright holder

Step 7: Once the toggle is turned off, the Remove button should no longer be grayed out.

How to turn off PIN on Windows 11

The process to remove PIN on Windows 11 is pretty much the same as on Windows 10.

Step 1: Right-click on the Windows Start button and select Settings from the list.

Screenshot of the Windows Start settings on Windows 11.
Image used with permission by copyright holder

Step 2: Next select Accounts and select the Sign-in options tab.

Screenshot showing Accounts settings on Windows 11.
Image used with permission by copyright holder

Step 3: Under the Ways to sign-in section, select the PIN (Windows Hello) option and then click on the Remove button that is in front of the setting that reads Remove this sign-in option.

Screenshot of Account settings on Windows 11.
Image used with permission by copyright holder

Step 4: Just like Windows 10, if you have the Remove button grayed out, you need to turn off the Windows Hello sign-in for Microsoft Accounts.

Screenshot showing windows hello pin remove button greyed out.
Image used with permission by copyright holder

Step 5: You can find the toggle inside the Sign-options tab itself, placed under Additional settings.

Screenshot showing how to disable windows hello pin for microsoft account.
Image used with permission by copyright holder

Step 6: Once the toggle is turned off, the option to remove the PIN should be available and no longer grayed out.

Step 7: Click on the Remove button and reconfirm your action on the following prompt.

You have now successfully removed your Windows sign-in PIN. If you happen to change your mind later, here's how to set up Windows Hello.

If you're still using Windows 10, read our Windows 11 review to see if it is time for you to change.

Kunal Khullar
Kunal Khullar is a computing writer at Digital Trends who contributes to various topics, including CPUs, GPUs, monitors, and…
You definitely want to install these 90 Windows security patches
Microsoft Surface Laptop Go 3 rear view showing lid and logo.

Microsoft has issued security updates to address 90 vulnerabilities, some of which hackers are actively exploiting, in a blog post yesterday. These flaws allow hackers to bypass security features and gain unauthorized access to your PC's system, highlighting the need to keep your Windows computer updated.

Nine are rated Critical, 80 of the flaws are rated Important, and only one is rated Moderate in severity. In addition, the software giant has patched 36 vulnerabilities in its Edge browser in the past month to avoid issues with its browser. Users will be happy to know that the patches are for six actively exploited zero-days, including CVE-2024-38213. This lets attackers bypass SmartScreen protections but requires the user to open a malicious file. TrendMicro's Peter Girnus, who discovered and reported the flaw, proposed it could be a workaround for CVE-2023-36025 or CVE-2024-21412 that DarkGate malware operators misused.

Read more
Here’s how much RAM Windows 11 actually uses
A man sits, using a laptop running the Windows 11 operating system.

Upgrading to Windows 11 comes with a few requirements, and that includes a bump in random access memory (RAM) compared with Windows 10.

Windows 11, while it introduces a host of new features, may consume more RAM than its predecessor, but the amount of memory that it uses is not universal. Below, we'll explain what RAM is, explore how much RAM Windows 11 actually uses, and how to lower that amount if your PC is having a hard time.
Windows 11: RAM usage when idle

Read more
How to enable secure boot in Windows 11
Secure Boot setting in an ASUS BIOS.

Enabling Secure Boot is an important step in upgrading to Windows 11, as it's part of the system requirements. It ensures that unauthorized software can't run on your PC, and you will have to enable it before you install Windows 11 or it just won't work. Fortunately, enabling Secure Boot is as quick as changing a single BIOS setting.

Here's how to do it.

Read more