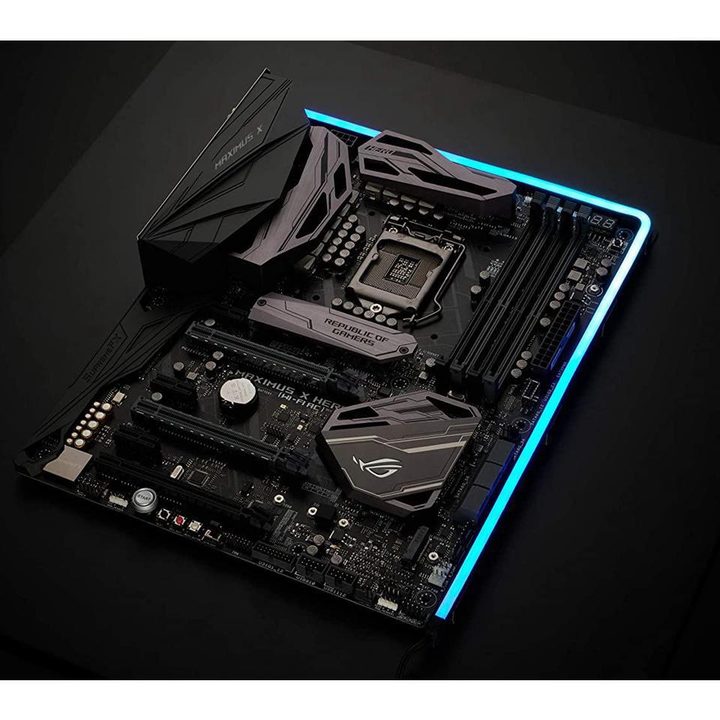
The motherboard is, arguably, the most important component inside your PC. It's the motherboard that dictates what kind of hardware you'll be able to use, so it's important to know your exact model. This knowledge can come in handy when you build a new PC, upgrade your existing computer, or even just update your drivers.
You may be familiar with searching for components within your system, but the methods used to check your GPU model won't always apply to the motherboard. To make it easier, we've compiled a list of all the methods to check your motherboard model on Windows, and they'll only take a few minutes.

Check with System Info
This is by far the easiest method of checking your motherboard model. It takes all of a minute and is as straightforward as it gets.
Step 1: Your first step is to access System Information on Windows. This can be done in a number of ways.
The simplest option is to type System Information into the Windows Search bar, then tap on it or press Enter. Alternatively, you can navigate to it manually by going to the Control Panel > System and Security > Windows Tools > System Information.
Lastly, you can hit the Windows and the R keys on your keyboard to open Run, then type in msinfo32 and click OK.
All of these paths bring you to the same place: System Information.
Step 2: No matter the path you took to get here, you're now in the System Information section of Windows.
To find out your motherboard model, look for the following: Baseboard Manufacturer and Baseboard Product. Under Manufacturer, you'll find out which company made your motherboard, and under Product, you'll see the exact model. That's all you need to know!
In most cases, this should be enough and you shouldn't have to go digging further. However, if this didn't work for any reason, let's explore your other options.


Check with third-party software
If you don't want to mess around with different settings and options, you can just download a quick and easy tool that will do the work for you. The most popular options for checking your motherboard include HWiNFO and CPU-Z, and both of these can come in handy for other purposes, such as monitoring your system performance and temperatures.
Step 1: First, download your program of choice. For the purpose of this article, we will use HWiNFO, but you can also use CPU-Z. Both are free to download.
When it comes to HWiNFO, you can choose between a portable download (meaning one that won't need to be installed) and a regular install. Either works fine.
Step 2: Once you've downloaded HWiNFO, launch the program. You'll be presented with an overwhelming amount of information, but right now, you only care about the Motherboard section.
Two windows will have popped up — the System Summary window and the main HWiNFO window. In the former, you'll see the Motherboard section right in the middle, with information on your board, including the manufacturer, the model, and the chipset.
In the main window, simply click on the Motherboard option on the left-hand side to get a detailed overview of all things related to your motherboard.
There's a lot more interesting info in programs like this, so while you're here, spend some time looking into it if you're interested. For example, you can use HWiNFO to check your CPU temperature or measure your PC power consumption.


Check with Command Prompt
If you're feeling adventurous, you can use the Windows Command Prompt to check your motherboard model. This is a little more advanced than the previous two methods, but only really takes a couple of minutes.
Step 1: Start by opening the Command Prompt. To do this, type Command Prompt into Windows Search, then right-click on it and select Run as administrator.
Step 2: With the Command Prompt up and running, type in the following:
wmic baseboard get product,Manufacturer
You can also just copy-paste it if that's easier for you.
Press Enter. Windows will give you your motherboard model shortly after, just as it would in System Information.

Check with PowerShell
If, for any reason, you'd prefer to use Windows PowerShell to check your motherboard as opposed to the Command Prompt, it can be done very quickly.
Step 1: Launch Windows PowerShell by typing PowerShell into the Windows Search. Next, make sure to right-click it and select Run as administrator.
Step 2: In the PowerShell window, paste in the following:
Get-WmiObject Win32_BaseBoard | Format-Table –Auto Manufacturer,Product,SerialNumber,Version
Press Enter to run the command. PowerShell will then return with a bunch of information, and some of it may be blank even though it shouldn't be. However, what really interests you is the information under Manufacturer and Product, which discloses your motherboard model.


Check the box and the order history
Whether you bought a prebuilt PC or built yourself a computer, the information about the kind of motherboard you're running is somewhere out there. Here are a few options to consider.
First, in the case of custom PCs, check if you might still have the box. This is an obvious one that might resolve all your problems easily.
Next, for both prebuilts and custom computers, start digging for receipts and order history. Log on to your account with the retailer(s) that you used and check. Give them a call if there's nothing there. In the case of prebuilts, once you find the exact model of your computer, finding the motherboard should be easy — just type the model into a search engine and add specs.

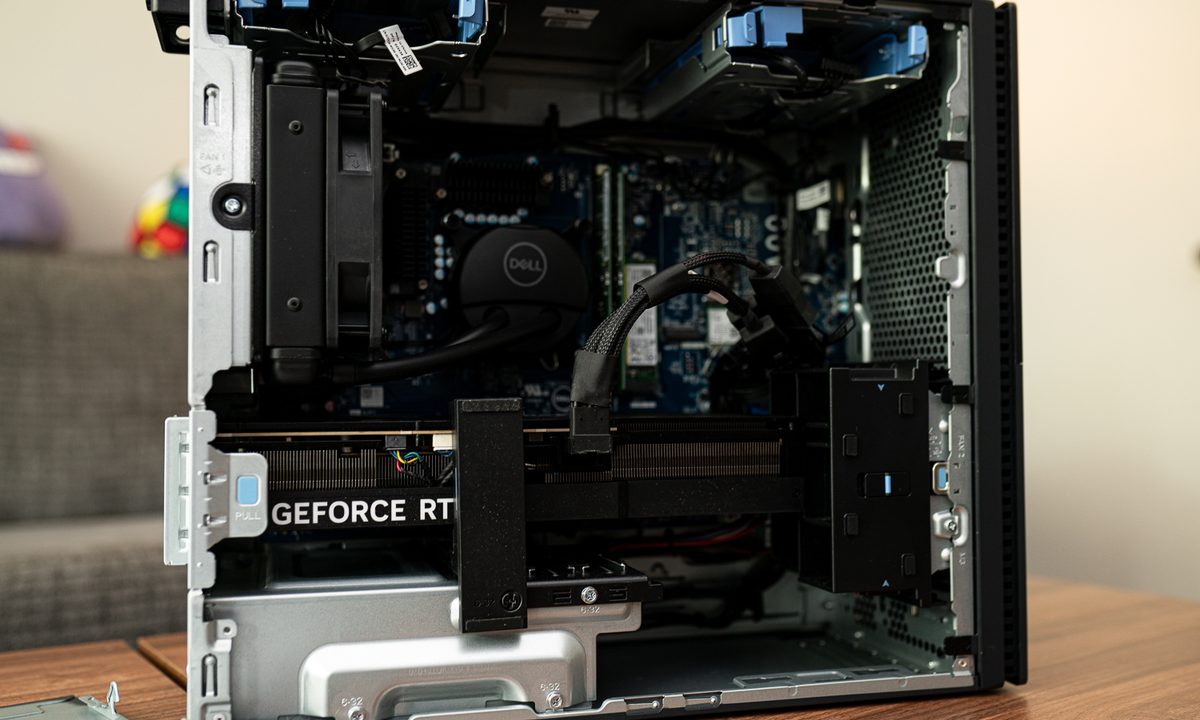
Open up the case
If you own a desktop, your last resort is to open up the case and then physically check the motherboard. Be mindful that if you own a prebuilt, your warranty may depend on you never opening up the case, so make sure to check that first. Laptop users should stick to the methods listed above, as the motherboard model is not as easily discernible on notebooks.
Assuming that your PC case has a glass side panel, you might be able to peer inside and see the motherboard model. Pretty much every single one of the best motherboards will have its manufacturer and model written down somewhere at the front. If you don't see it, turn off your PC and ground yourself by either using an anti-static wrist strap or touching the metal chassis of your PC with your bare hands.
Remove the side panel and look at your motherboard carefully. If any components are in the way, you might have to remove them, so keep our guide to building a PC on hand to put things back together once you're done.