Learning how to use Live Captions in Windows 11 can be a great way to better understand the audio you're listening to. Whether it's a film without its own subtitles, a song you've just heard, or your friend's microphone isn't turned up enough, Live Captions are a quick and automated way to subtitle any audio source.
You'll need to have the Windows 11 22H2 update installed, so make sure you've updated recently before giving it a go. Once you're ready, here's how to use Live Captions in Windows 11.
How to turn on Live Captions in Windows 11
The first step to using Live Captions in Windows 11, is to enable them. Here's how to turn Live Captions on.
Step 1: Select the area of your taskbar with your Wi-Fi network indicator, the volume, and the battery, to bring up the Quick Settings menu. Then select Accessibility and then toggle Live Captions to On.
Alternatively, press Ctrl + Windows Key + L.
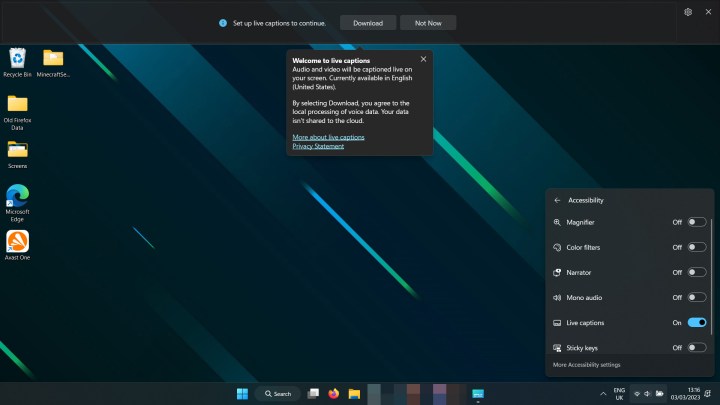
Step 2: Live Captions will then begin setup. Select Download when ready. Downloading Live Captions data may take a minute depending on your internet connection. When it's finished, the top bar will read Ready to Caption.
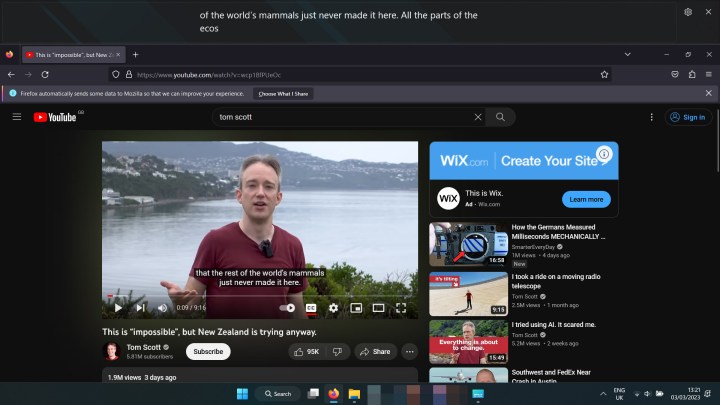
Step 3: Open a video, a song, or anything else with audio (except voice calls or microphone recordings, we'll cover that below) and the Live Captions bar at the top of the screen should display what's being said in clear text.
You can even pit it head-to-head against another captioning service, like YouTube's built-in subtitles.
How to Live Caption your microphone
If you want to caption what you're saying, you'll need to enable that specific function — it's disabled by default for privacy purposes.
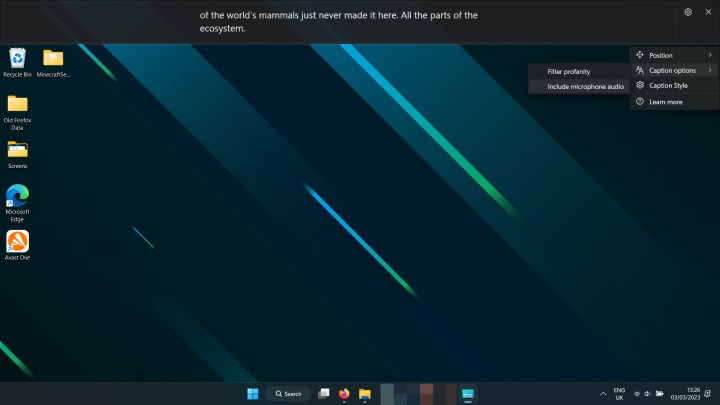
Step 1: Launch Live Captions if you haven't already, by pressing Ctrl + Windows Key + L, then select the Settings cog icon in the Live Captions bar.
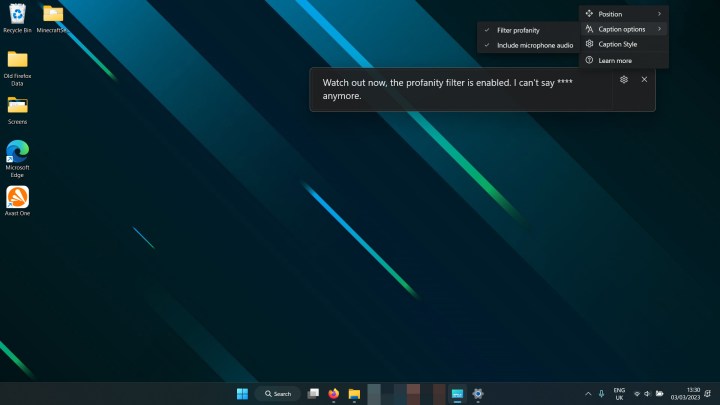
Step 2: Select Caption Options.
Step 3: Select Include microphone audio. Now when you speak into your microphone, it will appear captioned in the Live Captions bar.
How to customize Live Captions
You can customize the look and feel of Live Captions and how they're displayed using the options menu.
Step 1: Launch Live Captions if you haven't already, by pressing Ctrl + Windows Key + L, then select the Settings cog icon in the Live Captions bar.
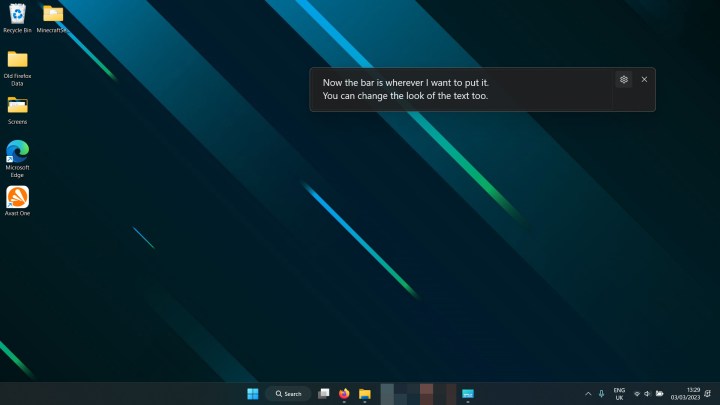
Step 2: Select Position to choose where you want the Live Captions bar to be. You have the option of Top, Bottom, or Floating on the screen, where you can move it around at will.
Step 3: Select Caption options followed by Profanity filter to filter out any unsavory language.
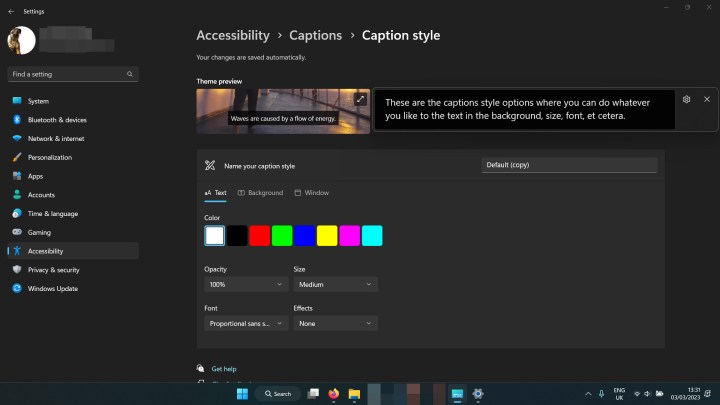
Step 4: Select Caption Style and then Edit to customize the look of the text output. You can tweak its color, size, and font, and adjust the background and window itself.
Now that you know how to use Live Captions in Windows 11, want to prove it to all your friends? Here's how to take a screenshot in Windows 11.


