
Digimon Survive: How to get all endings

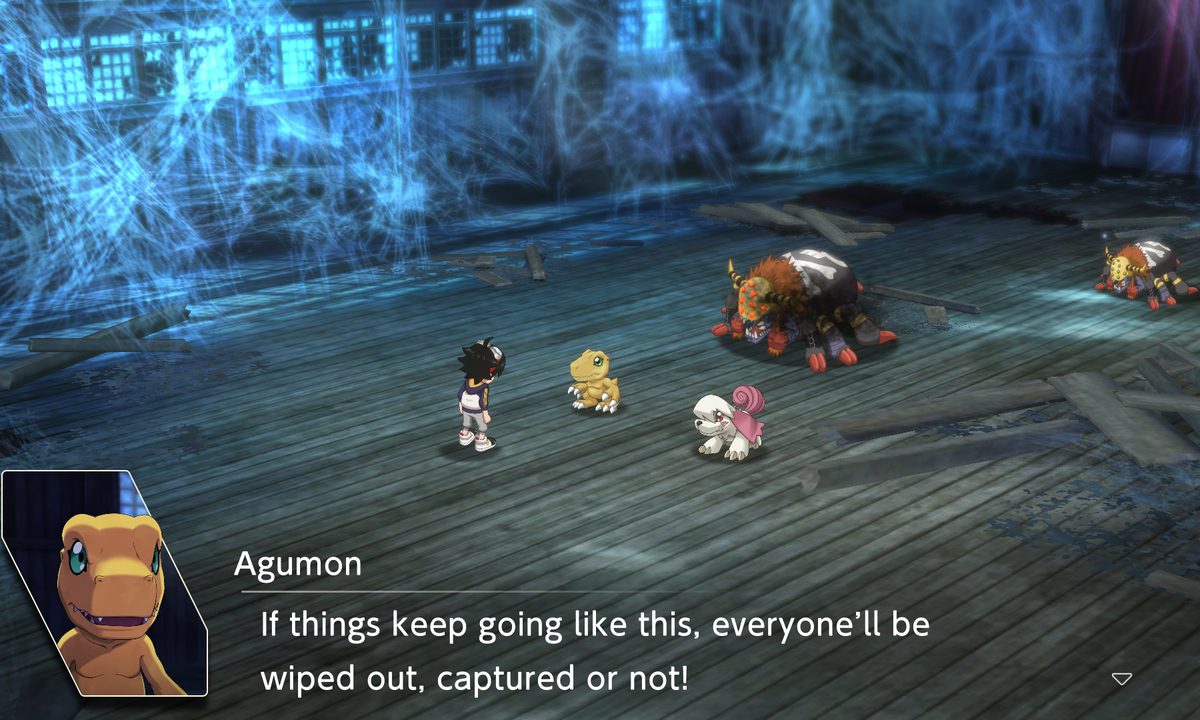
Unlike any previous Digimon game, Digimon Survive incorporates two distinct gameplay styles and mechanics for the different portions of the game. The story sections are all presented in a visual novel format, where you will read dialogue, make choices, learn about characters, and build up your Karma. Then, when battles break out, you are shifted into the tactical, grid-based battle system. While both are new to the series, it is the visual novel elements that have the greatest impact on the story presented.

Difficulty

Moderate

Digimon Survive's story is very mature in its themes and how it handles its characters. It is also quite serious about the player's choices actually having meaning beyond just some flavor text being changed here or there. In fact, the ending you get will be drastically changed based on decisions you make throughout the journey, leading to multiple possibilities. In total, there are five possible endings you can get, so to make sure you get the one you want, here's what you need to do to get each one in Digimon Survive.

Note: There will be massive spoilers ahead for every ending in the game. We will list the requirements to get each ending before explaining the ending itself, but be warned when reading further.

Further reading

Saki with a heart near her head.
Image used with permission by copyright holder

How to get the Moral ending

The first three possible endings all relate to your different Karma stats: Moral, Wrathful, and Harmony. Each time you make important decisions, you will earn points toward one of these alignments. Here's the ending you get for being Moral.

Step 1: Play through Digimon Survive with at least 25 Moral Karma points by the time you reach chapter 8.

Step 2: Save the game if you like.

Step 3: Choose the Be true to my friends option.

Step 4: Defeat The Master in the battle to cleanse it.

Step 5: You will learn that The Master was using child sacrifices to keep the two parallel worlds from collapsing, which would kill all the Digimon in it. Your characters will claim that the will and belief of humans will be enough to keep the world from collapsing and go back home to tell everyone about the existence of Digimon. Their Digimon partners all choose to stay behind until the human world is ready to accept them.

Making a choice to save minoru.
Image used with permission by copyright holder

How to get the Harmony ending

The next Karma-specific ending will be for the Harmony ending, which follows the same fundamentals as the others, so be sure to build up your Harmony points before the point of no return.

Step 1: Play through Digimon Survive with at least 25 Harmony Karma points by the time you reach chapter 8.

Step 2: Save the game if you like.

Step 3: Choose the Save the world option.

Step 4: Miu will die, causing Kaito to form a new pact with Piedmon to form Boltboutamon, which you must defeat in battle. Afterward, The Master consumes Boltboutamon, who you will then need to battle.

Step 5: This ending will show the portal connecting the two worlds expanding and becoming stable, which could be a threat to both worlds. Your team, along with their Digimon partners, go to the human world and form the Japanese Institute of Electronic Symbiotes to help humans and Digimon exist together.

A blue and green portal.
Image used with permission by copyright holder

How to get the Wrathful ending

The final Karma-specific ending will be for the Wrathful ending, which follows the same fundamentals as the others, so be sure to build up your Wrathful points before the point of no return.

Step 1: Play through Digimon Survive with at least 25 Wrathful Karma points by the time you reach chapter 8.

Step 2: Save the game if you like.

Step 3: Choose the Stay with Agumon option.

Step 4: This will cause Saki to die and Aoi to fuse with Labramon to form Plutomon. The Master will then fuse with Plutomon to gain its power, which you must defeat in a battle.

Step 5: This ending shows the portal between worlds growing larger and is no longer possible to close. The team realizes the two worlds will inevitably become one again and head back to the human world with their partners. This time, the merging of the worlds results in chaos, with your surviving teammates fighting to try and keep the peace.

A kid resting at a desk with a digimon.
Image used with permission by copyright holder

How to get the true ending

There is indeed a true ending to Digimon Survive. However, it isn't one you will be able to get right away, and it has some very specific requirements. Here's how to get the true ending.

Step 1: Beat the game and get any of the prior listed endings.

Step 2: Start a New Game + playthrough.

Step 3: Make sure Ryo has the highest affinity of any character.

Step 4: All characters need to survive.

Step 5: You will meet Haruchika and her Digimon Fanglongmon, who has gone into Ruin Mode. You will need to defeat it to revert it to a calm nature and release her, at which point all the kids, the professor, and their partners all return to the human world.

An epilogue narrated by Takuma tells you that, while rocky at first, the relationship between Digimon and humans has improved before showing the main characters near a shrine where they meet DemiVeemon.

Agumon looking sad.
Image used with permission by copyright holder

How to get the bad ending

On the opposite side of the coin, there's the bad ending. Obviously, this isn't one you will want to get unless you're just curious about how poorly things can go.

Step 1: Play through Digimon Survive with at least 25 Wrathful Karma points by the time you reach chapter 8.

Step 2: Select the Never go back option.

Step 3: This will kick off the bad ending where Takuma refuses to return to the Digimon world despite the others trying to convince him. He instead goes home to his mother, leaving Miyuki and Agumon.

There's a small time skip that shows Takuma and his family evacuating as a state of emergency is called due to a portal opening up in the sky.

Editors' Recommendations

Jesse Lennox
Jesse Lennox loves writing, games, and complaining about not having time to write and play games. He knows the names of more…
How to get City Tokens in Spider-Man 2
A fleet of drones flying towards new york.

New York is packed with different tasks, quests, and activities to complete as either one of your friendly neighborhood Spider-Men in Marvel's Spider-Man 2. In-universe, Peter and Miles will go out of their way to help anyone in need with no expectations of a reward, but as a player, we want a little prize for every task we do. Aside from just racking up XP, there are tons of materials you will need to upgrade different aspects of your heroes, such as Gadgets, Abilities, and even getting new suits. City Tokens are used for many of these upgrades so having a reliable source will make sure you are able to keep up with the deadly villains facing our heroes. Here is how to get City Tokens in Spider-Man 2.
How to get City Tokens in Spider-Man 2

City Tokens are mostly used for unlocking new suits and suit styles but are occasionally required for other upgrades as well. If you're running low, the easiest method to get some is to complete Photo-ops. There are 23 of these scattered across the map for you to track down, and each one rewards you with two City Tokens just for snapping a quick picture. If you're a particularly skilled photographer then you can even get a lot of the shots without even stopping while swinging by.

Read more
All gestures in Lies of P and how to get them
Pinocchio with a blue electric arm.

Even though there's no multiplayer component in Lies of P, there are still plenty of ways you can express your version of Pinocchio. Most people will be interested in getting all the outfits, but there are also plenty of different gestures to unlock that let you perform different little actions around the world for some fun. Being a puppet, it kind of makes sense that you need to learn how to do these poses, but even so, you can't learn them all in a single playthrough. Many are tied to just going through the main story, but most are locked behind sidequests, letters, and how you answer certain questions. Here's the truth behind getting every gesture in Lies of P.
How to get all gestures

There are 17 gestures in total to learn, with one of them specifically locked to one NPC. We will note any requirements or ways to miss a gesture in their description.
Sit
Available by default.
Show off clothes
Speak to Antonia at Hotel Krat.
Remembrance
Read the Frozen Man's Letter found in Elysion Boulevard Entrance.
Stalker's Promise
Defeat the Survivor you can find in Workshop Union Culvert after meeting Red Fox and Black Cat.
Fear
Unlocked when you first speak to Venigni in his control room.
Swagger
After you beat King's Flame, Fuoco, keep talking to Venigni until he runs out of dialogue.
Pray
First, speak to Sister Cecile in St. Frengelico Cathedral Library with the Holy Mark. After this, defeat Fallen Archbishop Andreus and return to where she was to collect Cecile's Written Confession letter. Read it to learn the gesture. If you do not, also bring the Holy Mark to Cecile before beating this boss.
Taunt
Learned after beating The Eldest of the Black Rabbit Brotherhood boss.
Clap
After defeating the prior boss, bring the Portrait of a Boy into the Black Rabbit Brotherhood's hideout.
Sad
This is the reward for finishing Julian the Gentleman's sidequest. This can only be obtained if you lied to Julian.
Respect
Collect the Saintess of Mercy Hall Key from Simon Manus and use it to open the gate at the greenhouse and interact with the statue.
Beg
Give Red Fox and Black Cat some Gold Coin Fruit when they ask at the Grand Exhibition Conference Room stargazer.
Greet
Go back to Hotel Krat after beating the Puppet-Devouring Green Monster of the Swamp and talk to Antonia.
Anger
Talk to Antonia after beating the Corrupted Parade Master.
Happy
Talk to Subject 826 at the Arch Abbey Outer Wall.
Entreat
Go to Sophia's bedroom after beating Laxasia The Complete and speak to her to learn the final gesture.

Read more
All costumes in Lies of P and how to get them
Pinocchio in Lies of P.

Not every Soulslike game has a character creator, but even when they do, it tends not to matter much when you will be covered up for the entirety of the game. Lies of P has you play as a set character, but you are free to dress up your puppet boy however you wish. The only hurdle is that you need to find and collect new costumes in order to wear them. Instead of having tons of individual components like pants, shirts, gloves, boots, and more, Lies of P sticks to simple outfits for your body and accessories that are all headwear such as masks, hats, and the like. These costumes are completely cosmetic, meaning they have no impact on your stats whatsoever, so you can feel free to wear your most outlandish outfits with no drawbacks. There are nearly 30 in all to fill your wardrobe with, so let's go on a shopping spree and go over all the costumes in Lies of P and how to get them.
Every costume in Lies of P

We will start with the outfits, of which there are 18 to find, in alphabetical order. Note that there will be two outfits and three accessories that are preorder exclusive. As of the time of this writing, there is no other option to obtain these outfits but we will update this post should that change in the future.

Read more