It’s time for a new set of Fortnite quests, this time for season 1, week 10. For the most part, the new challenges are simple, many of which can be completed without much effort. There are some that require a bit of prior knowledge, though.
In this guide, we’ll show you all the new challenges, with detailed guides for completing them quickly in Fortnite.
Recommended reading
- The best games like Fortnite
- The best places to land in Fortnite
- Fortnite vs. Warzone: Which battle royale should you play?
Season 1, week 10 quests
- Get 3 seconds of airtime in a vehicle (1)
- Build structures (20)
- Use bandages (10)
- Catch a gun while fishing (1)
- Destroy mailboxes at Sleepy Sound or Tilted Towers (5)
- Search ammo boxes (15)
- Damage players with a Clinger (100)
Season 1, week 10 quest guide
Get 3 seconds of airtime in a vehicle (1)
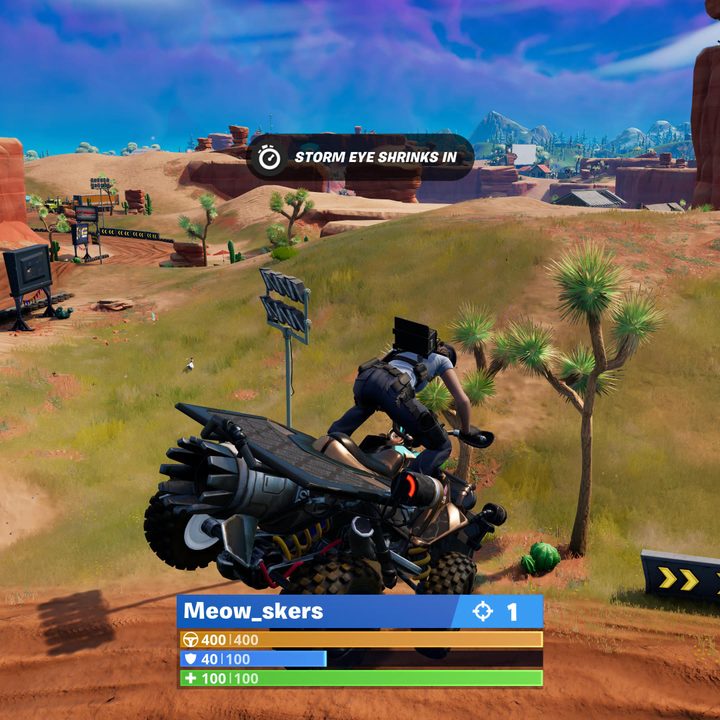
There are numerous ways to complete this challenge, but your most reliable bet is to visit Chonker’s Speedway. Here, you’ll find a number of vehicles specifically designed for jumping ramps and gaining airtime. Land at the center of this area, where you’ll find several vehicles gearing up for a race. Hop in and drive to the northeastern side of Chonker’s Speedway, where you’ll find an elevated piece of land, a zipline, and a ramp. Use this ramp to fly through the air, and when you land, you’ll earn credit for completing the quest.
Build structures (20)
To complete this one quickly, we suggest looting as much as possible. Make sure you destroy objects around you to gather materials like wood, brick, and metal. Then, periodically create as many structures as you can with the materials you have. It’s likely you won’t be able to create all 20 in one go, but you should definitely be able to complete this challenge in one match. Even if you don’t, your progress carries over to the next game, so there’s no need to rush.
Use bandages (10)
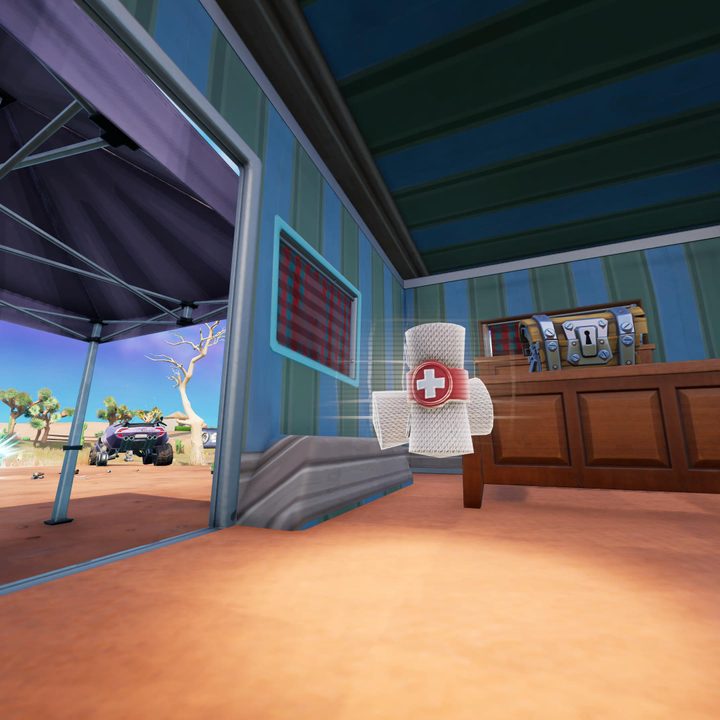
This is a quest you likely will complete by playing naturally, though you can speed things up if you prioritize it. The main thing to know about bandages is that you can only heal up to 75 HP, and you’ll need to consistently take damage to continue using the item. In total, you have to use 10 bandages, which will probably take you a few matches to achieve. You can go on a looting spree, create a ramp a couple of stories high, and repeatedly jump from it to take damage and heal.
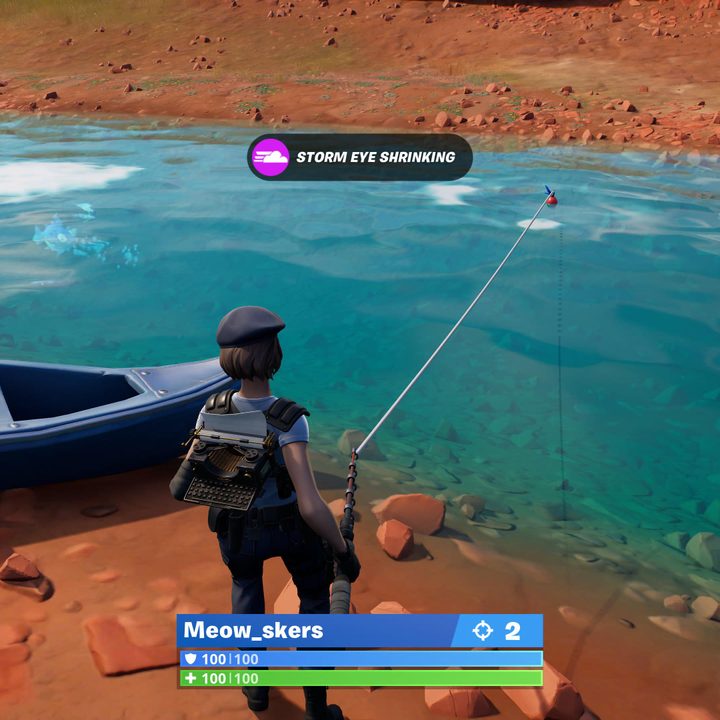
Catch a gun while fishing (1)
The island is stacked with fishing locations, but the easiest way to find them is to visit a dock by a body of water. These are lakes by Camp Cuddle, Logjam Lumberyard, or the section within Sleepy Sound, but there are plenty more. Land at one of these spots, locate the closest dock, and you’ll usually find a barrel with a fishing rod. Assuming it’s safe, take the time to fish at the body of water, and eventually, you’ll catch a gun. Just do this once and you’ll earn credit for completing the challenge.
Destroy mailboxes at Sleepy Sound or Tilted Towers (5)

Across Sleepy Sound and Tilted Towers are 10 blue mailboxes for you to destroy. For the purposes of this quest, you only need to break five of them, so we’d recommend visiting Tilted Towers to complete your objective in one go (assuming no other enemies beat you to the mailboxes). Tilted Towers has seven mailboxes available as shown on the map above (thanks, Fortnite.gg). If you get eliminated before destroying all five, or if other enemies take them out before you do, you can continue where you left off in a new match.
Search ammo boxes (15)
This quest is another one you’ll almost certainly complete by playing naturally. Just make sure you go into every room of each building you come across to search for ammo boxes. You need to open 15 of them, which will likely take you a handful of matches. Though, if you land at a busy area like Tilted Towers, you can conceivably complete this objective in one go.
Damage players with a Clinger (100)
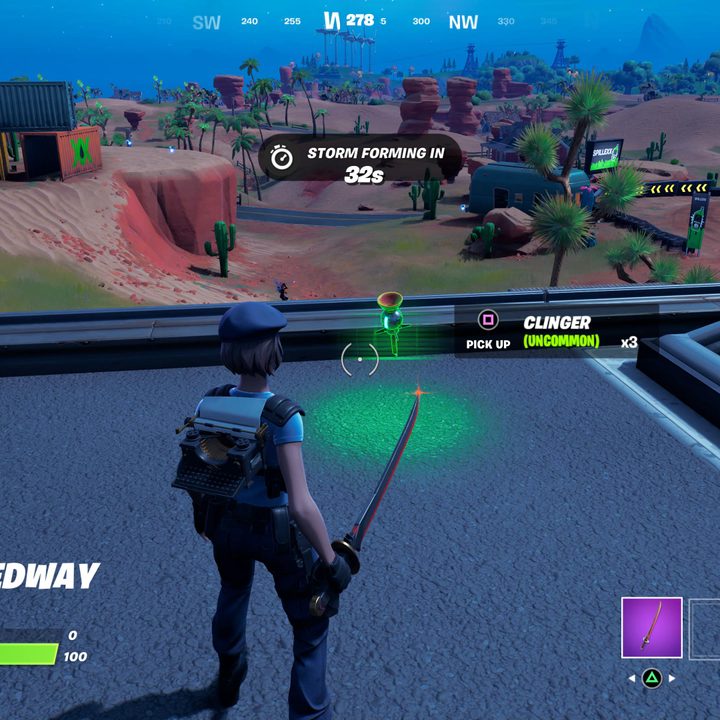
For the final challenge, you’ll need to get your hands on a Clinger and deal 100 damage to an opponent with it. This item is sort of hard to find, but if you loot often, especially around vaults, you’ll have a better chance of coming across it. Each Clinger gives you three uses, so you’ve got some leeway when using it against an enemy. Once you’ve got your hands on one, simply toss it like you would a grenade and it’ll deal splash damage. If you don’t hit your opponent directly, it’ll likely take multiple uses, so try and sneak up on an unsuspecting opponent to make it easier.