
Starfield: Red Mile location and how to survive

What space game would be complete without a seedy casino somewhere in the galaxy? In Starfield, that is best represented by The Red Mile casino and hotel where those willing to risk their Credits, and their lives, have the chance to strike it rich. Of all the games and entertainment available, the Red Mile challenge is no doubt the most deadly. You’re free to visit this planet almost immediately after getting your ship, but this challenge isn’t made for a fresh character. Even after you’ve leveled up, get some decent gear, and feel up to the challenge, the Red Mile Run has a lot of surprises that can cut your run short in the worst possible ways. If you think you’re tough enough to make it to the end, here’s where to find the Red Mile and the best tips on surviving it.

Where to find the Red Mile

A star map showing Prima III in Starfield.
Bethesda Softworks

The Red Mile is technically the name of the entire casino-hotel resort, not just the challenge. It is found on the planet Porrima III, which is of course in the Porrima system. You can jump there manually anytime you’re exploring, but will also be tasked with going there if you’re following the Freestar Collective faction questline.

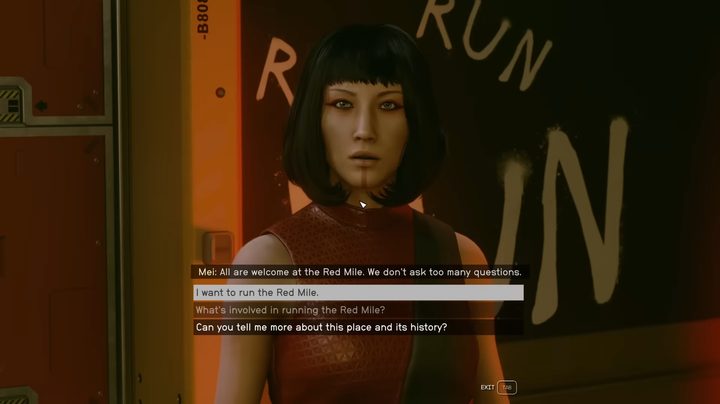
Once you land, there are two places you can go: the casino and the Red Mile Run itself. Just make sure you’re wearing your space suit and helmet because there’s no breathable air on this planet. To enter the Red Mile, just head for the big neon sign advertising it ahead of you and talk to Mei.

Tips to survive the Red Mile Run

Talking to Mei about the Red Mile in Starfield.
Bethesda Softworks

Before the actual event begins, you have the chance to outfit yourself with the spacesuit and weapons benches provided. If you haven’t already, make good use of these depending on which of the two approaches you want to take: sprint or fight. Despite being called a “race,” there’s no actual time limit to completing the Red Mile Run. So long as you survive the journey to the beacon and back, you will be considered a winner. Since time isn’t an issue, that means the deadly Red Mile Maulers will be. These alien monsters are tough, especially if you’re at a low level, and can attack you at range with a poison attack. The lower your level, the better off you’ll be just trying to avoid and sprint past everything. If you’re at a higher level with better guns, you can opt to take a slower approach and clear out some Maulers as you go.

Regardless of your strategy, two things are non-negotiable to bring along. First is as many Med Packs as you can reasonably hold. You’re going to get hit – a lot – so healing is going to be crucial. The second is a powerful boost pack. The beacon is atop a metal structure at the peak of a hill. You could sprint and navigate your way up there on foot, but a boost pack can skip most of the climb for you. It can also help you keep your speed up while evading the Maulers by taking to the air. If you have a power like the Anti-Gravity Field, slap that on too since it can temporarily neutralize a group of Maulers. The dash power is also useful to evade.

Once you hit the beacon and are sent back to the start, don’t bother taking the slow method even if you did on the way up. The beacon you hit attracts way more Maulers to the point that there’s no reason to even pretend you can deal with them all. Boost, sprint, heal, and use any tricks left in your bag to make a mad dash back to the starting point. Manage to make it back in one piece and talk to Mei to collect your hard-earned reward.

Editors' Recommendations

Topics
Jesse Lennox
Jesse Lennox loves writing, games, and complaining about not having time to write and play games. He knows the names of more…
Where to find the Unmaking Arrow in Dragon’s Dogma 2
An archer fires a shot at a dragon in Dragon's Dogma 2.

There are more secret items and mechanics in Dragon's Dogma 2 than almost any other game. You can accidentally lose an entire town to the Dragonsplague or miss out on the true ending if you're not paying close enough attention. That's not to mention all the secret items and weapons in the world. One incredibly powerful but risky item is known as the Unmaking Arrow. This is the most powerful weapon in the game, but it comes with a very interesting caveat. Plus, there are only two known ways to get them, meaning you need to pick your targets very carefully. If you think you can handle the power of this arrow and the responsibility it brings, here is where you can find it.
Where to find the Unmaking Arrow

There are two known ways to get the Unmaking Arrow in Dragon's Dogma 2 thus far. The first is to solve the Riddle of Recollection given to you by the Sphinx, which we have a full guide to walk you through.

Read more
What is dragonsplague in Dragon’s Dogma 2 and how is it cured?
A dragon roars in Dragon's Dogma 2.

Dragon's Dogma 2 likes to keep many of its mechanics and systems a secret until you discover them. You will learn quickly that you can't fast travel around the map freely, but there's one mechanic that is far more detrimental to your game. This is called dragonsplague and it is a disease that can't be cured with a simple tonic. In fact, you may not even realize if you have it in your game because it isn't something that affects your character at all; instead, it affects your Pawns. Failing to recognize you have dragonsplague and deal with it in a timely manner can ruin your entire playthrough if you're not careful. To avoid such a catastrophe, here are all the details about this cruel disease.
What is dragonsplague?

Dragonsplague is a special kind of disease that Pawns can contract seemingly by interacting with either Drakes or Dragons. That part isn't fully clear yet, however, we do know that Pawns with dragonsplague can spread the disease to other Pawns. Since Pawns are able to pass between worlds to join other players, you are never fully safe from being infected if you're playing online. Unlike a real sickness, though, dragonsplague actually transfers between Pawns rather than spreads, meaning it won't fully run rampant through the game.

Read more
The best skills for each Vocation in Dragon’s Dogma 2
An archer fires an arrow at an enemy in Dragon's Dogma 2.

As you level up your Vocations and character in Dragon's Dogma 2, you will earn XP and Dcp. The former will contribute to you leveling up and passively getting stronger, while the latter needs to be spent on unlocking new skills for your current Vocation. There are 10 total Vocations you can eventually unlock and use, and each one has a dozen or more skills to unlock and test out, and yet you can only use four at any given time. That's a lot of possible skills to try out and potentially waste your DCP on. Instead, we'll help you min-max your build right from the start by recommending the best skills you should get for each and every Vocation in the game.
Best skills

The best skill will vary for each Vocation based on what role they are most suited to in combat. Some skills can be upgraded to better versions as you level up your Vocation, so check back in the skills menu every so often to make sure you're using the best version available.
Fighter
Airward Slash -- Fighters are limited in range, but Airward Slash gives you an option to at least attempt to attack flying enemies with this leaping strike.

Read more