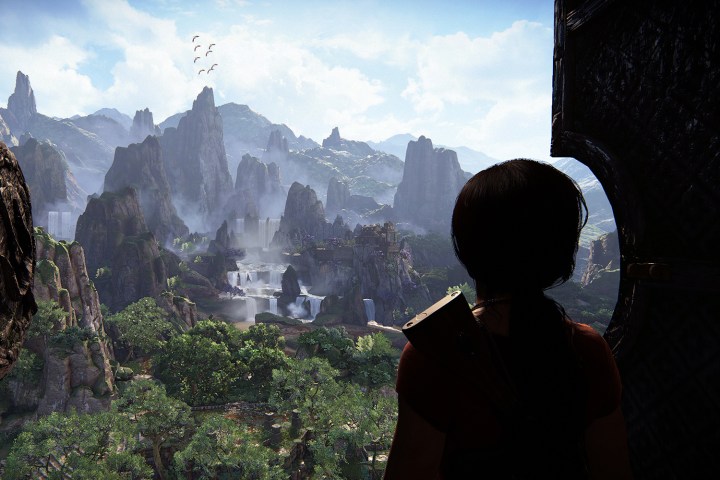
How to find all the Hoysala Tokens in ‘Uncharted: The Lost Legacy’

Hoysala Tokens 'Uncharted 4: The Lost Legacy'
Naughty Dog
One of the elements that sets Uncharted: The Lost Legacy apart from predecessors like Uncharted 4 is a specific set of collectibles you can find in one portion of the game: A set of 11 Hoysala Tokens.

Found in Chapter 4: The Western Ghats, an open-world section of The Lost Legacy that you explore in a four-by-four jeep, the tokens are worth more than your average collectible. Finding them all allows you to find a special item that makes it easier to find the rest of the collectibles in the game. And each of the tokens comes with a small puzzle or battle, adding a lot of variety to the level — which is the biggest of its kind developer Naughty Dog has ever made.

Exploring Chapter 4 can be time-consuming, as well as a little confusing. So we’ve put together a guide to help you find each of the tokens, complete with a look at Chloe Frazer‘s map to point you in the right direction. Here’s the complete list of all the Hoysala Tokens in Uncharted: The Lost Legacy and how to find them.

Hoysala Token 1

Image used with permission by copyright holder

When you first spot the tower, drive forward toward it until you see a small alcove of ruins. Go around the wall to find a small lantern marking the token’s location. From there, climb up the rocks, then use your grappling hook to find a series of objects you can grapple to form a path. Eventually you’ll hit the end, where a destructible wall hides the first token.

Image used with permission by copyright holder

Hoysala Token 2

Image used with permission by copyright holder

North of Token one is a ruin that’s more or less in the middle a lake, where Asav’s men have taken up residence. Climb up and clear them out. You’ll know you’re in the right place if you find an archer statue pointing at a towering ruin to the south. Walk to the north end of the island from the archer and you’ll find a destructible wall, a lantern, and the next token.

Image used with permission by copyright holder

Hoysala Token 3

Image used with permission by copyright holder

In the middle of the lake just north of the starting area, you’ll find a statue of an elephant. Beside the elephant is the lantern denoting the token, and just in front of the elephant’s face, under the water, is a hole you can swim down into. Swim through the cave and surface on the other side to find your token.

Image used with permission by copyright holder

Hoysala Token 4

Image used with permission by copyright holder

Near the central tower is a series of structures you can climb. In the middle of one is a button that activates several fountains. Swing around and step on each fountain before the time runs out, then return to the center to receive the token.

Image used with permission by copyright holder

Hoysala Token 5

Image used with permission by copyright holder

North of the central tower, follow the river until it ends against a stone wall. You’ll see a ruin built into the wall and a lantern. Climb the wall to get inside the ruin, where you’ll find the path barred. Nearby is a puzzle you’ll solve to form the picture of a horse and open the path to the token.

Image used with permission by copyright holder

Hoysala Token 6

Image used with permission by copyright holder

At the spot marked with a question mark (once you’ve been there, Chloe will change it to a token icon), you’ll find a map on a wall that marks the tokens and a place where you can turn them in. Token 6 is to the left of the map.

Image used with permission by copyright holder

Hoysala Token 7

Image used with permission by copyright holder

North of the tower in the middle of the map, you’ll find a group of rebels staking out some ruins. Clear them out, including the two snipers, and unlock the crate in the back of one of their trucks for the token.

Image used with permission by copyright holder

Hoysala Token 8

Image used with permission by copyright holder

Due east of the central tower is a small raised area. Climb on top of the structures there and look down for a round stone slab with a spot on it that can take your grappling hook. Hook the slab, then jump off the protruding ledge you’re standing on so that the rope goes over it. That’ll use your weight to yank the slab off and open a hole in the ground. Climb down to find your token. Asav’s men will show up right afterward, so be ready.

Image used with permission by copyright holder

Hoysala Token 9

Image used with permission by copyright holder

Farther east of the central tower, you’ll find ruins set into a rock wall with bells in the area around it. Climb up into the structure set in the wall and you’ll find a door covered in bars. The bars retract when you ring the bells, and you need them all to be ringing at the same time to open the door. From the elevated position, shoot each of the bells and you’ll open the door and reveal the token.

Image used with permission by copyright holder

Hoysala Token 10

Image used with permission by copyright holder

On the east edge of the map, just south of the location with the bells, is a river that runs up into the mountains. Go to the hill that’s just south of the river and climb up the path. You’ll see a ruined tower, and just beyond, a muddy slope with a few columns set in it. You’ll be able to swing, slide, and leap to the columns to cross to a cave on the far side of the slope, which holds the token.

Image used with permission by copyright holder

Hoysala Token 11

Image used with permission by copyright holder

Just to the east of where you entered the map on the southern edge is the last token. You’ll have to clear Asav’s guys, who’ve brought a turret. Near the turret is the sign marking the token’s location, and right behind it is a wall you’ll have to blow open to get inside.

Image used with permission by copyright holder

Editors' Recommendations

Phil Hornshaw
Former Digital Trends Contributor
Phil Hornshaw is an author, freelance writer and journalist living in Los Angeles. He is the co-author of The Space Hero's…
All amulet holder locations in Prince of Persia: The Lost Crown
Sargon looks at his hand in Prince of Persia: The Lost Crown.

The map of Prince of Persia: The Lost Crown is packed with secrets and items to find outside iof your main objective of rescuing the prince. Among the most exciting upgrades you can find while exploring the various nooks and crannies are amulets. These trinkets give you different buffs to Sargon, ranging from passive ones like more HP to active abilities for combat. There are over 30 of these in the game, so there had to be some limitation on them or you would get way too overpowered. That's where the amulet holders come into play. Each amulet costs a certain number of slots to equip, and you only start with three. If you want to equip more and better amulets, you will need to get more slots.
Where to find all the amulet holder upgrades
You can upgrade your amulet slots from the default of three with additional nine holders, bringing your maximum total to 12 slots. These are accrued by doing quests or they can be purchased from vendors.
Lower City
There are three upgrades in the Lower City, the first of which you can snag from The Mage in exchange for 240 Time Crystals.

The second is in a chest you can find by dropping through the planks at the location above.

Read more
All Farbia locations in Prince of Persia: The Lost Crown
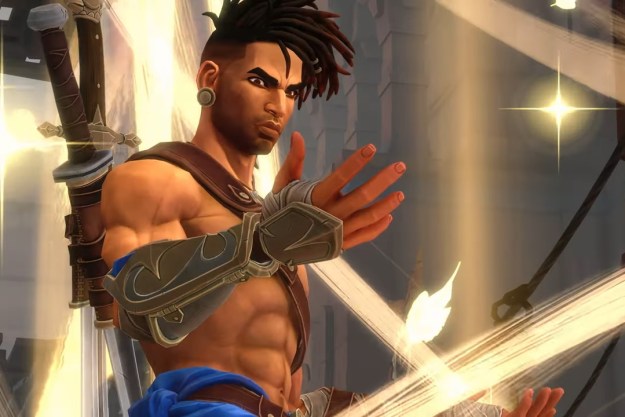
A character reached out to grab a shard in Prince of Persia: The Lost Crown.

Even though the series has never fully embraced the Metroidvania design, Prince of Persia: The Lost Crown proves that this franchise was tailor-made for it. The dynamic movement, time abilities, and acrobatic combat, when packaged in a tight, well-designed 2D game, mix like a cold drink in the desert. With that genre shift, you can count on most of the tropes to come along with it, most notably the intricate and intertwining map. Exploration is key to these games, as is backtracking, which means you will frequently reference your map to get your bearings. But until you've uncovered the rooms yourself, each section of the map will remain shrouded in fog. While you could manually fill in each and every corner, finding Farbia in a given zone will instantly reveal everything there is to see on your map. The trick then becomes figuring out where to find her.
Where to find Farbia
There are 10 zones in Prince of Persia: The Lost Crown, and thus, that many opportunities to find and chat with Farbia and exchange 50 Time Shards to reveal the map. Here's her location in each of them.
The Depths

To reach Farbia in The Depths, you must first unlock the Shadow of the Simurgh ability. With it, take the main elevator down to the bottom level. Use the ability here to create a clone of Sargon on the lift, send it back up, and teleport below it after it rises. At the bottom, you can speak to Farbia and pay for a clear map.
Sunken Harbor

Read more
Where to find Aunt May’s grave in Spider-Man 2
Peter visiting his aunt and uncle's graves.

Peter Parker has had a hard life. He was orphaned by his parents as a child and raised by his caring Aunt May and Uncle Ben, only for Ben to be killed in an act that would shape Spider-Man's entire philosophy as a hero. Things only get worse during the events of the first act of Insomniac's Spider-Man 2 as Aunt May is tragically killed as well, leaving Peter with no more true parental figures. Peter hasn't forgotten all his caring aunt and uncle have done for him, and if you can find their gravesite, he will pay them respect, as well as earn you a Trophy. It's a big graveyard, though, and their site isn't marked on the map. Here's where Uncle Ben and Aunt May's graves are located in Spider-Man 2.
How to find Aunt May and Uncle Ben's graves

The graveyard is located at the most-northeastern point on the New York map in Harlem. If you have unlocked fast travel in this district, you can warp almost directly to the spot. Once in the graveyard, go forward down the middle into the open field. You might spot Mile's father's grave first. May and Ben's graves are directly to the right of that.

Read more