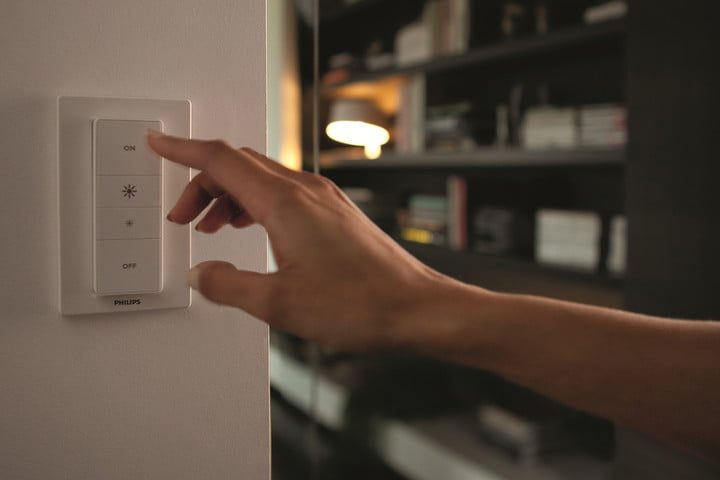
It’s understandable if you want to control your existing ceiling lights with Alexa or Google Assistant, but aren’t interested in replacing every single bulb with a smart bulb. Fortunately, you can integrate your fixtures for smart controls instead by installing a smart light switch. You can find smart switches online and at brick-and-mortar locations like Best Buy, Home Depot, Target, and Walmart.
And don’t worry – installing a smart light switch doesn’t necessarily require a phone call to your electrician. In our opinion, you can do it yourself if you’re relatively handy. Depending on your home’s electrical, the installation process for a smart light switch can get a little tricky at points, but most people with DIY skills can take on the task. If you’re ready to tackle this weekend project, you’re going to want to take a look at this how-to guide, which will make installing your new smart light switch as easy as possible.

How to install a smart light switch
Step 1: Learn your existing wall switch setup.
Before you purchase a smart light switch, you’ll need to figure out the type of switch you need. If the wall panel only has one switch, you need a single-gang. If it has two switches (maybe one switch for a light and one for a ceiling fan), you’ll need a two-gang smart light switch. If it has three switches, you’ll need a three-gang switch.
Step 2: Start process to find out what type of wiring you have.
Turn off the power at the fuse box to avoid the risk of electrocution or shock. If you’re not sure what electrical circuit your lights belong to, it’s not a bad idea to grab a voltage meter (if you don’t already own one). If you have a non-contact voltage tester, you won’t have to mess around with leads and wires.
Step 3: Open up the existing switch where you want to install your smart switch.
To open up the switch, unscrew the screws on the wall plate (they’re usually located on the top and bottom of the plate). Use a butter knife or flat-head screwdriver to pry the plate off of the wall, as it can stick in place (often because of paint). Then unscrew the screws on the actual light switch and gently pull the switch forward.
Step 4: Examine the wiring setup.
Most smart light switches require a ground wire, an “in” wire, an “out” wire, and a neutral wire. Most homes have the in, out, and ground wires, but some homes built before the 1980s don’t have neutral wires. Typically, the neutral wire is a white wire (or group of white wires). If you don’t have a neutral wire, you can still install many smart light switches, but you’ll need to purchase a specific type of smart light switch that doesn’t require a neutral wire. For instance, the Lutron P-PKG1W-WH-R Smart Lighting Dimmer Switch will work without a neutral wire, but it does require its own bridge.

Step 5: Choose a smart light switch.
Once you familiarize yourself with your wiring setup, choose a smart light switch that fits your situation. With two-gang switches, you can run into traveler wires and other unique situations. Therefore, the instructions moving forward will assume a single-gang smart light switch with a neutral wire, like Wemo’s smart light switch.

Step 6: Remove your old light switch.
Again, ensure the power is off at the breaker. Disconnect the old light switch completely by disconnecting each wire one by one. Take note of which wire is which as you disconnect them to avoid confusion later. If they’re unlabeled, grab some different colors of electrical tape and label them as you go.
Step 7: Connect the wires on your smart light switch to the wires inside your wall.
Connect the in wire to the in wire, the out wire to the out wire, the ground wire to the ground wire, and the neutral wire to the neutral wire. Secure your connections with wire connectors, and make sure you don’t have any loose or exposed wire in the box. (Keep in mind that the ground wire might be a bare wire.) Depending on your wiring, you may need to use a wire stripper to properly prepare the wires for your new switch.
Step 8: Test the wires you've just connected by turning on the power.
If the switch works, you can move on to the next step. If your switch does not turn on, you need to reexamine your connections.

Step 9: Turn off the power at the breaker box and make sure the smart light switch is secured.
Turn off the power at the breaker box again and then organize and put the wire connections into the wall box. Be aware that it may be a tight fit, so it may be challenging to get all the wires into the box. Although it may be tempting to shove them inside, we suggest slowing down and neatly placing them into the box. This will help prevent loosened connections and fires. Sometimes you can bind wiring with electrical tape.
Step 10: Screw the smart light switch into place.
Switch on the breaker box power and check to make sure all connections are stable. If all connections are complete, snap on the wall plate, and start setting up your app.

Step 11: Connect your smart light switch to your specific network.
To do this, you’ll first need to download the smart light app and connect to your Wi-Fi. Once that’s done, name the switch whatever you prefer and join it with Alexa or Google Home so you can use the voice control feature.
Tips for installing a smart light switch
- Before setting up your smart light switch, read the entire instruction manual to make sure you understand its wiring and function. Designs vary, so don’t worry if they look very different from a traditional switch.
- Don’t automatically think that setup in all your rooms will be the same. Wiring can vary from room to room.
- If you have problems connecting your switch to its app, check to see that you have it on a 2.4 GHz network. If that doesn’t work, you can reset the switch by pressing and holding its “on” button for roughly 10 to 15 seconds.
- If you need to install a two- or three-gang smart light switch or install a smart light switch without a neutral wire, we recommend checking your instruction guide.