Maybe you’re selling or giving away a Kindle Fire. Maybe a kid or well-intentioned friend messed up your Kindle’s settings, or perhaps your Amazon account was recently compromised. Whatever the reason, you need to know how to reset a Kindle Fire -- and it’s easier to do than you might think.
Backing up and wiping a Kindle Fire isn’t for the faint of heart, though. A factory reset will delete everything you’ve downloaded to the device, including books, movies, TV shows, apps, and games. The good news is that all your purchases are synced to Amazon’s servers, so you don’t have to worry about purchasing items twice. But if you don’t make a copy of your data before you begin, you could lose that content.
Thankfully, it’s not impossible to safely reset a Kindle Fire — you just have to do it smartly. Here’s how, including all the precautionary steps you should take before wiping it permanently.
How to back up your account data
By default, the Kindle Fire backs up any personal settings, notes, search history, communications, call history, and bookmarks you’ve saved in Amazon’s Silk browser. Any music, movies, TV shows, apps, and books you’ve purchased are automatically synced to your Amazon account and can be viewed from the Kindle Fire’s Cloud tab.
Before you do anything, make sure your Kindle Fire is up to date. Afterward, check to see if it’s backing up your account data:
Step 1: Swipe down from the top of the Kindle Fire’s screen and tap Settings.
Step 2: Tap Device Options, followed by Backup & Restore.
Step 3: Toggle the Device Backup option by turning the switch on.
Now, once daily, when your Kindle Fire is asleep and connected to Wi-Fi, it’ll back up your account data to Amazon’s remote servers. You can also start the backup manually by tapping Back Up Now. Amazon says backup data is saved for at least a year, but warns that if you turn off the automatic backup feature by tapping the Disable Backup button, any data currently associated with your device will be deleted.

How to back up Kindle Fire files, photos, and videos
The automatic backup feature doesn’t copy photos, videos, and documents you’ve saved to your Kindle Fire, but it can be done. Amazon suggests using Amazon Drive — the company’s cloud-based storage solution — to do so, and that’s what we’ll be using in our tutorial.
Every Kindle Fire receives 5GB of free storage space, but Amazon Prime members have the additional advantage of unlimited photo storage. You can upgrade your storage plan from the Manage Storage page in Amazon Drive. Premium ranges begin at $2 per year for 100GB, $7 per year for 1TB, and $12 per year for 2TB.
Listed below are a couple of simple steps you can take to make sure Amazon Drive is up to date with your newest pictures, videos, and other files:
Step 1: Swipe down from the top of the screen and tap Settings.
Step 2: Tap Device Options.
Step 3: Then tap Sync Device.
What to do if you're not an Amazon Drive customer
If you’re not currently an Amazon Drive customer, you’ll need to register your Kindle Fire with your Amazon account. To do this, simply follow these steps:
Step 1: From Home, swipe down from the top of the screen and tap Settings > My Account > Register.
Step 2: If you already have an Amazon account, enter your Amazon account information and tap Continue.
Step 3: If you don’t have an Amazon account, tap Start Here and follow the on-screen instructions to set up a new account.
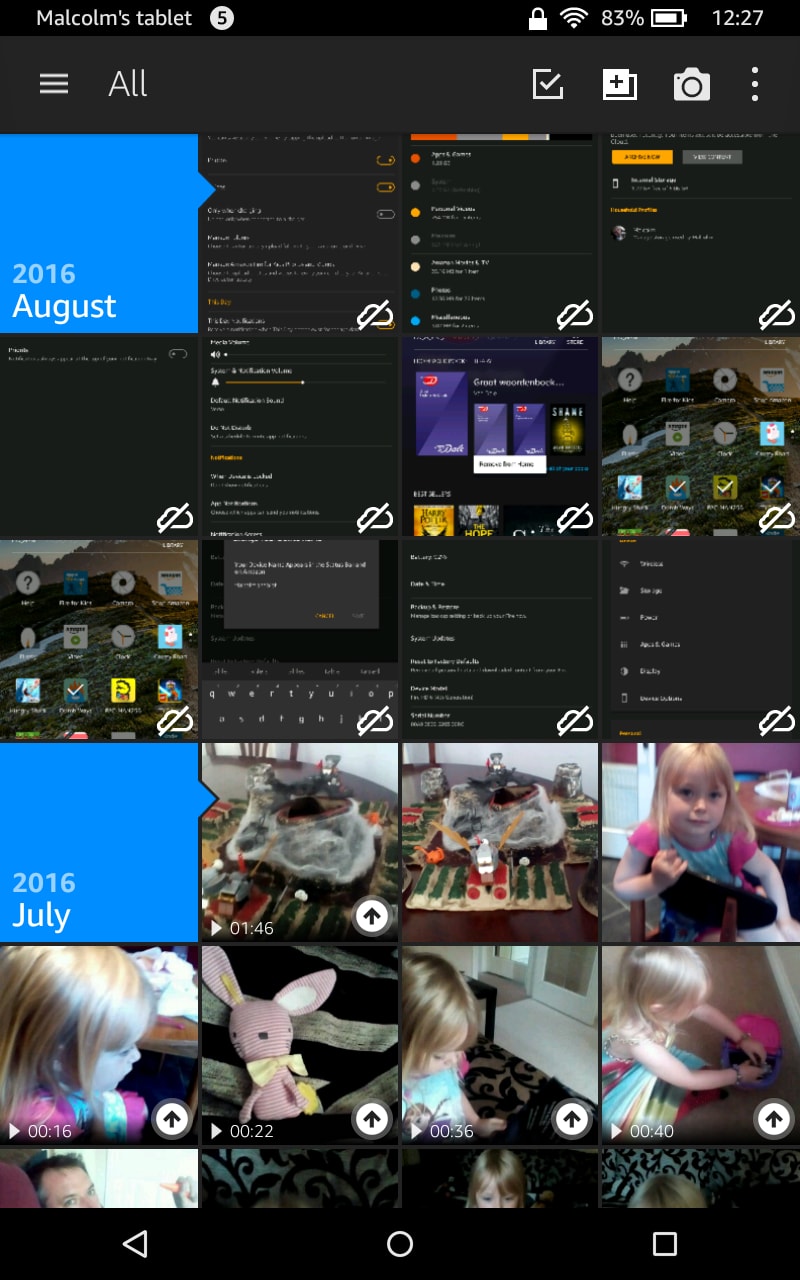
Step 4: With Amazon Drive enabled, you’re now all set to begin backing up all your photos and videos. Start by tapping Settings.
Step 5: Tap Apps & Notifications.
Step 6: Tap Amazon App Settings.
Step 7: Tap Photos. From here, tap Auto-Save, which will automatically back up new photos and videos. You can also choose whether or not to back up files when your Kindle Fire is charging.

How to reset a Kindle Fire
Now that you’ve successfully backed up your account settings, files, and preferences to the cloud, you’re able to initiate the reset process.
Remember, though, that even if you’ve backed up most of your data and files, there’s no assurance that you’ll be able to restore everything. In fact, Amazon warns users that personal app settings, game progress, in-app items, account passwords, and sideloaded content may still be lost throughout the recovery process. So avoid factory resetting your tablet unless you’re prepared to risk losing a few files.
Here’s how to reset a Kindle Fire:
Step 1: Swipe down from the top of the screen and tap Settings.
Step 2: Tap Device Options, and then tap Reset to Factory Defaults.
Step 3: Enter your device’s PIN and select Continue, then tap Reset to confirm.
Don’t worry if you’re still running into issues with your Amazon device. Our team has compiled a special article explaining some of the more significant Kindle Fire problems, along with a few possible answers. We also suggest checking out our Amazon Fire tablet tips for thoughts on how to get more from your tablet.