They don’t call GoPro’s Hero line “action cams” for nothing. But after a day spent capturing epic heli-skiing runs in the Alps or supernaturally fast motorcycle-racing on the Isle of Man, the Hero assumes another role when the sun goes down. According to GoPro’s own metrics, night photography is the third most popular use for its Hero4 Black and Silver cams, beating out regular time-lapse and burst.
That’s no accident. GoPro set out specifically to see if a small-sensor camera so sensitive that it can capture night scenes and the Milky Way. Kevin Custer, a product manager for GoPro’s Media Production division who works on low-light photography, recalls the team’s earliest efforts.
“Don’t be afraid of the camera. You’re not really spending anything to get a bad shot.”
“Our image-quality team came out with a firmware update for Hero2 that was internal, which opened up the exposure option of the camera,” Custer says. “At the end of the day, it was a success, but the camera processor had some problems and it didn’t quite work like we wanted it to.” So Custer and GoPro’s engineers continued tinkering.
By the time the Hero4 came out, nighttime was ready for primetime. Night Photo and Night Lapse were marketed as new features, and customers seem to have taken a shine to them. Without prior knowledge of shooting night photography, Custer says, casual users are still able to capture great-looking shots (albeit with some experimenting and trial-and-error).
So if you have a Hero4 Silver or Black in hand (GoPro makes a more affordable Hero, but the Silver and Black let you adjust settings that help with low-light shots), and want to try out the nighttime modes, here are some of Custer’s tips on how the GoPro team does it.
Don’t expect perfection the first time, and experiment
“Even I don’t get the shot the first time, every time,” Custer says. “I can’t always anticipate how bright that street lamp is. So I always recommend, if you’re completely new to night photo long exposures, start fiddling with Night Photo Auto and up to 2-second exposures – that just means the exposure will be open for a full 2 seconds. It’s a good introductory and you wrap your head around how it works.
“Given that it’s auto, you can’t really anticipate what you’re going to get,” Custer adds. “Something like sunsets, it’s perfect because the quality and the intensity of the light is changing. But if you want to do a little more experimental stuff like light painting [with the Night Lapse mode], you can open that up to longer exposure times – 5, 10, 20, and 30 seconds. But the deeper you jump into those modes, then it’s a little bit of a trial and error, because you’re not quite sure how bright your surroundings are. Are you getting light pollution from a street lamp, is it a full moon, or city lights.”
Use the GoPro app
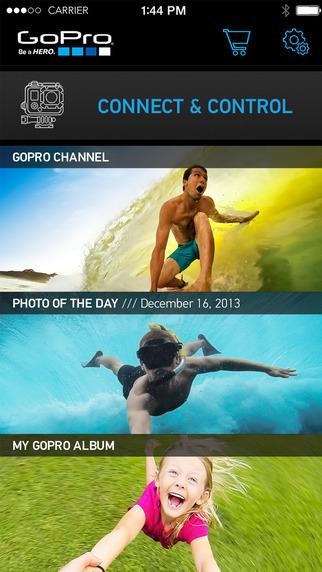
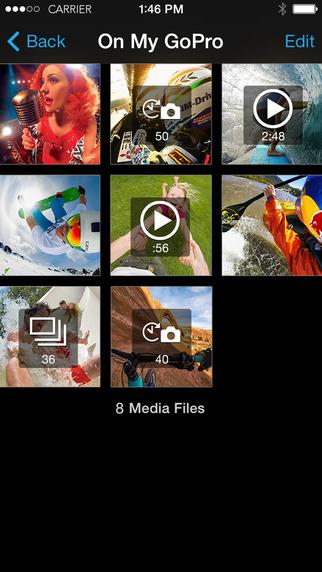
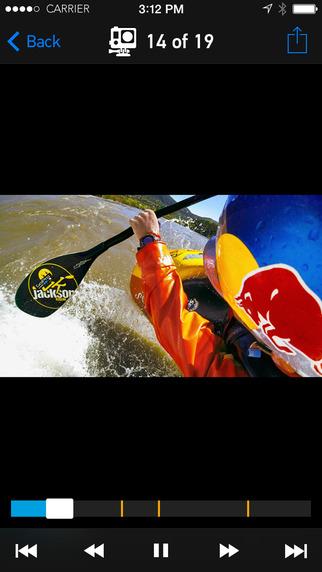
While the Hero4 Silver and Black’s settings can be adjusted using buttons on the camera, it’s far easier to shoot at night if you use the GoPro app for iOS, Android and Windows Phone.
“The app is a godsend in terms of how to use the camera because it’s free to use, it helps you frame up [the shot], and you can quickly see your photos without moving the camera.
Getting started
“If you’re completely new to it, set it up in your room in a dark space,” Custer says. “Shoot back at yourself or shoot out the window. When the Hero4 came out I saw a lot of people on Reddit were shooting out their window and seeing what kind of exposures they can get. Just sit there and take single photos. That will give you a better experience of how the camera behaves. [Using the app], you can scroll through all the settings and tinker and fiddle: Take a photo and wait two seconds, and then you can see immediately if you like it.”
Once you feel comfortable with your single shots, Custer says you can elevate to shooting nighttime lapses.
“Everyone knows good exposure, even they don’t now the technical reasons why,” Custer says. “Like, it feels good, the colors look sharp, contrast is nice … I can see the content and it’s sharp. Once you get comfortable with that, then you can start getting more tricky.”
“Don’t be afraid of the camera,” Custer adds. “You’re not really spending anything to get a bad shot. Keep at it, and you’ll just get more familiar with it, with scenarios and more settings. You kind of have to know the lights in the area you’re in, and make sure the camera is static. Always use the app.”
Keep the camera at the highest resolution
“Natively it’s going to be 12 megapixels,” Custer says about the Hero4. “On our end that’s usually what we shoot. You can break down to smaller megapixel ranges for narrower fields of view, but in terms of highest image quality, I would suggest keeping it wide and processed for not cropping it in.”
Try continuous interval for smooth video-like shots
“I wanted to get a shot of a Ferris wheel spinning, and the shortest interval is, it takes a photo once every two minutes,” Custer says, referring to night time-lapse. “It’s not going to look smooth. It will have a cool effect, but I want it to look like it’s continuously moving. So we added a mode called Continuous that as soon as it’s done taking one photo – so if that’s a 5-second long exposure, or 30 seconds – it will just take another one immediately.”
During a launch party at the Great America theme park in the San Francisco Bay Area, Custer used Continuous mode on what he calls a “spinning chair ride.”
“I set it on Continuous and had it go for 10 minutes, and [the resulting shots] show the ride rise and swing people around in a circle, sit and rise and spin, sit and rise and spin…it was a really fun dynamic shot and wouldn’t be possible without the Continuous mode.
“Another great thing about the mode is, if you aren’t familiar with it, you can use Continuous and auto, and you’ll probably get something really entertaining to watch.”
Use Protunes after graduating from auto
“[The automatic mode] isn’t as versatile as you can get [compared to manual mode], but I it’s a great introduction into long exposure,” Custer adds. Once users get the hang of shooting in low-light, he recommends they try the Protunes mode in the Hero4 Silver or Black, which is a semi-manual feature that lets you tinker with settings like ISO and color temperatures, especially if they want to move into fun shots like light painting.
“To get those ‘wow’ shots, you have to dive into it a little bit,” Custer says.
Recommended accessories
“I’d definitely recommend a battery backpack if you want to do anything more than 2 hours; 6000-7000 mAh, and 15,000 will last several days,” Custer says. “Weatherproof USB cable if you’re shooting outdoors.

“Get a 64GB card for longer lapses. We usually run with Lexar 633 speed. You definitely want a fast card. SanDisk has really strong cards too.”
“Hidden” feature
One feature Custer says GoPro hasn’t talked about yet is a night-lapse interval that lets you take one photo every hour. It’s useful if you want to cover a multi-day event, say a concert festival, and you want to document everything from the setup to teardown, and in-between.
“With [regular] night lapse, you can take photos up to 2 seconds. And before night lapse, our camera could only take like one photo every 3 minutes. It wasn’t stupendously long, and the camera would die and you’re sorta stuck. Set it up on auto, taking 1 photo every hour, so end of day you get 24 shots that covers all day [and night].”
Post editing
Custer is proud of the work GoPro’s engineering team did, requiring little-to-no post editing for most users.
“If you’re completely new to night photo long exposures, start fiddling with Night Photo Auto and up to 2-second exposures.”
“With single stills, our image quality team did a really amazing job balancing noise and color quality. If you’re doing a night lapse, I definitely recommend video so you can combine those scenes together. We just came out with a video time-lapse mode that the output is a video file that’s already a combined time-lapse, and we’re looking at combining that with night-lapse.
With GoPro Studio software, you can combine all your stills into a little video. The best way is to import all the files, and it’ll combine it for you. You can edit it, do some color correction.
But my most recent photos I’m most excited about, I did zero color correction. It’s actually raw out of the camera. I was just blown away by what our cameras can capture. Occasionally I do some editing to make them sing a little more. The app I use is Google’s Snapseed, for iOS and Android. Really elegant interface – simple filters but a lot of powerful tools to really edit and customize the look of your pictures. Works seamlessly with GoPro app. Download photo to phone, upload into Snapseed, do your edit – it keeps the original and you can upload straight to Instagram, Facebook, Twitter, etc.”
How to shoot these scenarios:
We asked Custer how he would use a Hero4 to capture three different scenarios: the Santa Monica Pier in California, where there are lots of different colored lights and brightness; a starry night sky; and lightning.
Santa Monica Pier
“If you are on a beach, I definitely recommend a tripod and keeping the display case that comes with every camera – we call them base plates. I got the Ferris wheel and the whole dock in the frame, but I want the Ferris wheel to be what I expose for. (So the ISO isn’t a true lock, it’s actually a limit: So if I set my ISO to 800 [in Protunes] and the camera thinks it’s too bright, the really cool thing is the camera will automatically compensate for you.) Let’s say you got the Ferris wheel and then there’s also the roller coaster, but I want to expose the Ferris wheel. I can turn on the spot meter and point the camera at the Ferris wheel, so my exposure and the brain in the camera is prioritizing the Ferris wheel over anything else.
If you’re on the pier, the shot I’m thinking in my head, I want to be looking up at the Ferris wheel. I can probably find a spot off a rail that’s nearby and use a Jaws clamp, which are really handy, versatile, and maneuverable. I use the Hero4 Silver quite often when I’m doing light painting because while the app is really handy, sometimes it’s nice to review off the camera. I can shoot a night-lapse and see the light trail, and see it stop to let people get off and get back on.

I’d test my exposure first by doing a single photo. Since it’s fairly bright, I’m going to start with a lower ISO. Because our camera is pretty sensitive, dropping ISO lower means that I have more time to play with. Dropping ISO down to 100 means I can start busting out 10 to 15-second long exposures, and probably start there. I take one photo, wait for it to encode, scope it out, and if the exposure is looking good, and I like the trails that are being created, I’d probably use those modes.
“If it was too bright, I can lower the length so it’s letting in less light: if I was at 20 seconds I would drop it down to 10, if I was at 10 I’d drop it down to 5, essentially letting in half the amount of light. Another option – it’s not something that we offer – but there are companies that make neutral-density filters [that will cut down the amount of light]. An ND filter is necessary for something that has a lot of light, because you can never anticipate how bright it’s going to be. It’s a balancing act. If you don’t have access to ND filter, your sunglasses are natural ND filters. Just tape that to the front of it. You won’t know how much light you’re blocking, but it gives you more time to play with.”
Night sky
“The first time I saw the Milky Way, I got the tingles. How is this possible, in this tiny little thing?
“Unlike DSLRs, GoPros are much more forgiving and encourage you to keep trying.”
All you need is the camera. For longer exposures, like we did a 24-hour one, we plugged in a battery brick using USB – you just keep that guy running the whole time. You don’t need neutral density, you don’t need anything special. If you’re in a spot where there’s not a whole lot of light pollution, set the camera to ISO 800, and you’re going to see some pretty amazing stuff, I guarantee it.
For our launch video for the Hero4, we were in New Zealand. There’s only four places in the world that’s listed as having the least amount of light pollution and New Zealand is one of them. They set up the camera and they maxed everything out: 30 seconds, ISO 800 – it’s pushing it, and they got the Milky Way and it looks amazing.
The only thing I sort of recommend is a supplementary night-sky tracking app or a sun-moon surveyor, just so you get an idea of, ‘Can you see the Milky Way, would you like to get a shot of the Big Dipper, where is the moon and what phase is it in right now.’ Because if you have a bright moon, it’s actually really cool because it looks like the sun.”
Lightning
“Because you can’t anticipate when lightning is going to strike, I set my camera to automatic and my interval to Continuous, to capture whatever I could. I have some amazing strikes of lightning hitting the ground, and the camera was able to compensate for the brightness. The camera is really reactive and adaptive. You can see some really amazing photos from professional photographers, but they’re sitting out there for hours, shooting hundreds of shots to capture that one that’s amazing. With GoPro, it’s much more forgiving and encourages you to keep trying.”


