Instagram recently rolled out a new way to create and share video content with friends and the community at large: Instagram Reels. Familiar to anyone who has used TikTok, Reels enables users to record multi-clip videos and then add audio and various effects. You can share videos with followers in your Instagram feed, or post them to the Explore tab for discovery by the greater Instagram community. Here’s how to use Instagram Reels, create your own, and discover the latest creations of others.
Further reading
- How to livestream on Instagram
- Best TikTok alternatives for Android and iOS
- How to download Instagram photos
How to watch Instagram Reels
Before you dive into creating your own Instagram Reels, you might want to check out what others on the platform are creating; this will allow you to get a proper feel for the new format. While you may find new Reels on your feed when they are shared by individuals you follow, the best way to find interesting Reels is to visit the Discover section.
Step 1: Open the Instagram app in either iOS or Android.
Step 2: At the bottom of your screen, press the magnifying glass icon in the bottom bar to open the Discover section.
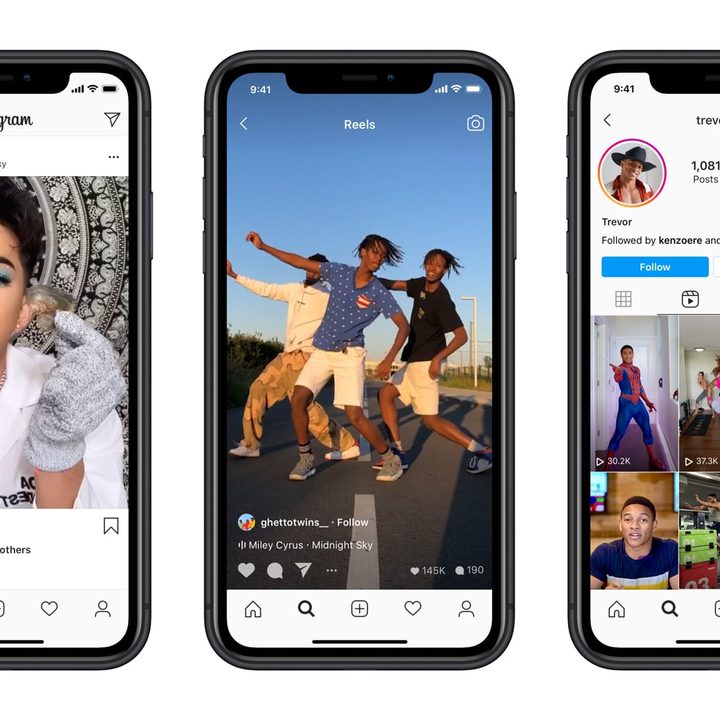
Step 3: At the top of the Discover Feed, you’ll find the Reels section; it will appear as a normal post with the Reels logo in the lower-left corner.
Step 4: With Reels open, swipe up on your screen to proceed to the next video.
Step 5: Use the icons in the lower-left corner of the screen to Favorite (heart), Comment (speech bubble), or Share (paper airplane) content.
How to create Instagram Reels
If you want to get started creating your own Instagram Reels, the process is easy and begins in the same spot you’ve always gone to create videos — the Instagram camera. To begin recording and assembling your Reel, follow these steps for both iOS and Android:
Step 1: Open the Instagram app in either iOS or Android.
Step 2: Either click the camera button in the upper-left corner or swipe right with your finger over your Instagram feed to access the Instagram Camera.
Step 3: At the bottom of the screen, tap the word Reels.
Step 4: To begin recording your Reel, hold down the circular Record button, located at the bottom of the screen; release the button to stop recording.
Step 5: Continue recording short video clips until the bar at the top of the screen fills; you have up to 15 seconds to create a Reel.
Step 6: Use the icons on the left side of the screen while recording to add music (music note), change video speed (fast-forward symbol), add video effects (smiley face), or record your video clips hands-free (alarm clock).
Step 7: Once finished, click the Next button at the bottom of the screen; it is located to the right of the recording button.
Step 8: Preview your video clip and, using the buttons at the top of your screen, add desired stickers, text, or drawings. Press the Next button at the bottom when you are satisfied with your video.
Step 9: Write a caption for your Instagram Reel and choose if you wish to Also Share to Feed, which will post the video to your Instagram profile feed.
Step 10: Click Share to Reels to finish.
Instagram Reels and your privacy
While Reels is a fun way to share your content on Instagram, it’s best to understand the app’s privacy settings, given the feature automatically shares your video on the Discover page by default. Depending on whether your Instagram account is public or private, the outcome of sharing a Reel is different.
Public accounts: If your Instagram account is public, your Reel will be shared under the Discovery tab when posted; this will allow anyone to potentially discover it. As a public account, you can also choose to share the Reel to your feed, where it can be viewed in your profile feed.
Private accounts: If your Instagram account is private, your Reel will follow your privacy settings, meaning it may not be shared with the Discovery tab. As a private account, you can also choose to share the Reel in your feed, where your approved followers can view it on your profile.