Are websites loading slowly or not operating properly on your MacBook? Is your machine sluggish when it tries to load anything? Are those Facebook ads getting a bit too creepy? It’s probably time to delete your cache files.
Wiping your cache and deleting cookies is a great way to improve performance in even the best web browsers and clear some space on your hard drive. Wiping browser data is pretty simple, but deleting cache for apps and the system itself is a bit more involved.
Below is everything you need to know to delete cache and cookies on MacOS.
What is cache?
Before we dive into it, you may be wondering what cache is exactly. Cache is temporary data your Mac saves from websites and applications to help them load faster. Saving cache files is mostly a good thing because it improves the overall experience of the browser and the application. However, while your computer will save cache automatically, you will have to manually delete it in most cases.
What about cookies? Cookies are certainly similar to cache, but the big difference is in their function. While cache files are commonly loaded assets, cookies specifically relate to user choices. Cookies consist of your login info for other sites and your browsing history. This is one of the typical pieces of information digital advertisers use to target you for ads.
In this guide, we will focus on how to clear your cache on your Mac. To delete cookies, you can read our guide on deleting cookies.
How to delete browser cache on your Mac
Deleting browser cache and cookie files is pretty straightforward. Here’s how to do it.
Clearing cache in Safari
Step 1: Open Safari and select Preferences.
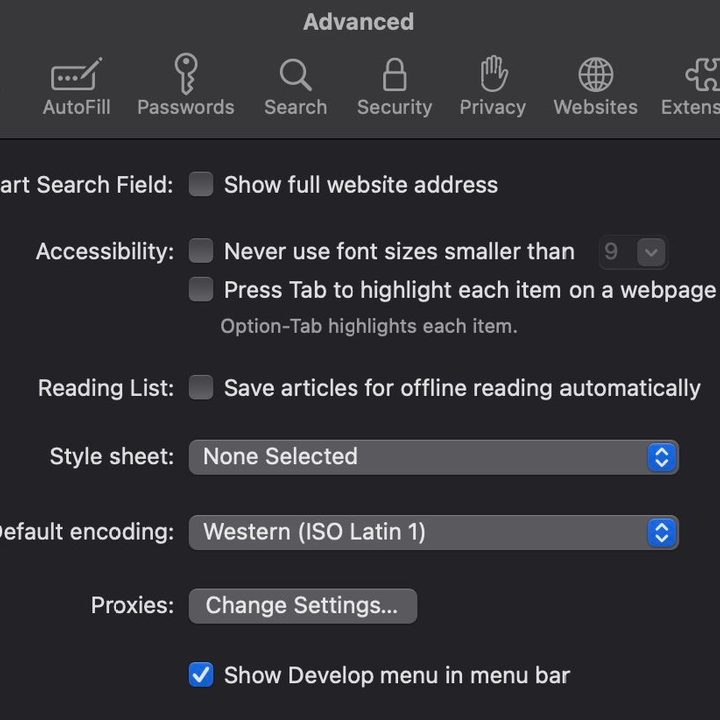
Step 2: Go to the far right of the new window and select Advanced. At the bottom of the window, check the box that says Show Develop Menu in the Menu Bar.
Step 3: A new option should appear at the top of your screen called Develop. Click it, scroll down, and select Empty Cache. At this point, you can turn off the Develop menu or leave it on for future use.
Google Chrome
Google Chrome is more straightforward for deleting cache. Just follow these steps:
Step 1: Open Chrome and click the Three-Dot Icon in the top-right corner.
Step 2: Scroll down and hover your mouse over More Tools. A sub-menu will appear — click Clear Browsing Data.
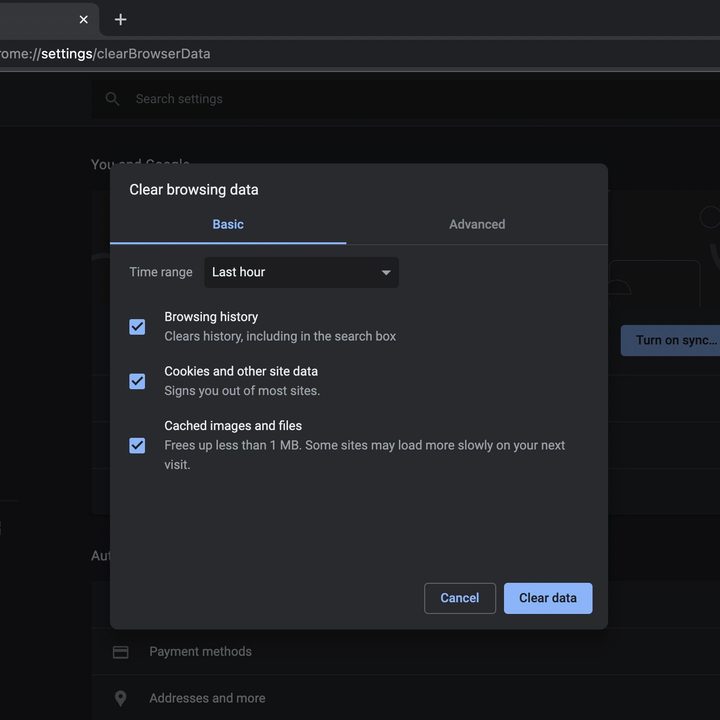
Step 3: A new window will open where you can toggle the time frame and decide to delete browsing history, cookies, and cache files. Adjust this accordingly and hit Clear Data.
Mozilla Firefox
Step 1: In the menu bar, select Firefox, then scroll down and click Preferences.
Step 2: On the left-hand side, select Privacy & Security and scroll down until you see Cookies and Site Data.
Step 3: Select Clear Data on the right side, make sure the Cached Web Content box is checked, and hit Clear.

Microsoft Edge
Step 1: Open Edge and hit the Three-Dot Button in the top-right corner.
Step 2: Scroll down, select Settings, and a new screen will appear. On the left, you should see Privacy, Search, and Services. Click it.
Step 3: Scroll down until you see Clear Browsing Data and then hit the Choose What to Clear button on the right.
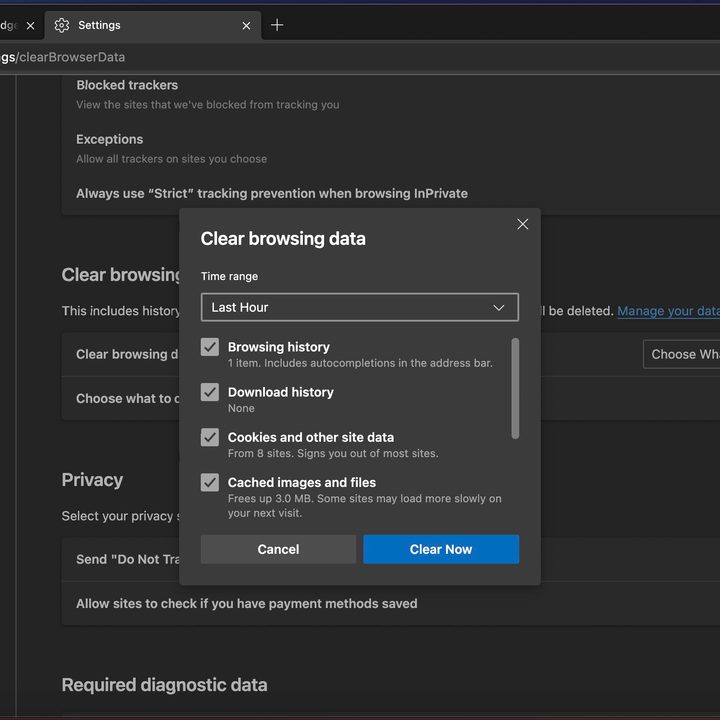
Step 4: Choose which items to delete and hit the Clear Now button.
And that’s how you clear cache on all the major browsers for Safari. It’s a relatively simple process across the board, and doing this on occasion can greatly improve load times for your computer.
If you still feel like your computer is underperforming, there may be another issue to fix or it may be time to finally buy a new Mac.