Windows 10 has an instant search capability that’s powerful, but it can be a little tricky to use. To get the most out of your searches, even if you aren’t sure where to start, we’ve made a guide on how to use the search capabilities in Windows 10 and how to customize them to your advantage.
Tips to help you get started with Windows search
Log into Windows 10 and check out the taskbar that is (traditionally) located at the bottom of the screen. Toward the left-hand side, you’ll see a blank space that represents the iconic Windows Search bar. Depending on your settings, it probably says something like “Ask me anything” or “Search the web and Windows.” This is where you should begin your search — no matter what you’re looking for.
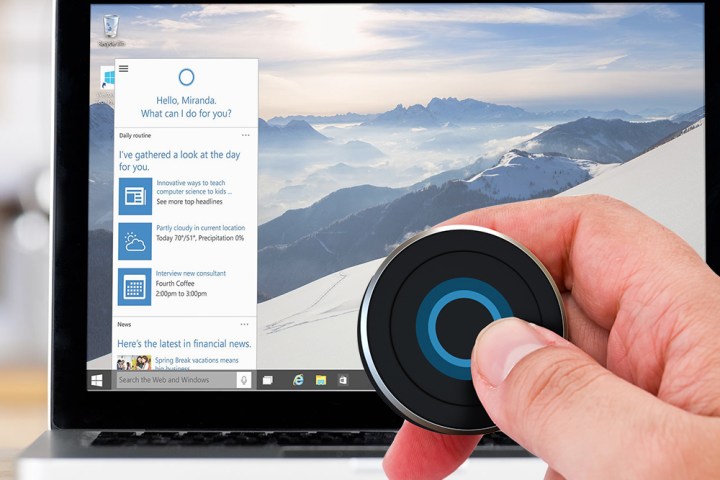
In Windows 10, this search box is closely connected to Cortana, the voice-recognition assistant that is now programmed into the Windows operating system. This means you can use a voice search if you don’t feel like typing, but the results will be the same either way. If you have disabled Cortana in the past, the search box will still be here and you will still be able to type in searches as you normally would.
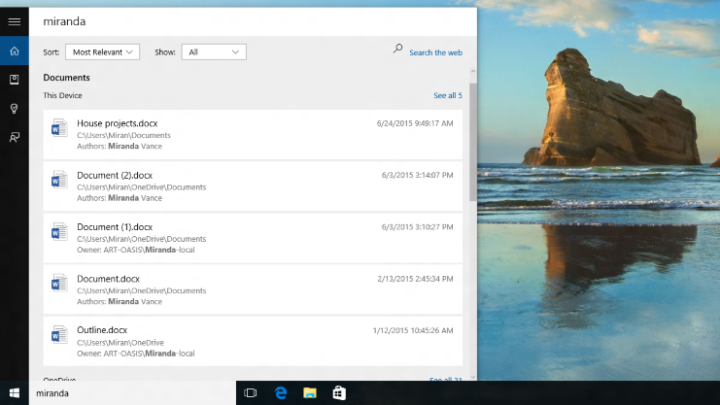
Put in a key phrase or two, and Windows 10 will immediately open a window showing you a list of results – from everywhere. Please note that these results will not only include files, cloud data, programs, and web links, but also all the settings and tools that Windows 10 comes with. This makes it very easy to find a certain tool or feature. Instead of opening five different windows to navigate Settings or a drive, for instance, you just need to search for whatever you need and go right to it.
When you’re ready to start typing specific terms in, here are a few suggestions to help you use the search tool as efficiently as possible:
Be natural: The Windows 10 search function is designed to read natural language, the way you would normally ask for
something. How well this works is open for debate, but it’s still a smart idea to enter a query with organic phrasing, the way you would ask a friend. This includes phrasing like, “Where is,” “Find my,” and even generalities like, “Those business docs from last month.”
- Scroll through: The list of results that Windows 10 returns to you is actually organized by where the results are pulled from. It typically starts with your documents, moves on to web results and suggestions, and continues from there. If you don’t see what you’re looking for right away, take a moment to scroll down and make sure your destination isn’t waiting under a hidden subheading.
- Sign Into OneDrive: The search box can also pull results from your OneDrive data, which is a boon for business users who’ve activated OneDrive. That said, make sure you’re signed into a Microsoft account on your computer before searching so that the search will include OneDrive.
Tips that will make you a Windows search master

Let’s say that you aren’t interested in basic searches. You do a lot of Windows searching and you want to change the process itself so that it’s faster, more accurate, and more useful for your work or play. That’s why we’ve collected a second tier of tips for those who really want to get the most a Windows 10 search, and aren’t afraid to change a few settings or habits along the way. Check them out below.
- Naming time, place, and more: Let’s start with something easy. The search box can organically read time, people, and places, so if you are looking for specific docs or data, mention where they are, when they are, and other identifying bits of information. This could look like “calendar events in two weeks,” or “energy report OneDrive,” or “that spreadsheet I made last weekend,” or even “that thing Rodney sent me.” A little extra information can go a really long way.
- Categorization: There are a couple different ways to switch between categories to narrow your search. When the search results first appear, you’ll notice at the bottom of the window two sections that say My stuff and Web. Select My stuff to get rid of the web results and focus on just what is on your computer right now, which is further subdivided into types of files. Select Web to view only online results.

- Turning off Web results: If you don’t like seeing all those Web suggestions, you can make them go away forever. On the sidebar, you’ll notice a little Notebook icon. Select this, and it will open up Cortana’s Notebook, where you can change various search settings. Look for the option that says, “Search online and include web results,” and make sure that it is toggled Off. Now your search box should only read “Search Windows.”
- Specifying data location: There’s a long list of query syntax tricks that Microsoft has been developing for years, and we suggest you take a look at it. One of the most useful tricks is typing “store:” then a particular place you want to look, such as “store:outlook” to search only for Outlook data. Get used to this sort of customization, and you can easily speed up your search queries.
- Specifying type of file: Here’s another syntax trick to use — type “kind:” and then the type of file you want. For example, “kind:email” will search your emails, or “kind:spreadsheets” will search spreadsheets. This works for folders, favorites, notes, and other types of content.
- Go Boolean: The Windows search has support for some advanced Boolean operators. For example, you can say “NOT” to remove results with a particular phrase but still focus on part of it, like “cats NOT dancing.” Why you wouldn’t want to see dancing cats is beyond us, but that will do the trick (this also works with “OR”). Another trick is to use “<” or “>” to limit results based on date or data size. If you search “>12/31/2015,” for example, you’re only going to end up with results from 2016. You can get a similar effect by using “date:this week” and other “date:” commands, if you prefer.
I just came here to make the search box go away

No problem — we can help with that, too. Go to your search box and right-click it to access the pop-up menu. Head over to Cortana, and in the second menu, look for Show Cortana Icon and Show search box. You will want to make sure that both of these boxes are left unchecked. When they are, your search box should completely vanish. Please keep in mind that this does not actually disable Cortana, but hide the search functions in your taskbar.

 Be natural: The Windows 10 search function is designed to read natural language, the way you would normally ask for


