
While most other operating systems have their own dedicated application to manage and oversee the tasks running on your machine, many of the features on Google’s Chromebook predominately function via the browser, which includes the Task Manager. Granted, a Chromebook won’t have as many programs running when compared to a Windows PC or Mac, but it’s still useful nevertheless when you need to manage tasks, tabs, and the like.
Let’s take a look at how to use a Chromebook’s Task Manager.
How to open Task Manager on Chromebook
As we explained above, there is no dedicated app for Task Manager on Chromebook. Instead, it can be accessed via the Chrome browser itself.
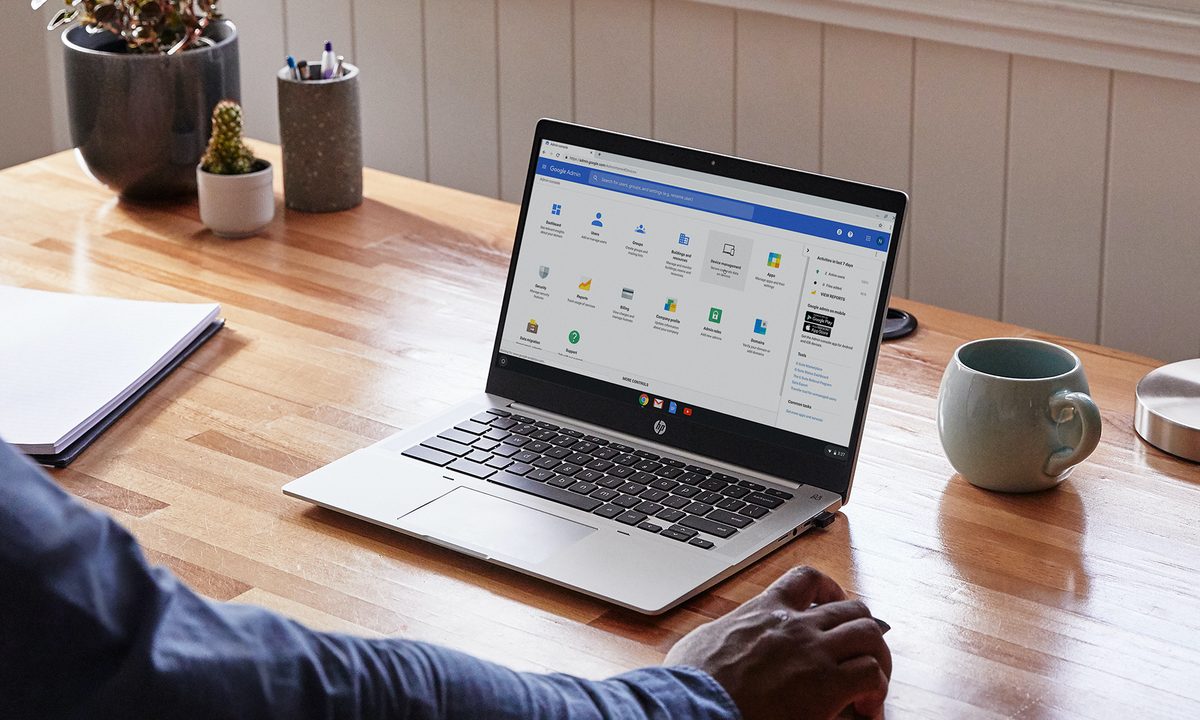
Step 1: Open the Chrome browser.
Step 2: Select the Three dots option adjacent to the URL bar, select the More tools drop-down menu, and then choose Task Manager.
Select the Shift (or Search, depending on your Chromebook) and Esc buttons on your keyboard if you want to open it via a shortcut instead.

How to use Task Manager on Chromebook
Within Task Manager, there are various self-explanatory fields that are shown: Task, CPU, Network, GPU memory, and more.
Step 1: To end a program or tab that’s causing the system to run slowly or that you simply don’t need to operate anymore, click that task within the Tasks section. An End process button will appear in the window — select that button to close your chosen task.
This function can be particularly useful if you analyze the GPU memory section, which will give you a good overview of what is commanding most of your system’s processing power. If there’s a task using a considerable amount of power and you’re unsure of its use, simply search for the process on Google, after which you can decide whether to end it or not.

Step 2: Another effective way to make the most out of Task Manager is to see what specific tasks are using the most resources. Basic details are outlined via the aforementioned fields, such as GPU memory and CPU.
However, if you’re looking for a more thorough breakdown of usage pertaining to a process, then right-click on a task and select what you want to view, including Image cache, File descriptors, Process priority, and more.
As you can see in the image below, the majority of the GPU memory is being used by the multiple extensions added onto Chrome.

For more on how to get the most out of your Chromebook, check out our tips and trick article.


