
What good is a Bethesda game without an overpowered character mechanic that can make mincemeat of NPCs? In Deathloop, that mechanic comes in the form of Slabs. With a handful of Slabs to collect, players are wondering which Slabs they should be using and how to upgrade them. Below, we’ve ranked every Slab in the game, explaining why and when you should use each one.
- Deathloop is the ultimate action game for speedrunners
- Deathloop preview: A madcap mix of Hitman and Dishonored
- The best upcoming PS5 games
What are Slabs?
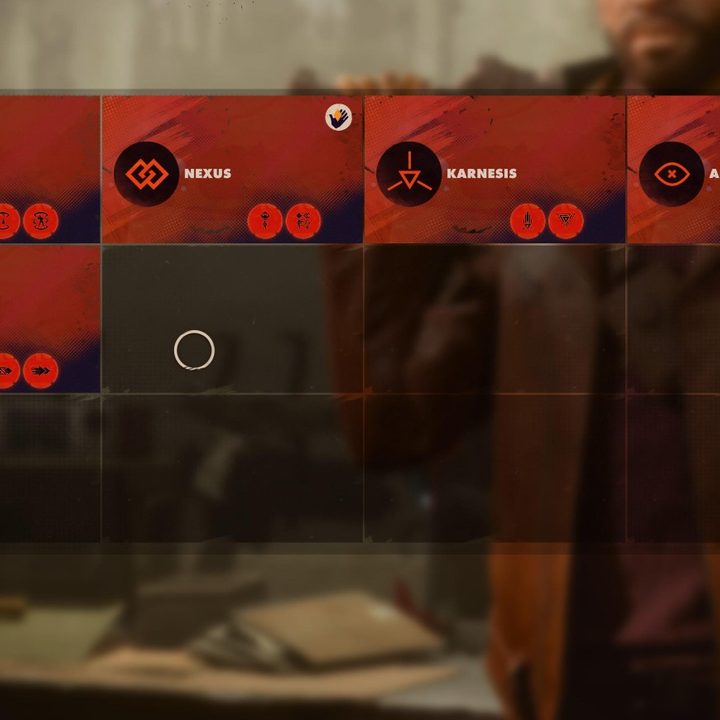
In Deathloop, Slabs are your off-hand superpowers. They allow you to warp short distances, chain together enemies, and become invisible to the naked eye. Unlock Slabs by killing visionaries and defeating Julianna whenever she invades your world. While you’ll always get the same Slab from the same Visionary, killing Julianna gives you a chance at a random one. Once you kill them, approach their body to find their Slab floating in mid-air. The different slabs in Deathloop are:
- Havoc: Become tougher and hit (and kick) harder.
- Nexus: Link enemies. Hurt one, hurt all.
- Karnesis: Throw enemies around … painfully.
- Aether: Became almost entirely invisible.
- Shift: Teleport over short distances.
By default, Colt is equipped with the Reprise Slab, which gives him a total of three lives per loop. Reprise cannot be unequipped, but you can equip two of the other five Slabs for a total of three.
How to upgrade Slabs
To upgrade Slabs in Deathloop, return to and kill the Visionary you got the Slab from in the first place. For example, Harriot in Karl’s Bay drops the Nexus Slab. To unlock Nexus upgrades, return to Harriot on the next loop and kill here again. Assuming you infused the Nexus Slab to keep it with you between loops, Harriot will drop Nexus upgrades upon death.
If you kill a Julianna who’s using a Slab you’ve already unlocked, she’ll drop an upgrade for it. So, if you’ve already unlocked Shift and Julianna enters your world using Shift, you’ll find an upgrade on her body if you’re able to kill her.
You can only equip two upgrades to each Slab, and you’ll have to infuse them to keep between loops. However, you only need one copy of each upgrade, so sacrifice any duplicates for extra Residuum.
Every Slab in Deathloop, ranked
Here is every Slab in Deathloop, except for the Reprise Slab, ranked from worst to first.
The Havoc Slab
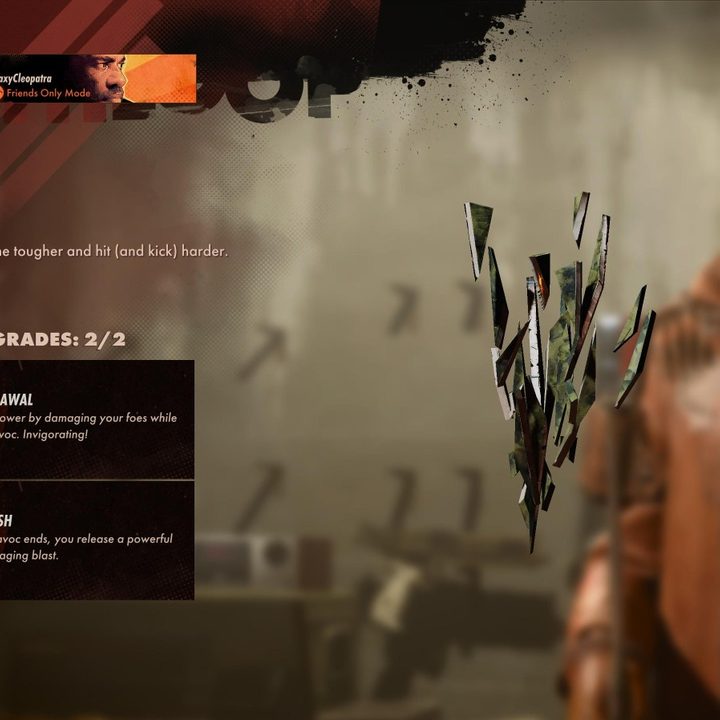
Honestly, the Havoc Slab defeats the purpose of the game. If you’re a run-and-gun player, the Havoc Slab will be fun. If you’re trying to play a more stealth-centered game, the Havoc Slab has little use for you. The Havoc Slab decreases your power rather than your health as you take damage, and the effects of the Havoc Slab end once you run out of power. Equip the Withdrawal upgrade to regain power by damaging enemies while Havoc is active. Otherwise, you risk running out of juice before taking down every enemy shooting at you.
In short, Havoc is only useful when surrounded by a group of enemies all shooting you at once. However, if you find yourself in that position, you probably did something wrong.
The Karnesis Slab
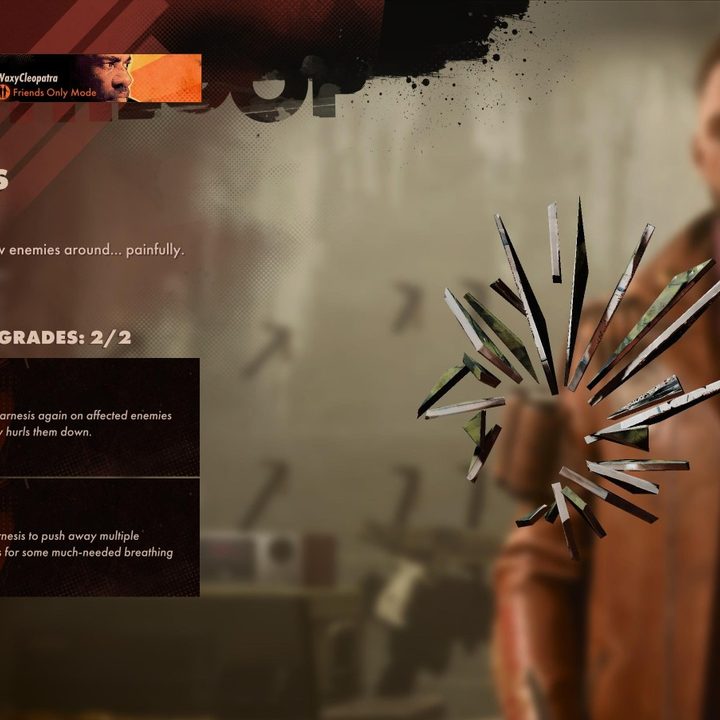
While it’s fun to toss enemies around like ragdolls, Karnesis isn’t as helpful as the remaining three Slabs. Why? Because unless you push enemies off a roof or the side of the map, Karnesis doesn’t guarantee a one-shot kill. You can equip the Slam upgrade to pull enemies back down, which will kill them, but you’ve effectively eaten up two bars of power just to kill one enemy.
Karnesis makes for a good laugh. In practice, it’s not a Slab you should be running, especially if you’re trying to be as efficient as possible.
The Shift Slab
The Shift Slab and the No. 2 rank are interchangeable depending on what you’re doing. If you’re running errands around Blackreef or sneaking into Dorsey Manor, then the Shift Slab will make your life much easier. Equipped with the Airborne and Reach upgrades, you’ll be traveling around Blackreef like Spiderman. Airborne freezes you in mid-air when using Shift. Reach allows you to travel further with each use.
You probably found Shift to be lackluster when you first used it. Believe us — the Reach upgrade makes all the difference. Shift gets you to those otherwise unreachable vantage points and makes for an easy escape plan in a pinch.
The Aether Slab
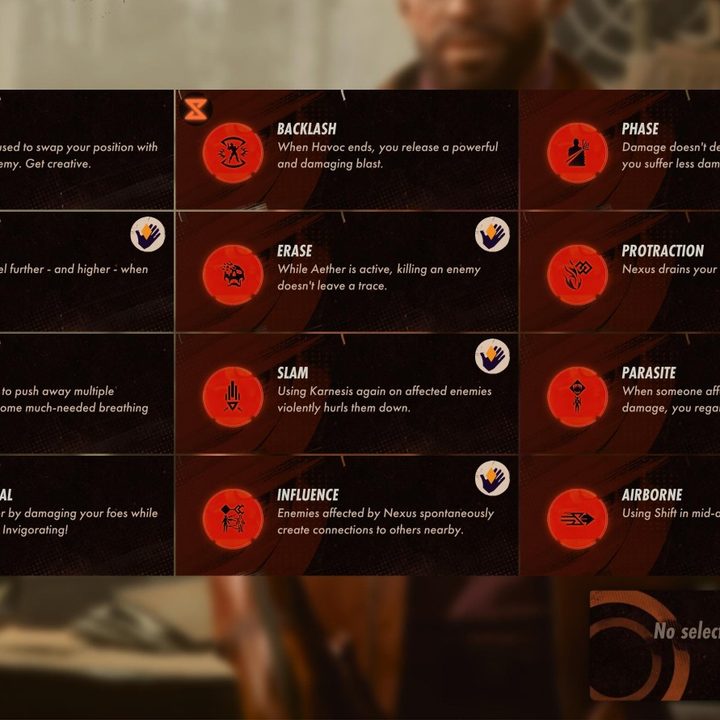
In a game so focused on stealth, it’s not surprising that a Slab that turns you invisible falls in at No. 2. The Aether Slab will get you past attentive guards and is especially useful when sneaking into the pumping station to kill Fia and Charlie. Aether also acts as a wanna-be Havoc Slab when equipped with the Phase upgrade. Phase decreases damage taken while Aether is active and doesn’t deactivate Aether when you deal damage.
We keep Aether in our back pocket and use it when things get hairy. Aether comes in hand when Julianna is on the prowl, too, especially if she’s already started shooting at you. Turn a corner, trigger Aether, and let her run right by you. Now the ball’s in Colt’s court.
The Nexus Slab
The Nexus Slab is the best Slab in Deathloop. We’ll even go as far as calling it the best utility in the entire game. Thankfully, it’s one of the first you’ll unlock since Harriot is a pretty easy target in Karl’s Bay. Nexus chains nearby enemies together. What you do to one will affect the others. So, if you chain three enemies together, you only need to headshot one to take them all down. You can even link two Visionaries together, like Fia and Charlie in Fristad Rock or Egor and Wengie at Aleksis’ party.
Equip the Nexus Slab with its Parasite and Influence upgrades for max productivity. Parasite regenerates your health when you kill someone affected by Nexus. Influence creates spontaneous connections between enemies, effectively increasing the range of your Nexus Blast. In the image above, you’ll see every dancing Eternalist at Aleksis’ party, including the man of the hour, about to be taken down with one bullet thanks to Nexus.


