Destiny 2 Season of the Splicer is in full swing. The seasons brings the new Override activity, the iconic Vault of Glass raid, and a unique Splicer Gauntlet (the new Armor Synthesis system is here, too, but we won’t talk about that). Post-Beyond Light, the new season also brings new Stasis Aspects for each of the classes, and in this guide, we’re going to show you how to get the new Stasis Aspects from Season of the Splicer.
More Destiny 2
- Destiny 2 Season of the Splicer: Seasonal and weekly challenges
- Destiny 2: Where is Xur?
- Destiny 2: How to unlock the Dead Man’s Tale Exotic scout rifle
Before getting started
Before you can start the new Stasis quest, you need to complete the Born in Darkness quest from Beyond Light as well as all previous Stasis quests. Born in Darkness will give you two of the four, and there’s another one from Season of the Chosen.
The Season of the Chosen Stasis Aspects are easy to get. Speak to the Exo Stranger in Beyond after finishing Born in Darkness, then follow the quest markers.
How to unlock the new Stasis Aspects from Season of the Splicer
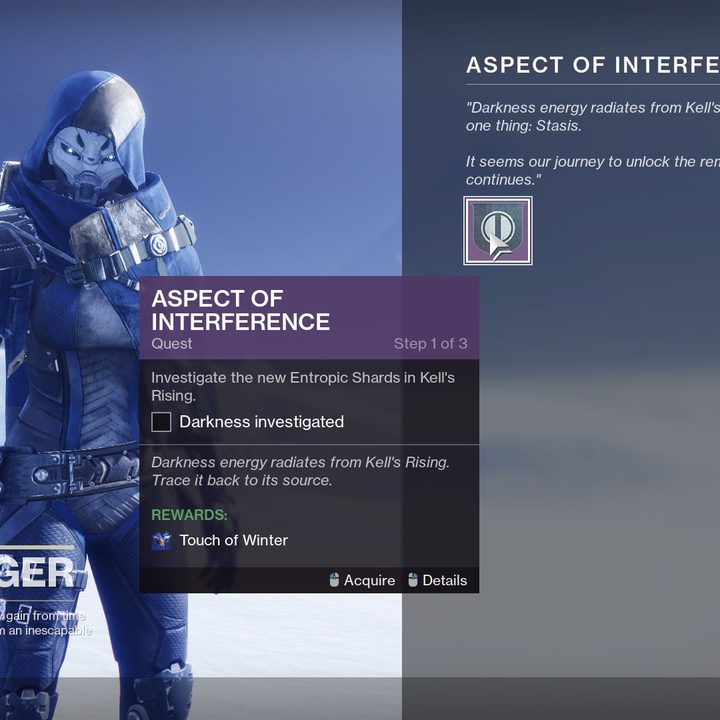
To start the Aspect of Interference quest in Season of the Splicer, head to Beyond and speak to the Exo Stranger.
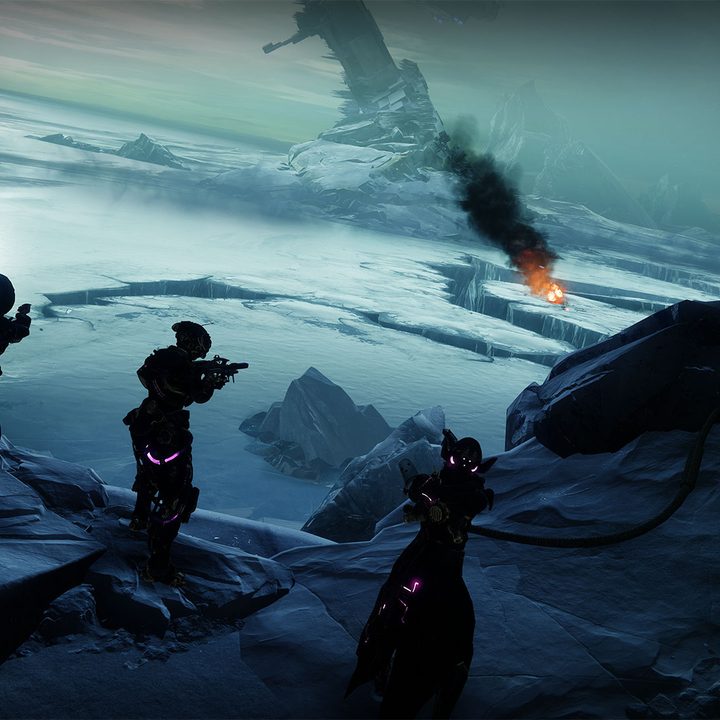
The first step asks you to investigate darkness around Kell’s Rising, and if you’ve made it here, you already know what that means. Get Salvation’s Grip ready and head to the northern end of the map to reach Kell’s Rising.
Destroy Entropic Shards
Follow the quest markers through Riis-Reborn Approach and take the teleporter into Riis-Reborn, following the path toward Kell’s Rising. The quest marker will take you to the first Entropic Shard. Get out your Salvation’s Grip to destroy it.
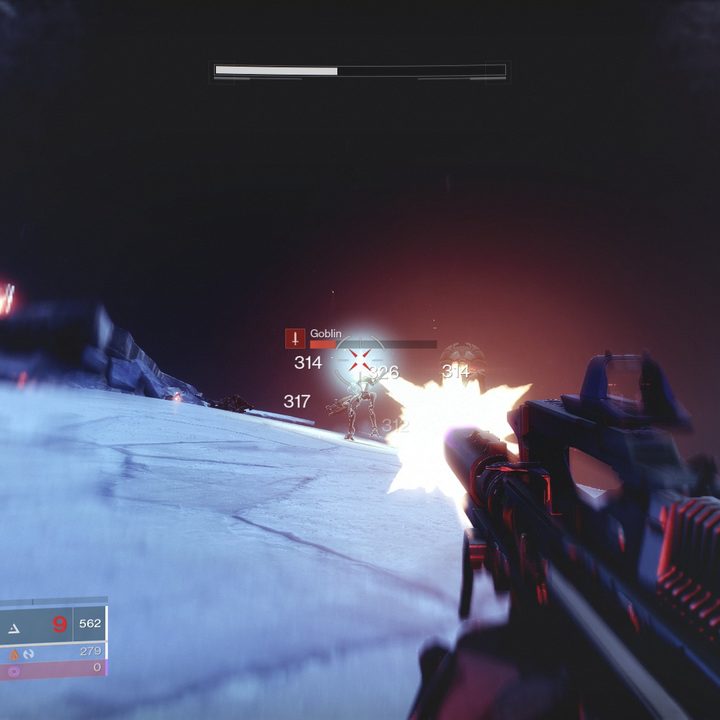
There are five more Entrophic Shards leading through the platforming section of Kell’s Rising — six Shards total. Grab heavy ammo on the way up to destroy them, and watch out for the mobs of enemies that swarm you.
After you destroy the last one, you’ll spawn a Wyvern boss. Take it down and the mobs of enemies that spawn with it to pick up the Skeleton Key and unlock the Heroic Simulation.
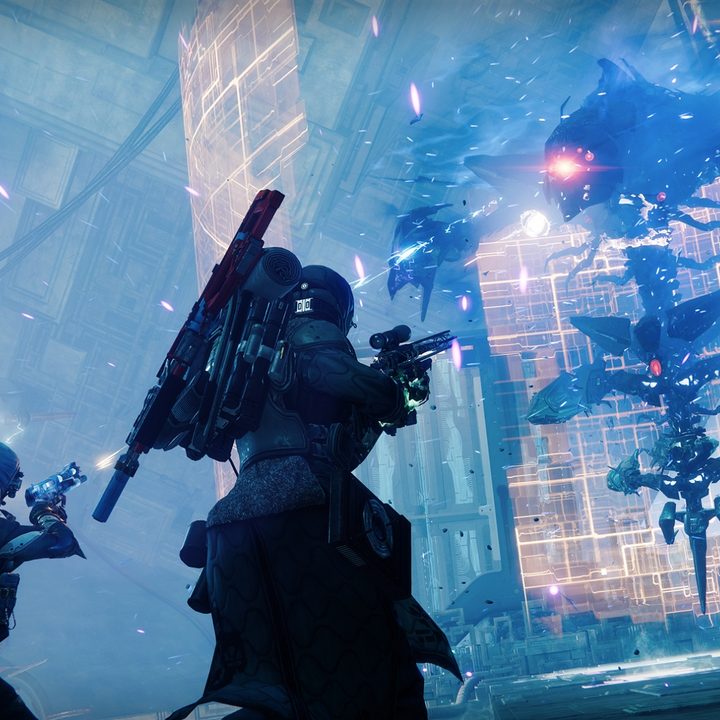
Complete the Heroic simulation
You have to complete another simulation to unlock the new Stasis Aspects. Before getting started, make sure to equip Overload and Anti-Barrier mods to deal with the Barrier and Overload Champions in the challenge. You probably want to bring a few friends, too. You can bring two other players, and the recommended power level is 1,320.
The challenge opens with some platforming and sparse mobs of enemies. You’ll start building the Biting Cold status effect immediately, and if it reaches 10 stacks, you’ll start taking damage. You can stand near fires to lower the effect, so try to bounce between them as you make your way up.
Continue fighting, and you’ll eventually reach the boss. It’s a Vex hydra that will destroy you if you’re under-leveled, so be prepared for a fight. It will continue to spawn more enemies, so focus as much damage on the boss as you can.
After the boss falls, head back to Beyond to the Darkness altar. Follow the path to the end to pick up your new Stasis Aspects.
What the new Stasis Aspects do in Season of the Splicer
You don’t have to complete the quest with your alt characters, so you can go immediately to the altar in Beyond on Europa to pick up the aspects for each of the classes in Destiny 2. Here’s what they do:
- Warlock: Glacial Harvest — Glacial Harvest is the simplest of the new aspects, but it’s still powerful. Whenever you freeze an enemy, it will create Stasis shards around the target, freezing more enemies. Freezing higher tier enemies will create more shards.
- Titan: Diamond Lance — Diamond Lance gives you a Stasis Lance whenever you shatter or defeat a frozen enemy. “Shooting” the lance allows you to throw it and freeze a target on impact. Using your melee ability will slam the lance on the ground and create a small frozen area.
- Hunter: Touch of Winter — Touch Winter adds more abilities to your grenades. Coldsnap Grenades seek targets, farther and faster, and they chain an additional time. Glacier Grenades now spawn Stasis crystals. Finally, Duskfield Grenades have an increase slow area and a create a Stasis crystal on impact.