The first of four planned downloadable content drops for Call of Duty: Ghosts, titled Onslaught, has been released for Xbox 360 and Xbox One, and we’re here to lend a hand. We can’t help you with things like aiming, but we do have a few tips on how to not get yourself killed as often – and possibly even turn the tables on your opponents.
This guide will focus on the four new multiplayer maps. We’ll also cover some tips and tricks for the new chapter of the co-op game Extinction titled “Nightfall,” but that will be in a separate post. This guide is by no means comprehensive, and you can expect it to be updated. Strategies that work today may not work in a week once people have learned to counter them. It’s the nature of online games, and with the number of people that play Call of Duty, strategies change quickly and often.
If you have any tips you’d like to add, please do so in the comments below.
BayView
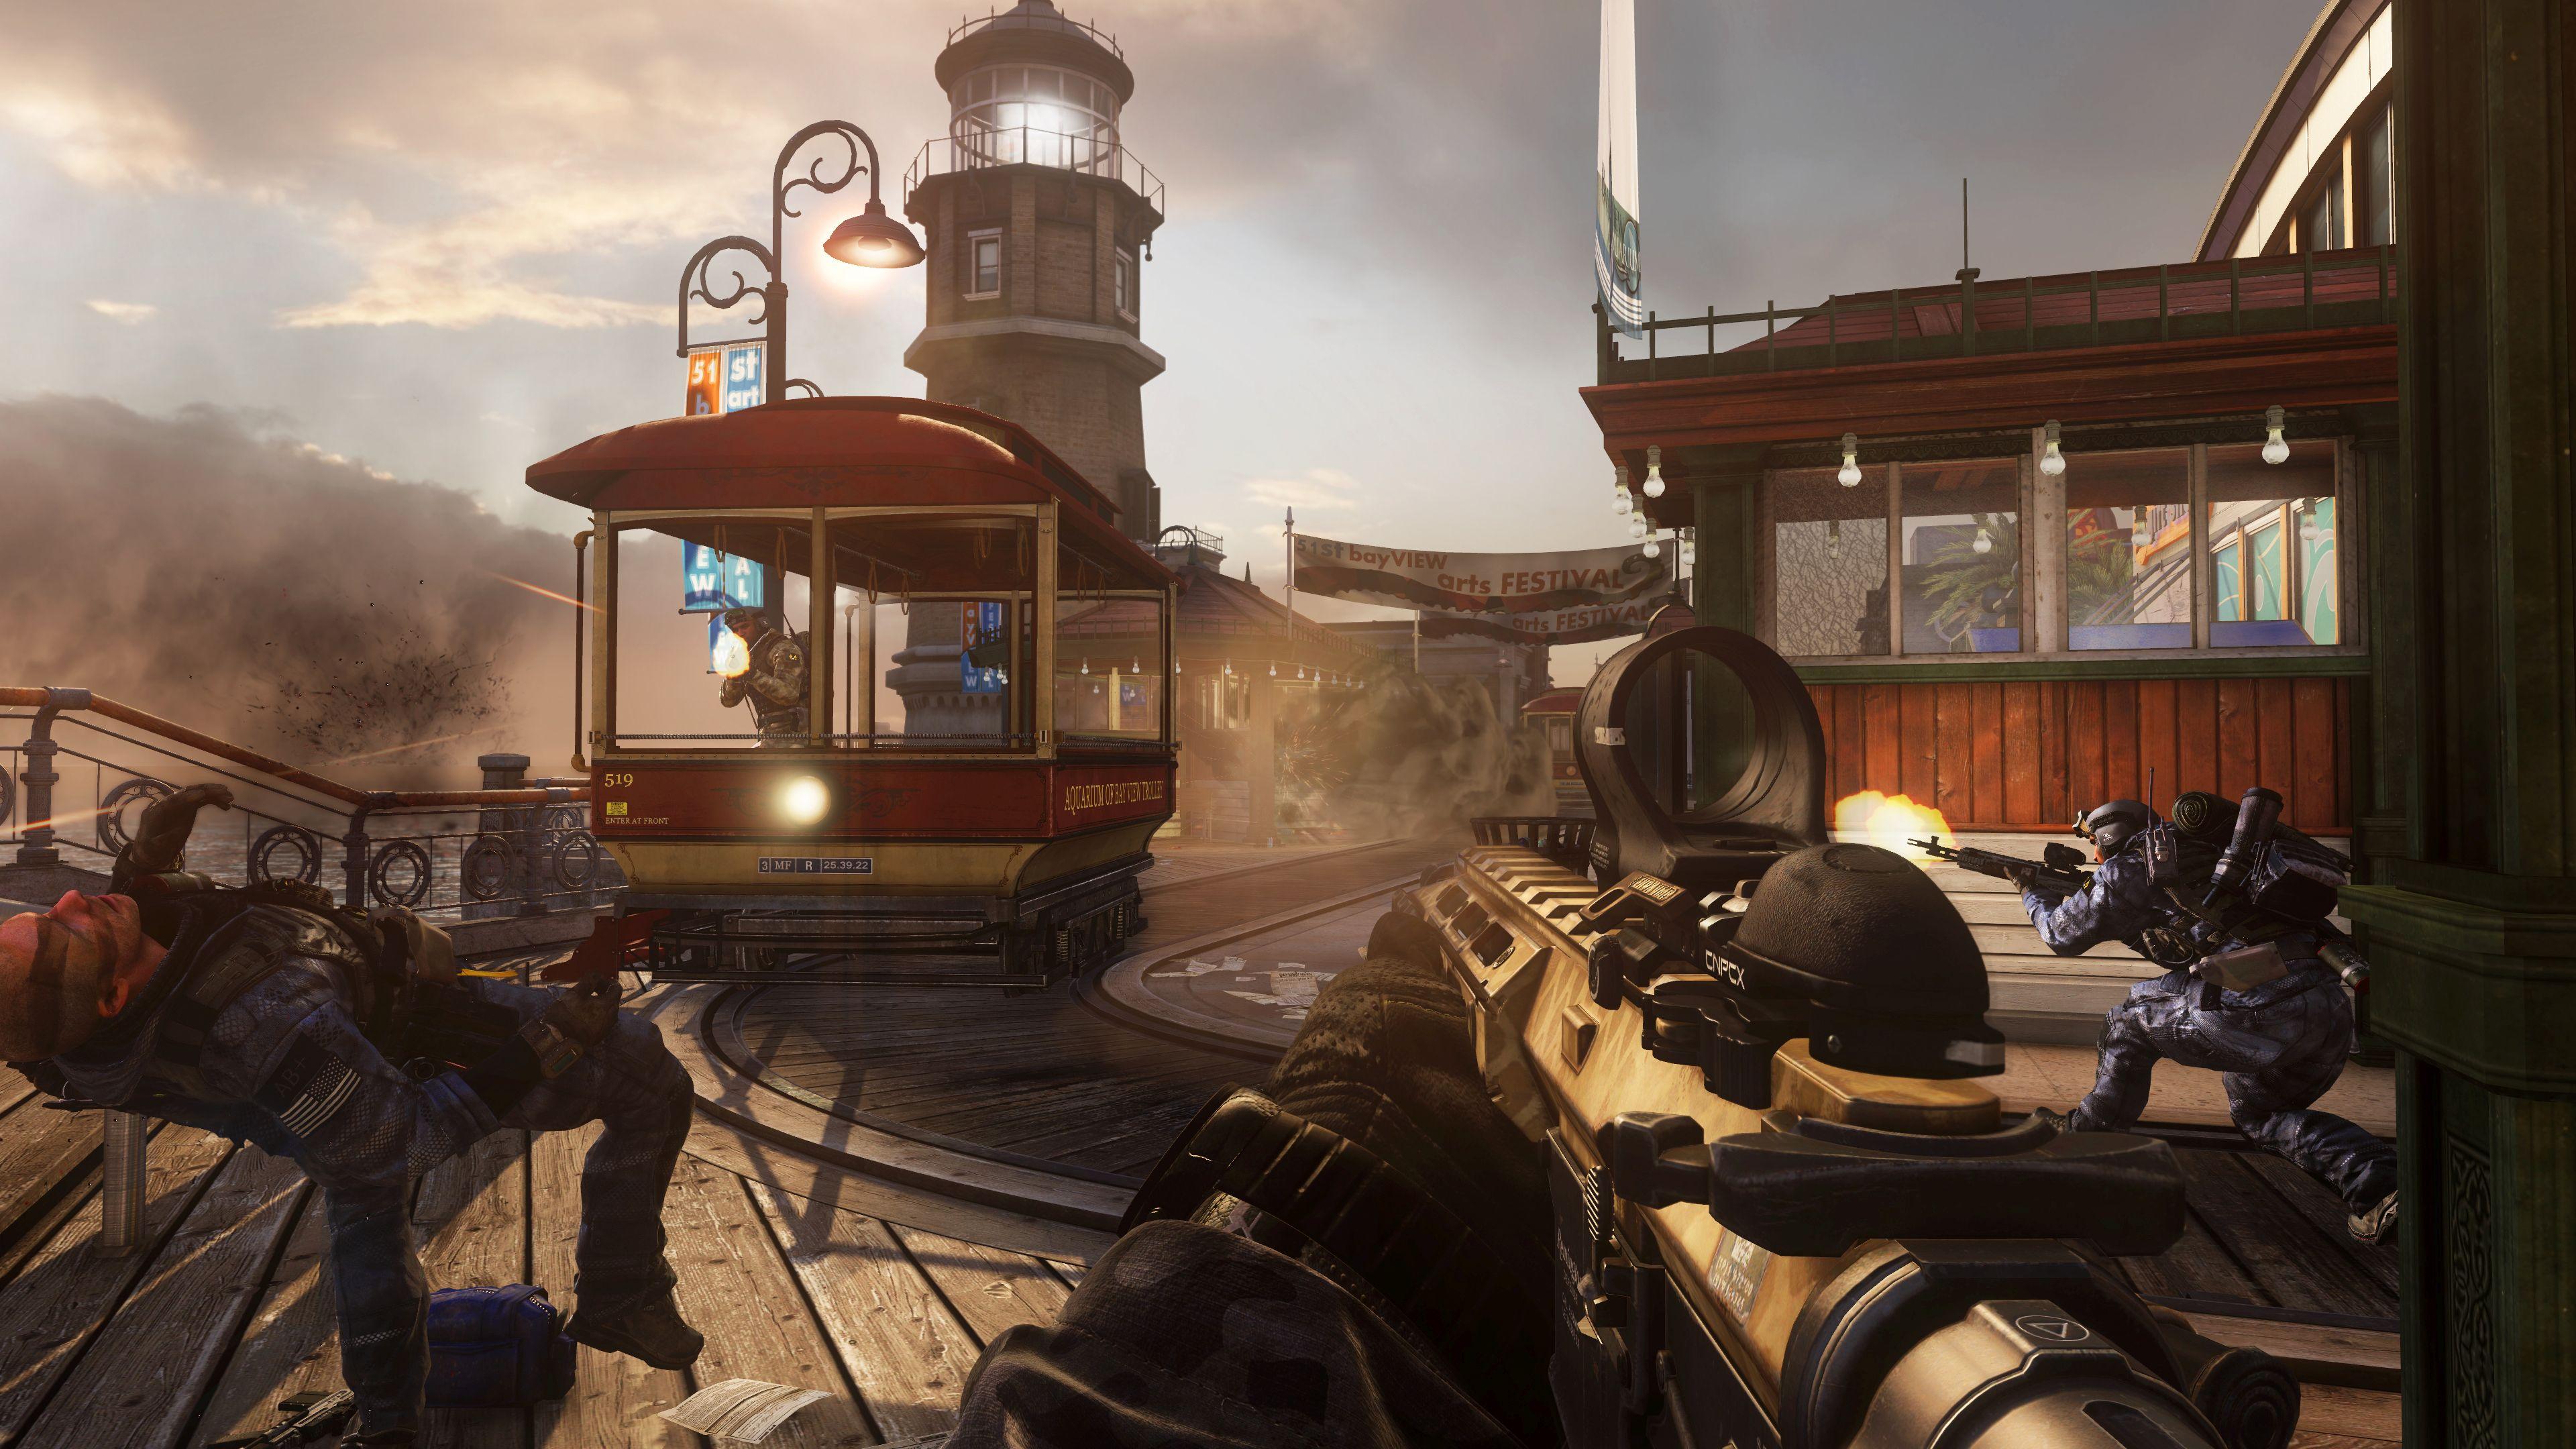 “BayView” is a small, square map, but there are a lot of areas where you can get the jump on opponents. The first thing to know is that running down the streets is suicidal. The map is littered with two-story buildings and raised elevation points, so moving through the streets makes you a prime target. If you are in a game mode where this may be unavoidable – Domination or Search and Rescue, for instance – carry smoke with you.
A talented sniper can hold down a street on their own, which may be useful for objective-based games, but a mid-to-close range weapon will serve most players well on BayView. The new assault rifle introduced with the DLC, the “Maverick,” is well-suited for this map. It’s got a low rate of fire and “Hyper-Velocity” rounds for massive close-range damage, plus it comes with an integrated suppressor. Think of it like a more powerful version of the Honey Badger, but with a slower rate of fire and a bit less mobility.
As soon as you set digital foot on this map, you’ll probably notice the trolley that runs a semi-circle loop of the map. You can see the movement of the trolley on the map – it is represented by a red square. The inclination may be to jump on and ride, using the trolley’s walls for cover, but do so at your own risk. That trolley is actually a conveyor belt of death that will inevitably lead you into a storm of bullets. If you have people equipped with riot shields, using the trolley may work if you need to rush an objective, but ride it at your own risk.
As ever, when it comes to perks, the decision down as much to what fits your personal preferences as it is to what suits a particular level. If you are having trouble on BayView though, you may want to consider perks that help with speed. Movement is key in this small map; if you try to hold down a location, you’d better have help or be prepared to face attacks from multiple sides.
Due to the nature of the map, you may also consider changing your killstreaks. Sit-reps are always handy, and dogs can devastate opponents in close quarters. The abundance of buildings limits the usefulness of air support, but if you can get a hold of a Maniac killstreak, watch your killcount explode. If you use the support package, Ballistic Vests can help your team immensely in the close-quarters battles, and the “Support Squadmate” that grants you an AI squad member with a shield can help dislodge opponents holding down a building. Use them in conjunction with your explosives, since friendly fire doesn’t hurt your AI-controlled support.
Containment
 All of the maps in the Onslaught DLC are relatively small, and “Containment” is no exception. BayView is much smaller in terms of overall square footage on the ground, but there are fewer multi-level areas here, which makes Containment feel like the smaller of the two. That said, there are several areas where a sniper or a marksman can hold down an entire side of the map.
The map is broken up by a dry river bed. There is a small, central bridge that you can cross, but the odds of surviving a crossing are low. There will always be those that try though, so if you are in a slump and need a kill, just hang out near the bridge and wait for your opportunity. Most players will run through the riverbed instead, but since there are only a handful of places you can climb out of the river, throw a tactical grenade ahead of you before you rush the shore. Odds are you’ll disrupt a player waiting to kill you.
The layout of the map also lends itself well to manipulating the opposing team through your killstreaks, especially when playing with a clan or team. If you can earn persistent air support – a helicopter, ideally – you can herd the opposing team. The map is split up into two sections: one portion is dominated by a dilapidated church and the second is more open, with a handful of buildings. If you have a helicopter, you can call it in when the opposing team is on the church-side to keep them suppressed there. Make sure there are a few teammates spread out on the village side to control the spawns, have a few waiting at the bridge and on the river banks, then send a strike team in to throw grenades and lay traps. Easy kills, but don’t rush in – the church can be defended with relative ease.
Fog
 “Fog” is basically the site of several cheesy horror movies rolled together. You have a dark and remote forest, a handful of cabins in the woods, and underground tunnels filled with some bloody memorials. Oh, and you can become Michael Myers.
In order the become Myers, it requires persistence and a bit of luck. First, you need to collect a Field Order, and then complete it to earn a care package. Michael Myers is one of the rewards on Fog, though as with all care packages, the prize is random. It drops more frequently on this map than the other rewards do though, so if you get three or four Field Orders care packages, odds are you will get the Myers package.
Once you do, Myers is basically a Maniac but with a hatchet. You can be killed, but only after absorbing a lot of damage, and you are also incredibly fast. If you are facing Myers, listen for the Halloween theme music. If you hear, just find your teammates and hunker down to concentrate your fire when the man in the Shatner mask comes for you.
Part of the reason Myers can be so devastating is due to the shape and size of the map. Snipers can try their luck in one of the locations where players are funneled into – especially the tunnels – but the map moves so quickly that your better bet is a shotgun or SMG. If you do want to try to hold a point, which you often have to do in objective modes, a silencer-equipped loadout can make a big difference. There are plenty of areas where you can hide in plain sight thanks to the darkness and vegetation. Just beware of grenades from vengeful opponents that recognized your location in the Killcam.
If you are playing in a lobby with strangers, keep moving. Even teams with players coordinating with each other will have a difficult time holding an area, but individuals will always be hard-pressed to avoid getting flanked constantly. If you do want to hold a location, your best bet is the house with the basement that leads into the tunnels. The houses on the other side of the map may seem like tempting cover locations, but they have several blindspots.
Ignition
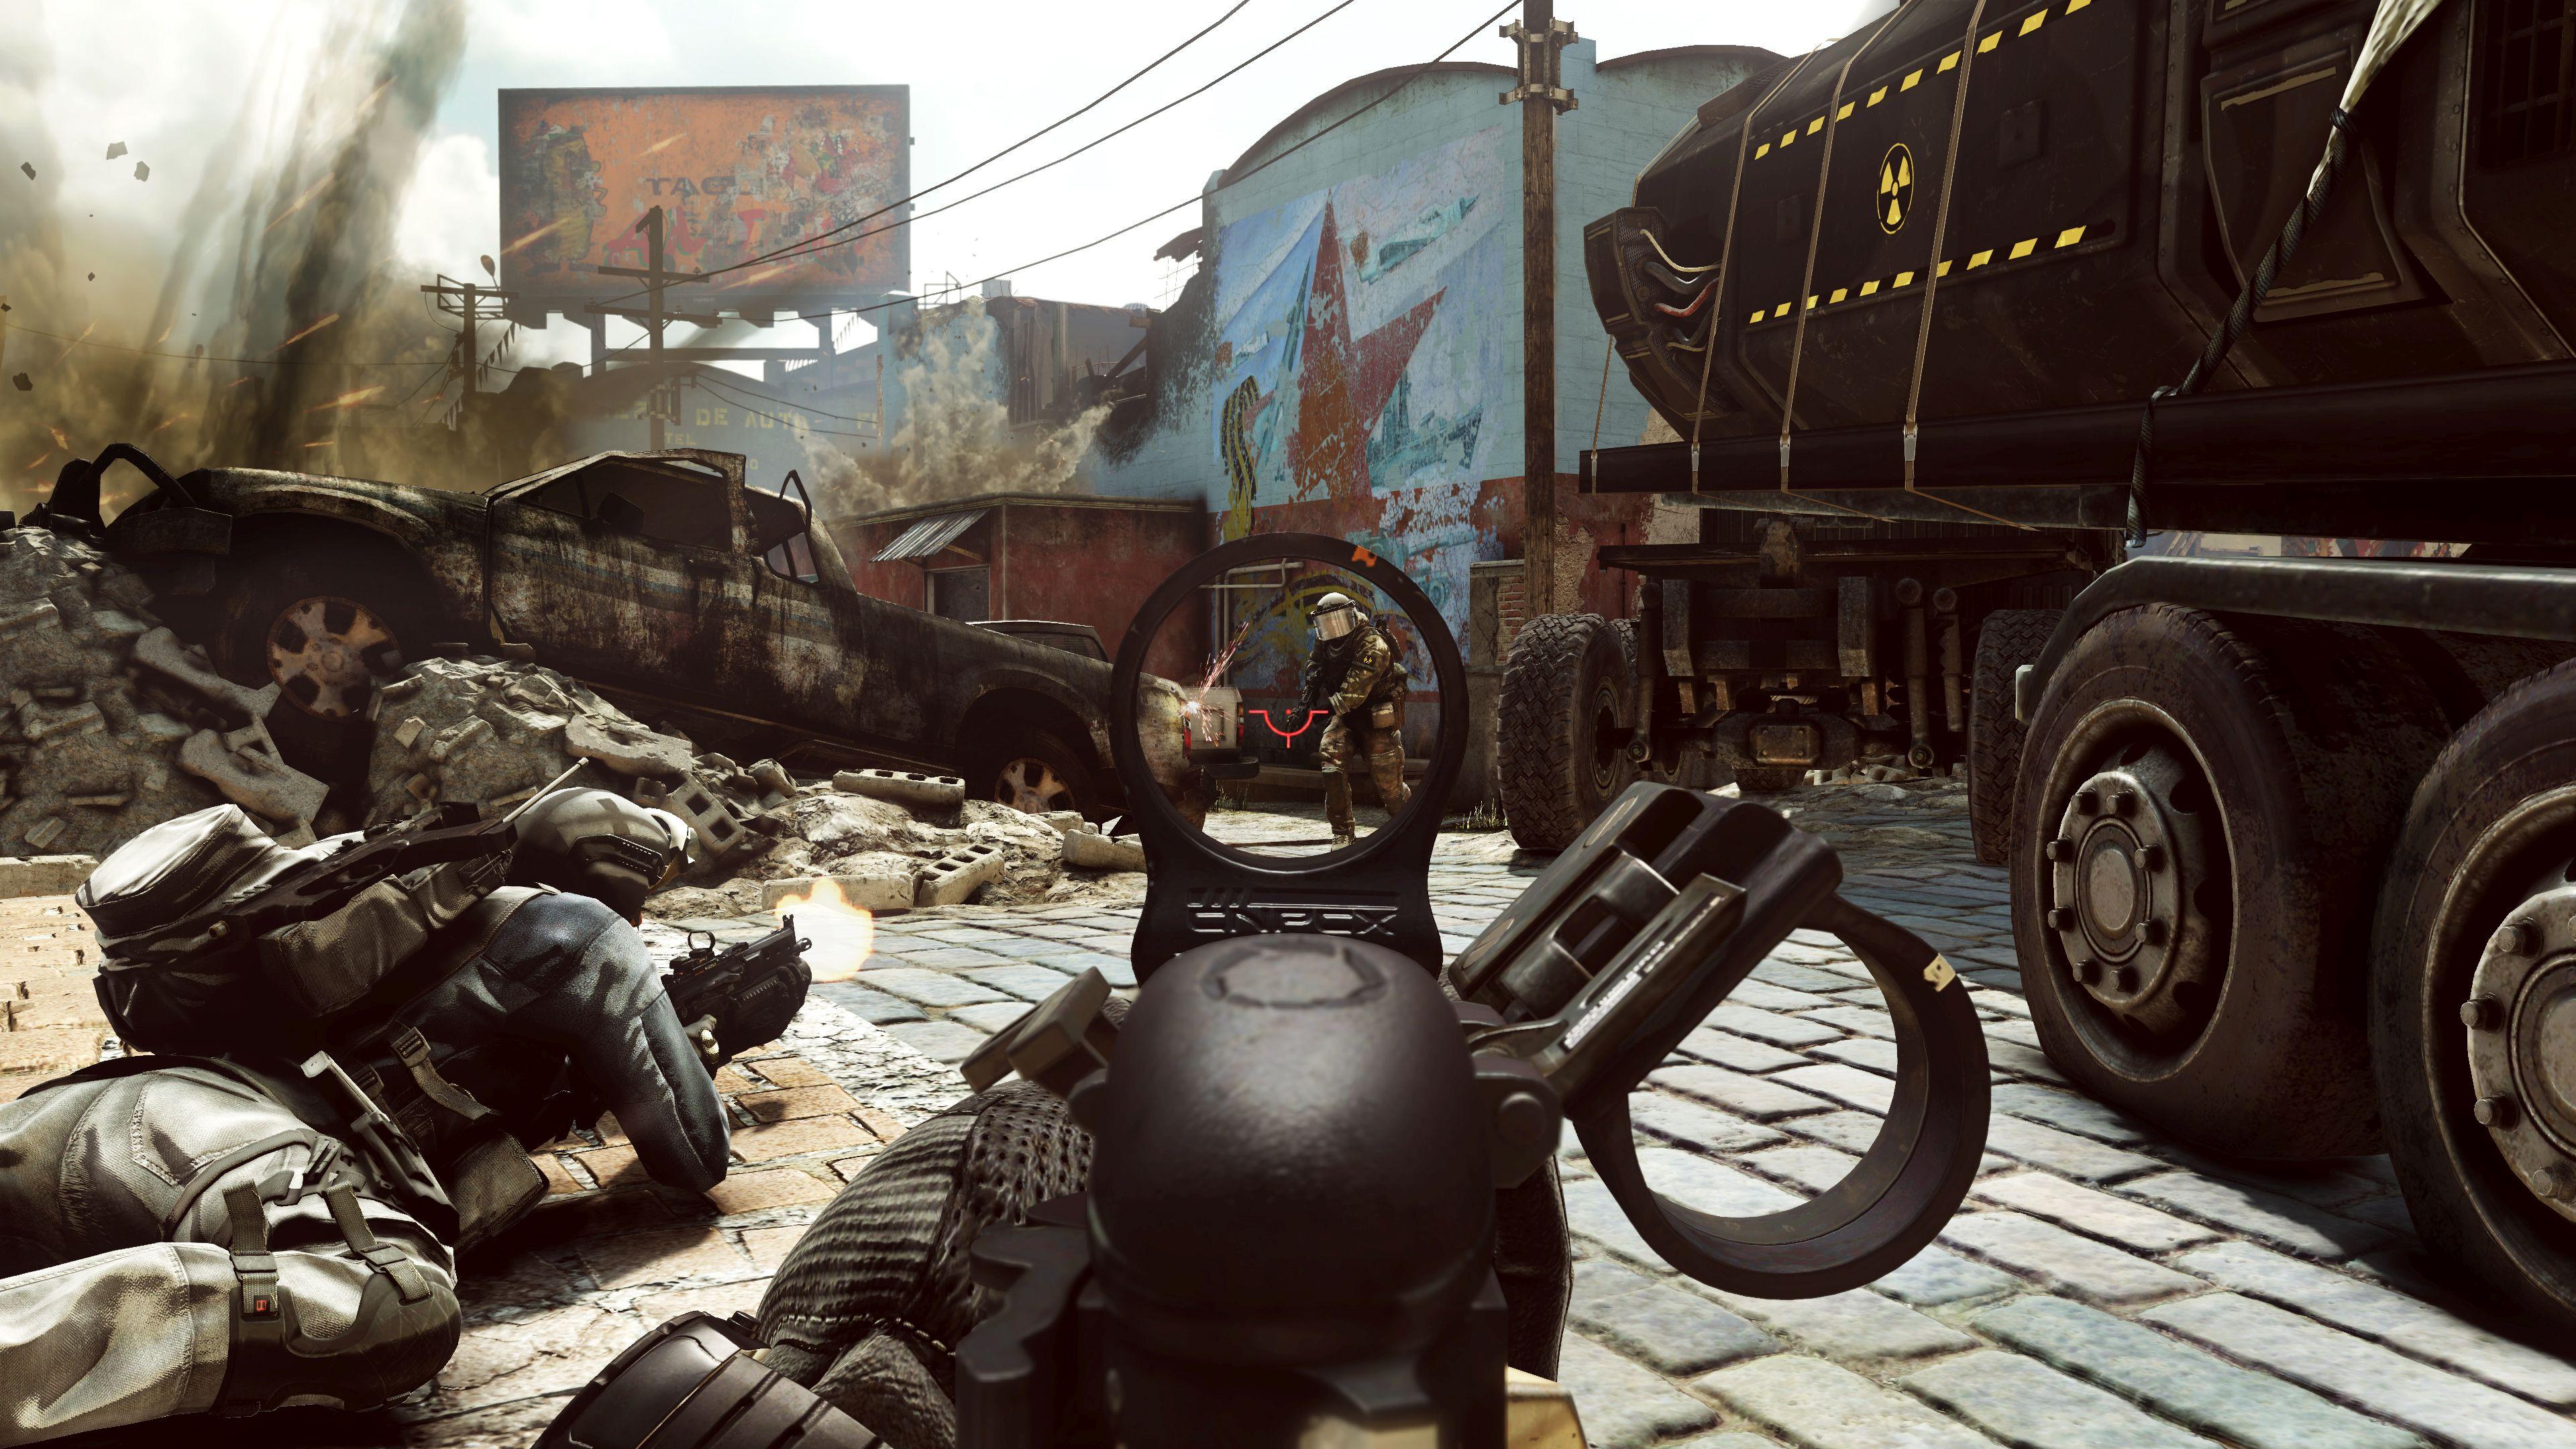
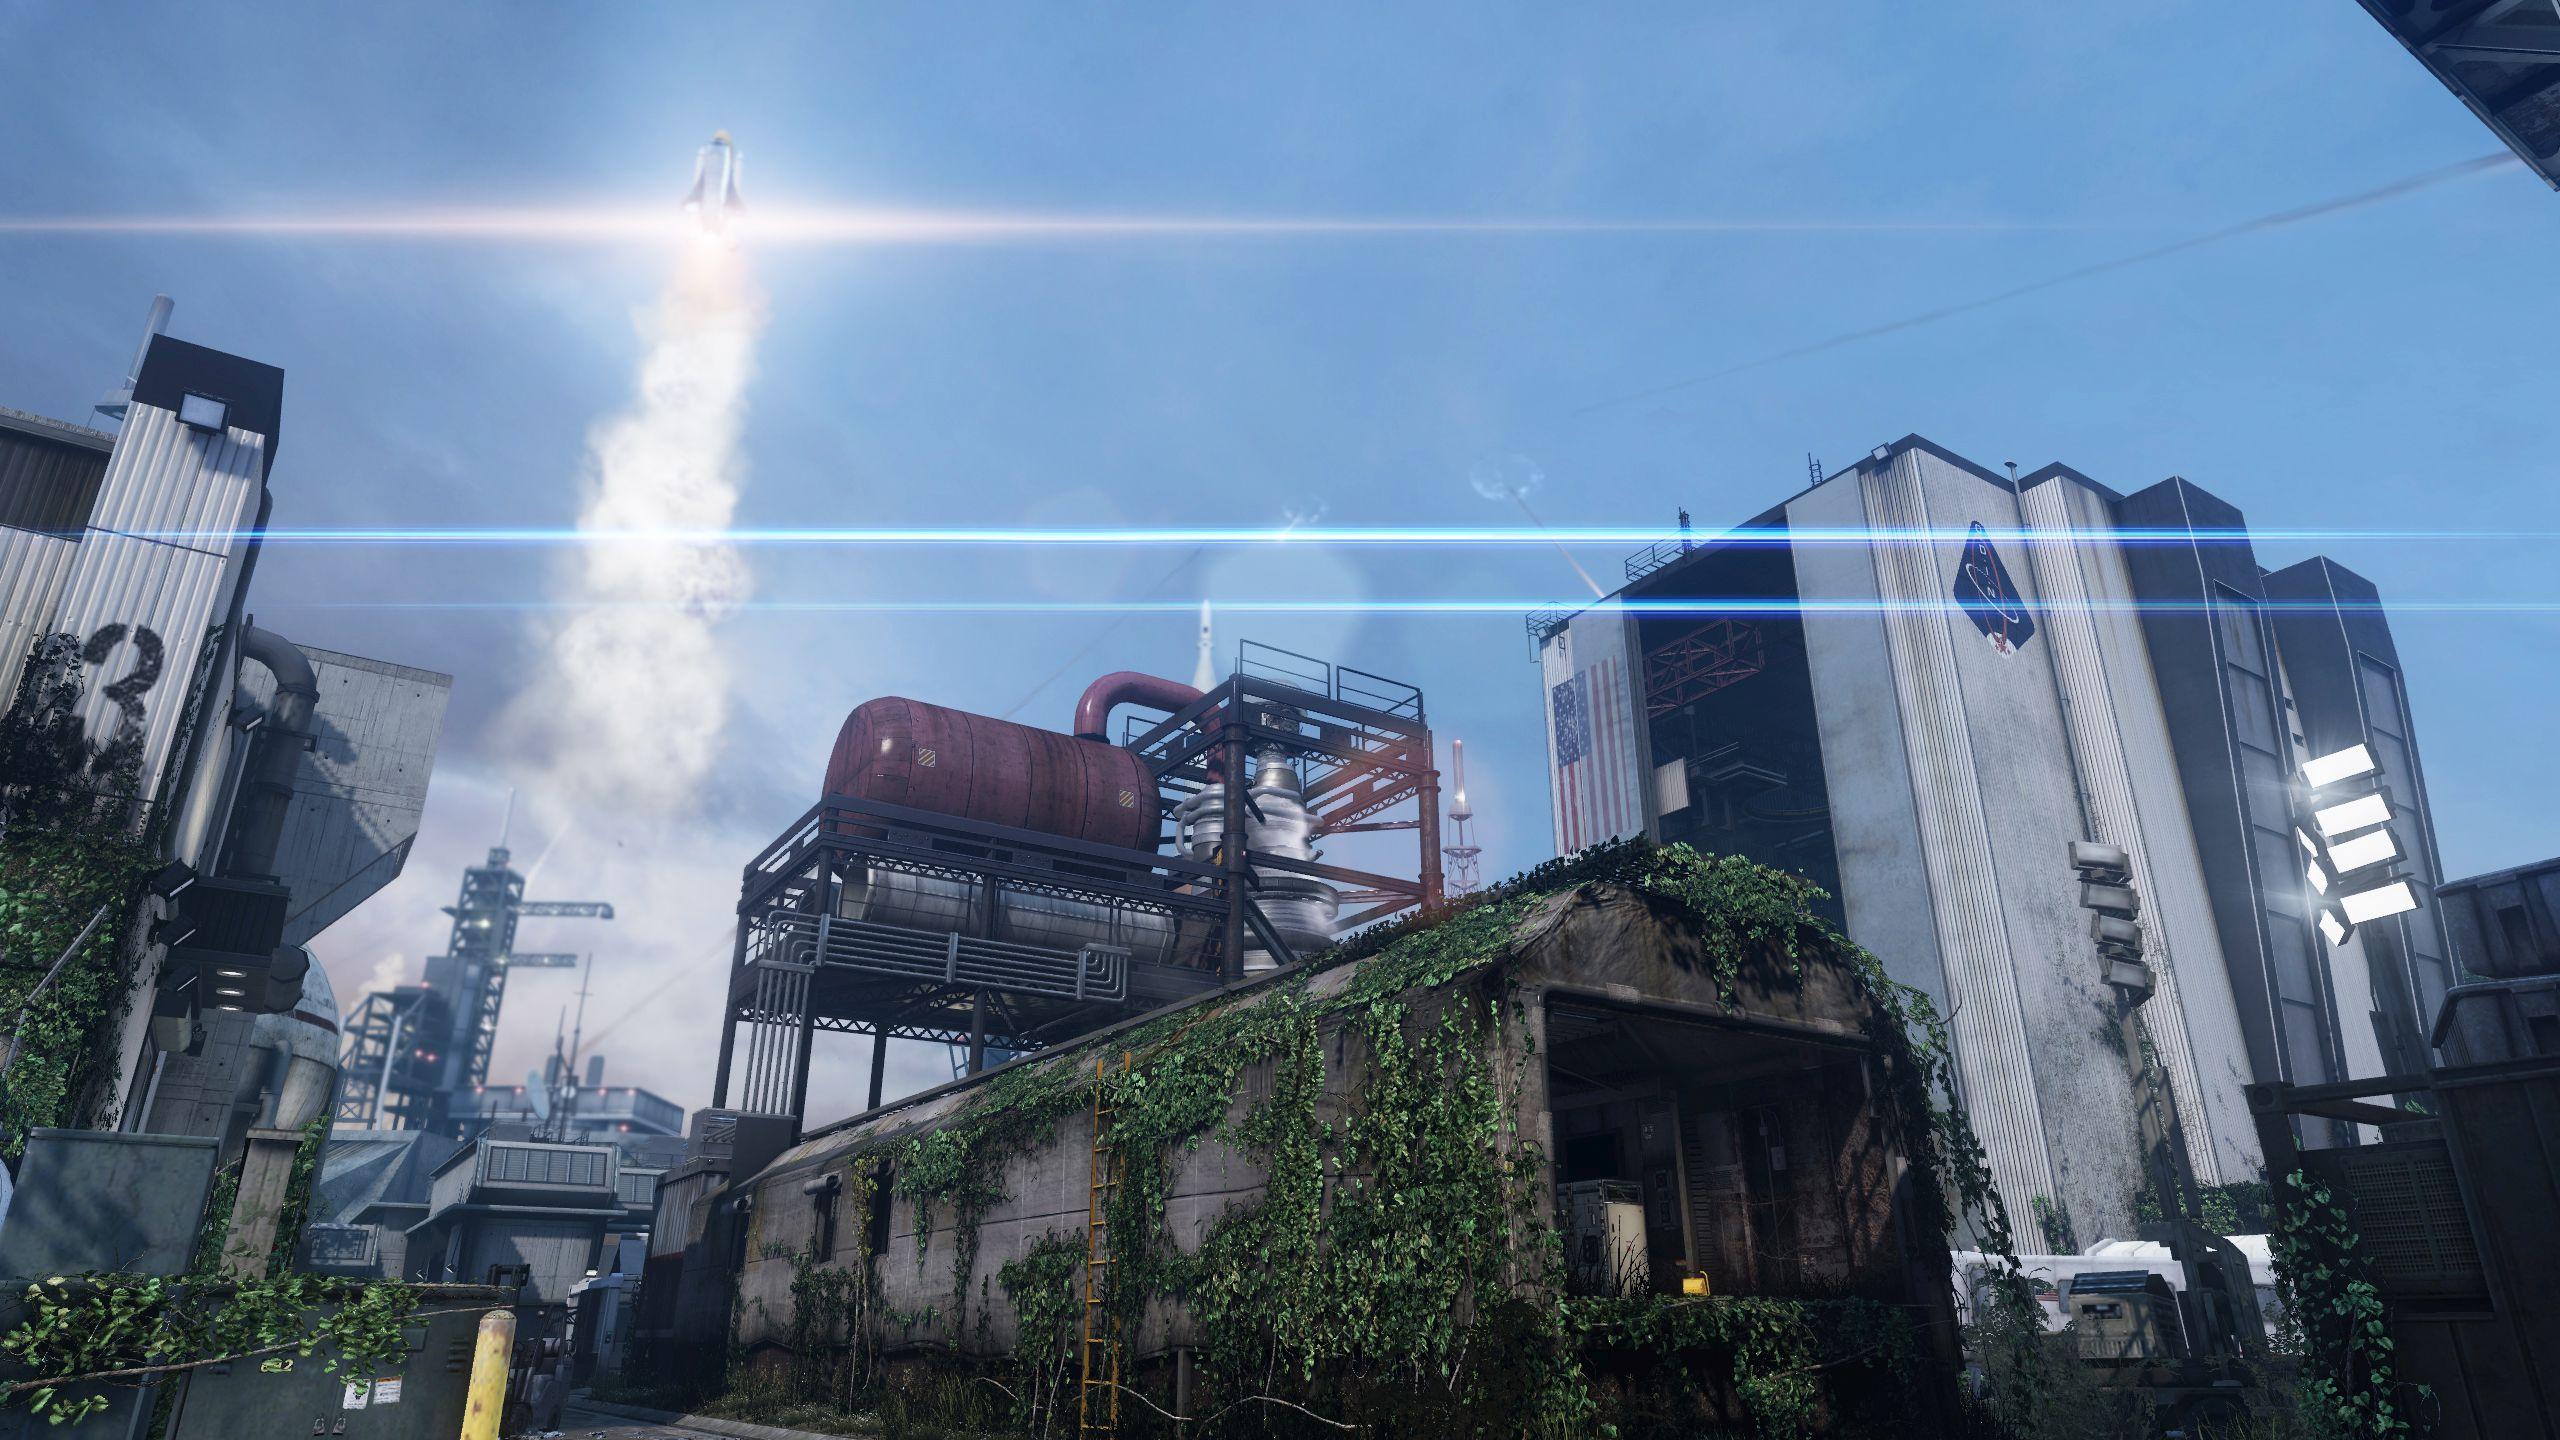 The fourth map, “Ignition,” is a re-imagining of a Modern Warfare 2 classic, “Srapyard.” It’s rectangular in design with two structures on either end, a handful of tunnels, and a few covered partial hallways to run down. The map is small, but it offers plenty of opportunities for weapons of all classes, including sniper and marksmen. It’s a bit obvious, but the buildings on either end – especially the taller, run down hangar – offer a good view of the map. Sooner or later though, someone will make it to you; you can be shot from below before you know it.
On one side of the map, there is a hangar with a rocket engine that you can activate. You can try to lure someone into the flame, but know that it takes a few seconds to activate the engine, making it pure dumb luck if you get a kill this way. You can use the rocket to briefly stop people from using that route though. During objective-based matches, you can activate the rocket to slow the rush of opponents from that side, while you send someone around to attack.
One difference between Ignition and Scrapyard is the tunnels underneath the map. These are short and offer limited access, but a silencer-equipped loadout can make it a great location to attack from, and then retreat to, leaving traps behind you. You can only do this a few times before grenades come for you.
If you played Scrapyard, you’ll have a slight advantage over the newer players. Recall that the map moves quickly. There will always be someone that goes for the second floor window or the top of the hangar. There will always be people that try to use the sides to limit where they can be attacked from. Stick with what works for you, learn those patterns, and be patient. The map was always easy to get kills from setting traps, and that hasn’t changed.
We’ll update this article soon, so check back often. If you have some tips, let us know in the comments below!
Editors' Recommendations
- Is Call of Duty: Modern Warfare 3 cross-platform?
- Call of Duty: Warzone is finally coming to mobile in March
- The best weapons in Call of Duty: Modern Warfare 3
- Modern Warfare 3 Zombies: Mercenary Convoy guide
- How to get two primary weapons in Call of Duty: Modern Warfare 3