
How to breed villagers in Minecraft

Interested in making your favorite Minecraft village larger? The only way to do this (without cheats) is to make your villagers start breeding. That helps you build out a village and can eventually lead to more trading opportunities and other advantages.

Difficulty

Moderate

Duration

1 hour

What You Need

  • Any version of Minecraft

However, breeding Minecraft villagers isn’t always easy. Circumstances need to be just right, which means you have some work to do if you really want to expand a particular village. Here’s everything you need to encourage villager romance and get some families started.

How to breed villagers

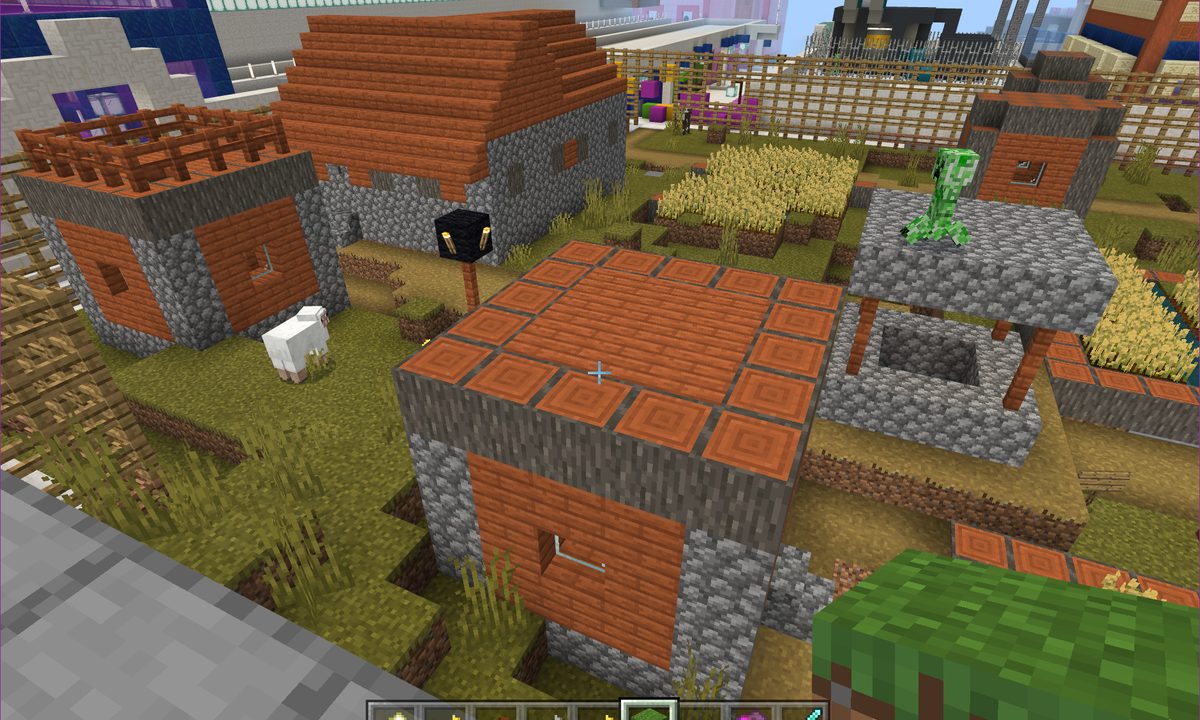
Step 1: Find your village of choice. Ideally, it will already have a few villagers around, but that’s not necessary if you are willing to boat or cart in villagers from other locations. Most importantly, it should be monster-free, since empty villages can often contain pillagers, zombies, or other enemies.

Example of Minecraft village.
Image used with permission by copyright holder

Step 2: Make sure you have at least two villagers. Again, you can boat or cart them into the village if you have to.

Step 3: Move your villagers close together. They really need to be in the same building to breed. This isn’t always easy, because villagers don’t always naturally cohabitate. You can simply move two of them close and then build a building around them if you want, or find an existing structure with enough room in it and move your villagers into it.

Step 4: Start making some beds. We have a whole guide on how to do it! The key for breeding villagers is to create enough beds for every villager plus one. Villagers generally won’t breed unless there is an extra bed available for the child. Place the beds, including the extra one, near your villagers.

Bed in Minecraft.
Image used with permission by copyright holder

Step 5: If possible, trade with your villagers to make sure they are active and functioning properly. Now, you’ll need to get them in the mood. Villagers have a specific mating mode they go into, and one of the best ways to encourage it is to give them food — a fair amount of food, too. You must feed each villager in your couple one of the following:

  • 3 bread

  • 12 carrots

  • 12 potatoes

  • 12 beetroots

Lob the food into your villagers once you have collected enough. Eventually, hearts will start to appear over the villagers. That means you did everything right.

Minecraft Villagers.
Image used with permission by copyright holder

Step 6: Wait for the villagers to spawn a baby. You can, uhh, stay and watch if you want — this usually only takes a few minutes at the most once the heart icons start appearing, but you can also go off and explore for a little bit if you want. A child villager will eventually pop into existence next to the two villagers.

Step 7: The child villager will grow up in about half an hour or so … but that’s just one new villager. If you really want to build out your village, you should absolutely create a farm. Pair up a jobless villager with a composter, and they should turn to farming all by themselves. Farmers will automatically supply nearby villagers with their own food, which means you don’t have to keep feeding villagers yourself to get them to breed.

A farmer in Minecraft.
Image used with permission by copyright holder

Step 8: Expand your village by continuing to build structures and add extra beds so there’s always at least one spare bed. Before long, you will find your village populating itself. From here, the sky is the limit: You can create a whole city if you want, as long as you keep everything accessible to your villagers.

Editors' Recommendations

Tyler Lacoma
If it can be streamed, voice-activated, made better with an app, or beaten by mashing buttons, Tyler's into it. When he's not…
How to fast travel in Spider-Man 2
A fleet of drones flying towards new york.

There are few games that are as fun to simply move around in as Marvel's Spider-Man 2. Between the silky smooth swinging and new wingsuits, the expanded New York map is a Spider-Man's playground. However, with the addition of an all-new section of the map, getting all the way from one end to the other will start to become a time-consuming process. As fun as traversal is, there will be times when you're doing sidequests or cleaning up collectibles that you'll just want to get where you need to be and skip the trip. Spider-Man 2 pushes the PlayStation 5's SSD to the limits with near-instant fast travel, but it takes a bit of work before you're able to use it.
How to unlock fast travel

Fast travel is not only locked by default, but must be earned for each of the game's individual boroughs. Each section of the map has a completion ranking that fills up as you perform activities within it, such as sidequests, photo-ops, Marko's Memories, stop crimes, and more. Each will boost the total level, with three rewards tied to set points. The first will give you some Rare Tech Parts, but it's the second one we're after. Once you hit about 50% completion, you will unlock the option to fast travel in that specific zone. You will need to repeat the process for each borough to fully unlock the map.

Read more
How to play co-op in Lords of the Fallen
An archer takes aim at approaching monsters in Lords of the Fallen.

FromSoftware set an interesting standard for many souls-likes in how it handles multiplayer. In nearly all of its titles that support co-op, the mechanic is never as simple as most games where you just need to invite a friend or select an option on the menu. Just like the story, souls-likes enjoy making this mechanic a bit esoteric, but what about the new Lords of the Fallen? We already know this game features both co-op and PvP, but will it make engaging in these activities a chore like its inspirations? Here's how to play co-op in Lords of the Fallen.

Read more
Starfield: Red Mile location and how to survive
Talking to Mei about the Red Mile in Starfield.

What space game would be complete without a seedy casino somewhere in the galaxy? In Starfield, that is best represented by The Red Mile casino and hotel where those willing to risk their Credits, and their lives, have the chance to strike it rich. Of all the games and entertainment available, the Red Mile challenge is no doubt the most deadly. You're free to visit this planet almost immediately after getting your ship, but this challenge isn't made for a fresh character. Even after you've leveled up, get some decent gear, and feel up to the challenge, the Red Mile Run has a lot of surprises that can cut your run short in the worst possible ways. If you think you're tough enough to make it to the end, here's where to find the Red Mile and the best tips on surviving it.
Where to find the Red Mile

The Red Mile is technically the name of the entire casino-hotel resort, not just the challenge. It is found on the planet Porrima III, which is of course in the Porrima system. You can jump there manually anytime you're exploring, but will also be tasked with going there if you're following the Freestar Collective faction questline.

Read more