
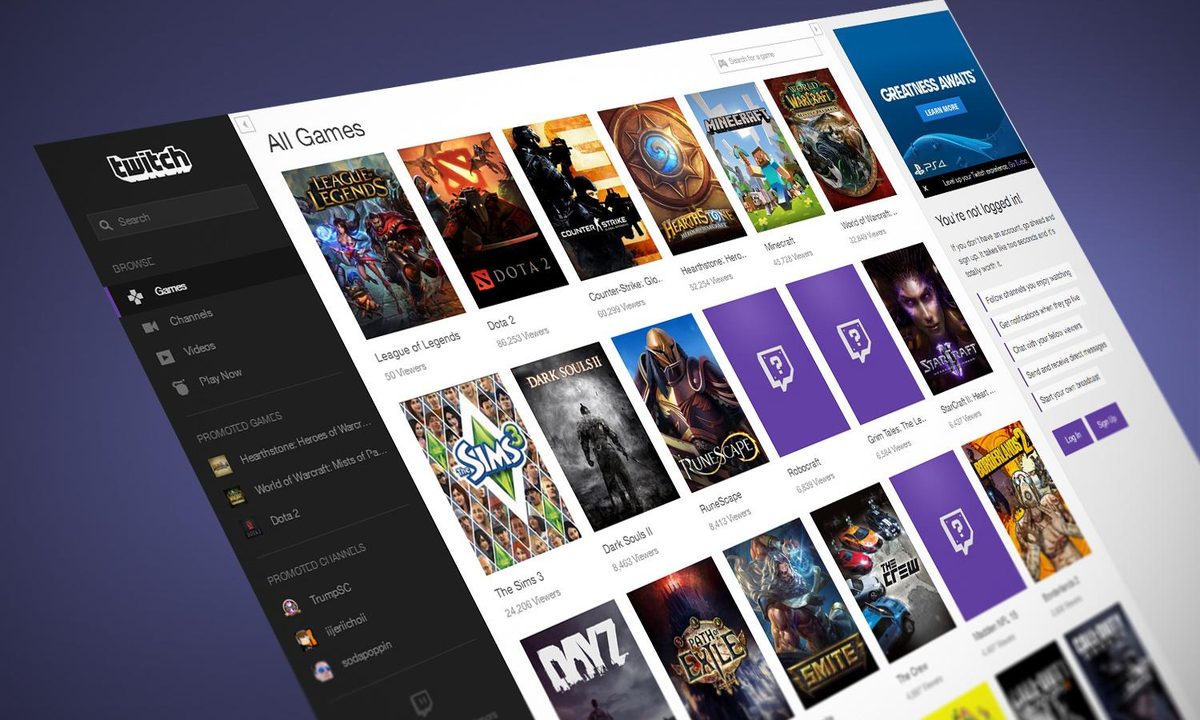
Have your favorite Twitch gamers inspired you to start a channel of your own? Playing popular games online is a great way to make friends and interact with people who have similar interests, but the tricky part is setting it up for the first time.
Streaming on Twitch can require a little bit of effort, and you’ll need to make sure you have all the right software and equipment before you begin. In this guide, we'll walk you through streaming on a PS4, PS5, Xbox One, Xbox Series X/S, Windows PC, Nintendo Switch.

Creating a Twitch account
Before you begin streaming your gameplay, you’re going to need to create a Twitch account. Navigate to Twitch's official website, click the purple Sign Up link in the upper-right corner, and enter your desired login credentials before clicking the purple Sign Up button at the bottom. Afterward, click your username in the top-right corner.
Before you start streaming, head over to the Twitch community guidelines page to read up on rule violations. These include promoting racist, homophobic, and ageist views, as well as making disparaging remarks about military veterans and those with disabilities. Nudity on stream is also forbidden, and you are expected to do your best to prevent your viewers from engaging in hateful speech and harassment, as well.
Streaming from Windows or MacOS
Streaming games from your PC or Mac is trickier than streaming from an Xbox or PlayStation, as most systems don’t come with any sort of built-in software to get you started. There are subscription-based products like XSplit if you want control over every aspect of your broadcast, but if you’re just learning the basics of streaming, we recommend downloading Open Broadcaster Software (OBS). The software is completely free, usable with both Windows and MacOS, and endorsed by Twitch. If you're just wanting to get started streaming with the least amount of setup, then the Twitch Studio app is another great choice. However, this application is still in beta and is only available on Windows.
For the purpose of this guide, we'll be focusing on how to stream to Twitch from Windows and MacOS using OBS, as it offers an easy way to stream without a bunch of extra fluff.
Step 1: Download OBS Downloading OBS couldn’t be simpler. To begin, click on your username in the main Twitch interface and hit the Creator Dashboard link. An update to Twitch changed how things work, so you'll find yourself staring at a page that looks like this:

Step 2: Go ahead and locate the three bars in the top-left corner of the screen. Click this drop-down menu to show a list of other options you can choose from. You'll want to click on the Streaming Tools option. This will take you to a page with several download links to various streaming applications like OBS. Find OBS in the list and click Download, or head to the official website here. Once on the OBS website, choose the version of OBS that you want to download. You can choose from Windows, Mac, and Linux.

Step 3: Setting up to stream There are all kinds of guides out there about how to get the most out of OBS, however, there are only a few things you'll need to worry about if you're just getting started. The only options you really need to focus on are your video bit rate, audio bit rate, and your encoder.
Click on the Output tab after clicking on Settings in OBS, and ensure that your video bitrate is set to about 2,500. This should allow you to stream content at 720p, but you can increase this number if you want to broadcast at a higher resolution. If you want to stream at 720p at 60FPS, then it's probably worth it to go ahead and bump your bit rate up to at least 3,500. Audio bit rate should be set at 128 regardless of your resolution, though you can also lower this if your internet speeds are less than ideal. If you're running an Nvidia graphics card from the past couple of years, you can make use of the built-in NVENC encoder. Otherwise, you'll want to stick with OBS' default software x264 encoder. Make sure you hit Apply to confirm the changes.

Step 4: Enter your stream key Return to Twitch’s website and go back to the creator dashboard. Click on Preferences and then select the Channel option from the drop-down menu. This will take you to a page with your Primary Stream Key, as well as other options. Find the stream key area, and then press the copy button next to it. If your stream key gets shared somewhere it shouldn't, you can always reset it here, too. Go ahead and enter your stream key into OBS by clicking Settings in the bottom right, followed by Stream, and you'll see where to enter the key. Be sure to click Apply to make the changes.

Step 5: Plug in your microphone and set up your game
Now it's time to set up the audio devices for your stream. Take a look at the Audio Mixer area in OBS. It should already have at least the volume bar set up for your desktop. If it doesn't, you can add it manually following the same instructions you're going to use to add your microphone. In OBS, locate the Settings button in the bottom-right area of the application.
Clicking this will open up your settings window. Go ahead and navigate down to the Audio tab. Here you can add or remove audio devices as needed. Make sure that Desktop Audio is set to the correct piece of hardware and then locate the Mic/Aux audio options. You can set your microphone here. When you've selected your mic and desktop audio, return to the main OBS window and you should see your audio coming through in the mixer on the bottom.

Step 6: Originally, OBS didn't offer native support for Mac desktop audio. This issue has been resolved with updates, though.
Next, open the game you want to stream and take a look at the Sources menu towards the bottom of OBS. Find the + button at the bottom of the Sources area and press it. It should pull up a list of items. The easiest way to capture gameplay is to use the Display Capture option. This allows you to capture an entire desktop screen. However, it also means that any sensitive information on that screen could be shared, so be careful when using this option. If you want to just capture the game, you can select the Game Capture option. It should be noted, though, that some games -- especially those running on Vulkan -- won't work correctly with OBS' built-in game capture system.

Step 7: Stream!
That’s all there is to it! Hit the Start Streaming button in the main OBS screen and you’ll instantly begin broadcasting from your Twitch account. When you’re done, just hit Stop Streaming.

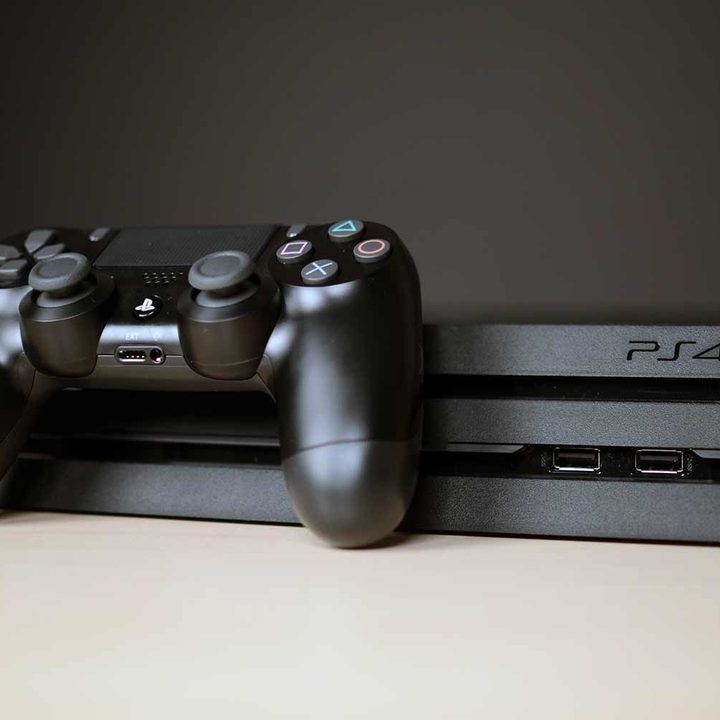
Streaming from a PlayStation 5
Streaming on PS5 is simple since you don't need any external devices or software. Though, having a capture card and a PC/laptop setup can be good for bypassing certain blocked scenes or if your PS5 crashes. But for the purposes of this guide, we'll be covering the simple method.
Step 1: Connect your Twitch account to your PS5 First, you'll want to connect your Twitch account to your PS5 system. Click on the Settings menu on your PS5 and select Users > Accounts > Link > Other Services.
Step 2: Choose Twitch and then either scan the QR code or visit Twitch.tv/activate to link the account to your PS5.
Step 3: Once they're linked, launch into a game and then press the Create button on your DualSense controller.
Step 4: Then, select Broadcast.
Step 5: When you select Go Live, a Now Broadcasting message will appear on your screen, indicating that you're streaming.
Step 6: To stop streaming, press the Create button on your DualSense once again, and then select the Broadcast menu. Press Stop Broadcast to end the stream.

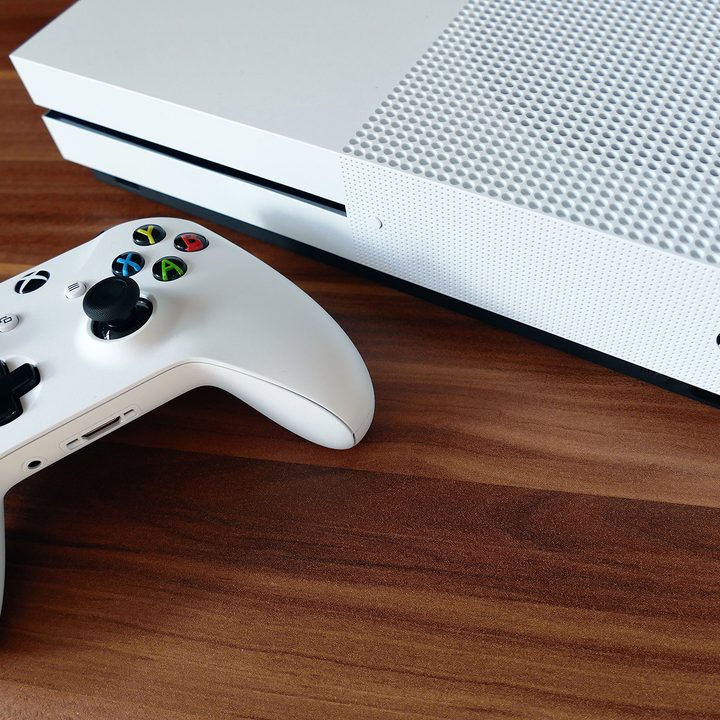
Streaming from Xbox Series X/S
You're able to Twitch stream directly from the Xbox Series X, though there are a few steps you'll need to take to get things going. Just like the PS5, you can stream using a capture card, but we'll be focusing on streaming directly from the system without the need for external software or devices.
Step 1: First, you need to download the Twitch app within the Xbox Series X/S system. Head to the store by clicking My Games & Apps > Apps > Microsoft Store. Use the Search function to find Twitch and download it for free.
Step 2: Sign in to your Twitch account and you'll be given a code to link to your Xbox system. Visit twitch.tv/activate and input the code here.
Step 3: Launch into the Twitch app on your Xbox and you'll be able to customize your stream to your liking by selecting the Broadcast option.
Step 4: Once everything is to your liking, press the Start Streaming button to begin your stream. You can use the Twitch app on iOS and Android to interact with the chat, which is a nice feature.
Step 5: To stop the stream, go back into the Twitch app on the Xbox Series X and click Broadcast > End Stream.

Streaming from Nintendo Switch
Streaming on Nintendo Switch is a little trickier, as you'll need a capture card, dock (the Switch Lite does not support capture cards), and laptop or PC to get things going.
Step 1: Connect your capture card to your Switch dock and make sure it's hooked up to the TV. You'll need one HDMI cable going into the capture card and then a second one connected to your TV or monitor.
Step 2: Once your capture card is connected to the Switch and your PC/laptop, launch OBS and make sure to link the streaming platform -- Twitch -- through the Settings menu.
Step 3: From here, make sure you have a Twitch account. If you don't, visit Twitch.tv and create an account by accessing the Creator Dashboard in the top right-hand corner.
Step 4: Click on Settings > Stream > Show underneath Primary Stream Key. Copy this and open up OBS.
Step 5: Select File and then Settings within OBS.
Step 6: Then click Streaming and make sure you choose Twitch as your service.
Step 7: Paste your Stream Key here and make sure you click Apply.
Step 8: Select Start Streaming and if you go back to Twitch, you should see your footage in the Stream Manager area.
Streaming from PlayStation 4
The process for streaming to Twitch from a PS4 console is simple. You don’t have to use any outside software, and you can even use a PlayStation camera as a microphone and “facecam” for your broadcasts!
If you have a PlayStation Camera and want to use it, consider plugging it in. Just ensure your camera’s microphone isn’t muted from the quick menu on your console, otherwise, you won't be able to use it with your stream.
Step 1: Play a game
Unlike with Windows and MacOS, you should open whatever game you plan on streaming before changing any broadcast settings. Once you've launched the game, press the Share button next to the touchpad on your PS4 DualShock 4 controller to open up your broadcast settings.
Step 2: Change settings and start streaming!
From here, select Broadcast Gameplay and you’ll be given an option to stream via three different streaming services. Select Twitch, and the service will provide you with a streaming key. Then, go to twitch.tv/activate and enter the key. Your PS4 will be ready to start streaming in a few moments, but let’s change a few more settings first.
From the Broadcast Gameplay menu, you can change the title of your stream, the quality, and whether you want to use your camera and/or microphone. Once you’re satisfied with your settings, hit Start Broadcasting and show your skills to the world!
Streaming from Xbox One
Streaming with Twitch on an Xbox One is just about as easy as it is on a PS4. There are a few technical issues that require you to have one additional piece of equipment.
If you want to have a “facecam,” legacy Xbox One owners can use the Xbox Kinect. (Technically, the Xbox One supports all USB webcams, but only the Kinect is compatible with the Xbox One’s Twitch app). If you use Xbox Kinect to do this, make sure to pair it with a headset to record your voice. The Kinect’s microphone tends to cut out intermittently when streaming via Twitch. This can be easily remedied by having a headset plugged in. Then the stream will use that mic instead of the one on the Kinect. Unfortunately, the camera and its associated adapter have are no longer made. So if you do not have a Kinect, you’ll have to stick to voice only.
Step 1: Play a game
Just as you would with your PS4, load up a game on your Xbox One prior to starting your stream. Twitch will immediately detect the game when it starts the stream, which will make it more discoverable for potential audience members.
After this, install and open the Twitch app and sign in with your credentials. Once you finish this step, you'll receive a unique stream key to gain access. Before you can get in, you have to activate this key at twitch.tv/activate on either your mobile device or computer.
Step 2: Change settings and start streaming!
You can easily edit your stream's title and quality level before you go live if you're using an Xbox One. It's also possible to move your Kinect's camera display to one of the corners of the screen. Although you won't see this much on a regular TV, your viewers will still be able to see it.
Finally, select Start Broadcast to start streaming your gameplay to your viewers. There will be a ticker at the bottom of your screen that displays how many viewers are watching. Once you start using the Xbox One's Snap feature, you can access Twitch at any time by keeping it on the side of your screen. This feature also lets you watch your fans interact in real-time.
Remember that the majority of games will not allow you to mute yourself while in the game without muting everything. A simple thing you can do to avoid this is to assemble an Xbox Live party of one (just you as the sole member). Doing so will stop players from hearing what you say. Party chats stream in real-time, so it's crucial to inform players if you want them to be part of a stream.


