
Return to Monkey Island: How to find all six skulls and the secret on Monkey Island

At last, about halfway through the game, Guybrush has finally reached Monkey Island — almost. LeChuck's ship got you close, but you still have to walk along the ocean floor during the last stretch of the trip. Thankfully, you've not only got the map to the secret but the near superhuman ability to hold your breath for eight minutes at a time (Guybrush apparently isn't in his prime anymore). That's plenty to finally reach the shores of Monkey Island before falling into a watery grave.

Difficulty

Moderate

Duration

25 minutes

What You Need

  • Reach Part 3 - Return to Monkey Island

Upon getting ashore on the titular island, it might seem like you have everything you need to just follow the map straight to the secret. However, this map isn't so much a map as a series of clues and steps leading you to the secret in a roundabout way. But before you do that, you will want to find the six skulls on the island now so you're prepared for a later puzzle. Here's how to find all the skulls and the secret in Return to Monkey Island.

Guybrush and his grandson on a bench.
Image used with permission by copyright holder

How to find all six skulls

Once you've reached dry land after your little stroll under the sea, you might be eager to crack open the map to the secret and go straight for it. Instead, be patient, and spend some time exploring Monkey Island to collect all six skulls first to make your life much easier. Here's how to grab them all.

Step 1: The first skull is on the beach just to the left of where you first come out of the ocean under a tree.

Guybrush on a beach.
Image used with permission by copyright holder

Step 2: Go to the right and take the path north to the jungle.

Step 3: Head west towards the other beach.

Step 4: On the far left corner, again under some trees, is another skull.

Step 5: Next, head up north to the cliffs. The skull will be on the bottom left edge.

Step 6: Now, go to the shipwreck. This skull is out in the open on the sand.

A skull on the beach.
Image used with permission by copyright holder

Step 7: At the giant monkey head on the east side, find this skull just outside the makeshift fence.

Guybrush asking if a skull is Murray.
Image used with permission by copyright holder

How to find the secret on Monkey Island

With all the skulls safely added to your inventory, it's time to locate that secret.

Step 1: Open LeChuck's treasure map.

A map of monkey island.
Image used with permission by copyright holder

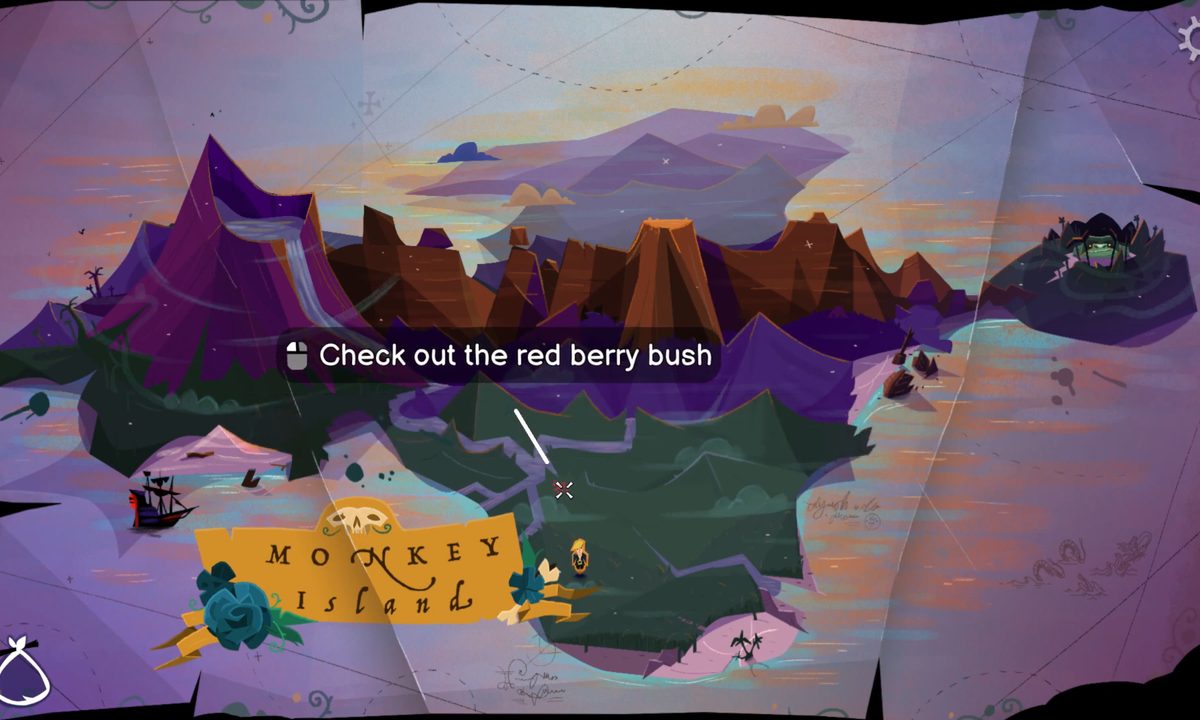
Step 2: Find the red berry bush northwest of where you first washed up on Monkey Island.

Step 3: Follow the direction the stone monkey hand directs you in.

Step 4: Follow the path by the wooden chicken.

Step 5: Carefully sneak past the bees.

Step 6: Find the X!

Guybrush on the brink of death in the forest.
Image used with permission by copyright holder

Grabbing the shovel and getting ready to dig up the secret doesn't quite work out, however, and its up to you to help Guybrush through yet another sticky situation.

Editors' Recommendations

Jesse Lennox
Jesse Lennox loves writing, games, and complaining about not having time to write and play games. He knows the names of more…
How to find and catch all Legendaries in Palworld
A giant pal uses a minigun in Palworld.

What monster-collection game would be complete without some Legendary versions to track down and add to your team? Palworld launched with a very respectable roster of Pals across its nine types, but unfortunately, it only has four Legendaries to start. However, even if you have friends along to help you search, this is a massive open world with a ton of ground to cover. If you think your team is up to the challenge and want to take on some of the toughest Pals in the game, here is where you can find all of the Legendaries currently in the game.
All Legendary locations
There are currently four Legendary Pals in Palworld: Jetragon, Frostallion, Necromus, and Paladius. Aside from their raw power, Legendaries in Palworld also have exclusive Legend-level passive skills that give them +20% in Attack and Defense and plus +15% in Movement Speed.
Jetragon
 

Jetragon is a Dragon-type Pal you can ride as a flying mount that resides in the western region of the map near the volcanoes. You can find it by going north from the Beach of Everlasting Summer fast travel point at coordinates -792, -319.

Read more
How to get all Athra Surges in Prince of Persia: The Lost Crown
Sargon leaps in Prince of Persia: The Lost Crown.

Going back to its 2D roots, Prince of Persia: The Lost Crown spices up the formula in regard to design and gameplay to fit the Metroidvania mold. Traversal and navigation are about what you would expect, including the ability to uncover the map by finding a hidden NPC, but combat is a lot more flexible than you might think. In addition to your normal attacks, Athra Surges serve as your most powerful tools to unleash in a pinch. Most come naturally throughout the game, but half are optional and require some extra exploration to unlock. If you want to make the most of your Athra gauge and craft the perfect build in Prince of Persia: The Lost Crown, here's how to get them all.
How to get all Athra Surges
There are 10 total Athra Surgest to collect in Prince of Persia: The Lost Crown, however, only five of them are given to you through natural progression. The remaining five you will need to hunt down and collect by beating the Alternate Sargon in a fight. He will appear at specific areas on the map, and if you can best him, you will be rewarded with a new Athra Surge. The five you get through normal progression are:

Verethranga's Smite: a dashing attack that deals multiple hits.
Bahman's Breath: spawns an HP restoring area of effect.
Arash's Ray: shoots a beam that can pierce enemies
Bahamut's Rage: creates a massive tornado around Sargon that throws any enemy nearby for damage.
Rashnu's Judgment: puts you in a counter-stance that unleashes a powerful attack on any enemy that hits you while active.

Read more
All stash locations in Alan Wake 2 and how to open them
Alan drenched in green light in Alan Wake 2.

FBI agent Saga Anderson and her partner, Alex Casey, are called into Bright Falls to investigate a murder committed by a strange group calling themselves the Cult of the Trees. These dangerous cultists are your main enemy in Alan Wake 2, and they put up quite a fight despite mostly using basic tools as weapons. They seem mindless and primitive, but the fact that they have a series of Cultist Stashes hidden all around the world suggests otherwise. These treasure troves are very well hidden, and they're protected with a small puzzle to try and prevent those who may stumble upon one from grabbing all the goodies inside. You'll find yourself short on supplies essentially all the time in Alan Wake 2, so scooping up some extra ammo and batteries is always welcome. Here is where you can find all the Cultist Stashes in Alan Wake 2 and how to open them.
All Cultist Stash locations
There are a total of 21 Cultist Stashes to find and unlock in Alan Wake 2. Each zone has its own set to find, and they all have different puzzles you need to solve to open them. None are missable, but some can't be obtained until you make story progress or get specific tools.
Bright Falls Cult Stashes

The first Cult Stash you can find comes as soon as you reach the town of Bright Falls for the first time. Instead of going straight to your destination down the block, turn around and head toward the dead end. Behind the truck will be a big locked box. To open this one, all you need to do is play a little game of Simon Says. The keypad will flash three buttons in a sequence that you simply need to repeat to open the box and grab the loot.

Read more