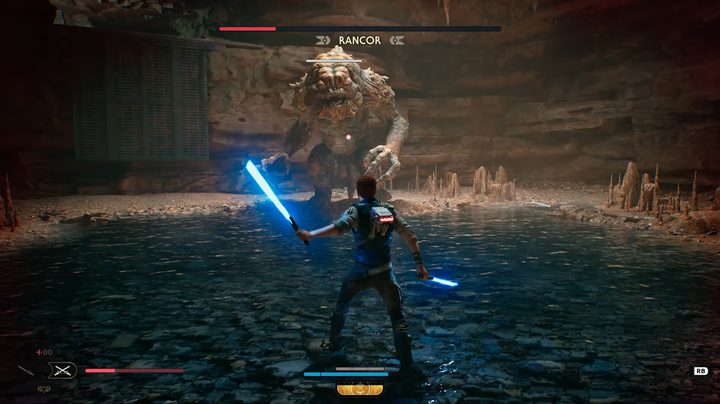
Star Wars Jedi: Survivor takes place five years after its predecessor, and Cal Kestis has definitely gained some new Jedi tricks during the time that has passed. While there are some returning features that you’re likely to recognize and appreciate, there are also a wide variety of new mechanics, skills, and more to check out in this highly anticipated follow-up. Among those new additions are an expanded set of lightsaber stances that allow you to decide what kind of fighter you want Cal to be. Whether you want to strike fast at the cost of defense, take things slower with bolstered protection, or find the middle ground between the two, you have five options that can ensure you’ll find what works for you.
How to change stances
You can have two stances equipped at one time, and switching between them can be done on the fly, allowing you to weave together different elements of your two chosen kits. However, you can only change stances at a meditation point, so you’ll need to be sure that you’ve thought things through pretty well before heading out into dangerous areas. To help you with your decision-making, here are all of the stances in Jedi Survivor and how they work.
Single Blade Stance

This stance is unlocked from the beginning of the game.
Wielding a single lightsaber is a common Jedi loadout, and thus the Single Blade stance is the most straightforward option in Jedi Survivor. This stance provides you with a nice mixture of offense and defense, though it doesn’t necessarily excel greatly at either one. Even so, it’s the safest route for most players due to its well-rounded selection of skills, fast attacks, and easy-to-understand combat flow. If your goal is to be fast while still dishing out solid damage, this is probably your best bet.
Single Blade skills:
- Lunging Strike – A long-reaching thrust attack.
- Improved Footwork – Lunging Strike will reach further.
- Twofold Reflection – Two blaster projectiles can be deflected in a row.
- Cyclone Slash – A high-damage overhead swing.
- Charged Throw – A charged lightsaber throw that hits harder and passes through a target.
- Dash Strike – A dashing attack that deals damage to foes out of normal reach.
- Aerial Dash Strike – Dash Strike becomes usable while airborne.
- Aerial Assault – An above-target downward attack.
- Aerial Ace – Aerial Assault does more damage and will stagger enemies.
Double-Bladed Stance

This stance is unlocked from the beginning of the game.
If you’ve ever wanted to live out your Darth Maul fantasies, you’ll find a lot to love about Double-Bladed stance. Since this stance is designed for area of effect (AOE), you’ll be able to use your double-bladed lightsaber to make quick work of groups of smaller enemies without too much trouble. However, you’ll often be locked into animations for extended periods of time when doing so, leaving you vulnerable to attacks, so this stance requires a bit of thought and consideration, and it’s not typically ideal for one-on-one encounters due to its slower speed.
Double-Bladed skills:
- Gathering Tempest – A rapid flurry of attacks.
- Vortex Dive – A diving attack that spins the lightsaber.
- Double Orbit – A second lightsaber throw that spins around you.
- Endless Hurricane – An additional attack string at the end of a combo.
- Repulsing Burst – A slam attack that deals AOE damage.
- Rising Storm – An attack that pulls enemies in and then sends you up into the air.
- Multifold Reflections – Reflects blaster shots back to nearby enemies.
- Controlled Throw – A lightsaber throw that can be held and moved around.
Dual Wield Stance
This stance is unlocked very early in the game during the showdown with the Ninth Sister on Coruscant.
Everyone knows dual-wielding is cool, and that remains true of the Dual Wield stance in Jedi Survivor, which turns you into a fast-attacking whirlwind – at the cost of some defensive capabilities. Your agility makes dodging incoming attacks much easier than in any other stance, but getting hit will also mean you take more damage and die quicker. You may find that this stance requires a bit of extra practice to truly get the most out of it, but once you have it down, you can become a force to be reckoned with.
Dual Wield skills:
- Backstep Slash – An attack followed by a backwards leap for disengaging.
- Uncoiled Strikes – An attack string that hits multiple times.
- Split Reflection – Splits incoming blaster bolts into two to hit one extra target.
- Focused Parry – A spinning attack unleashed when parrying.
- Precision Release – An additional attack that staggers nearby enemies when timing Focused Parry properly.
- Serpent’s Bite – A powerful overhead attack.
- Twin Vipers – A lightsaber throw upgrade that sends out both blades instead of one.
- Dancing Blades – Both lightsabers can bounce between various targets.
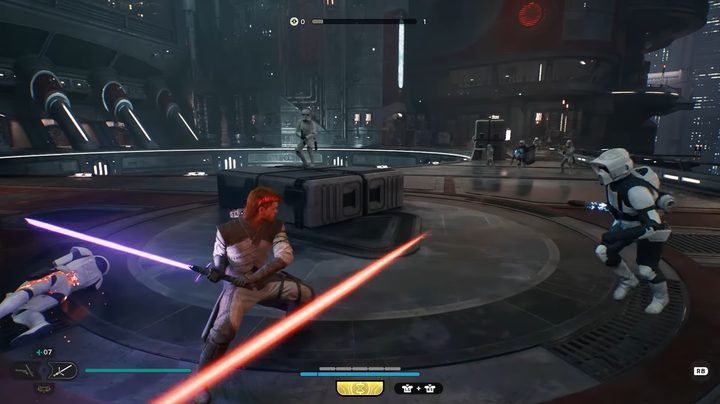
Blaster Stance
First Look at Blaster Gameplay in Star Wars Jedi: Survivor! 🔫 pic.twitter.com/TXhTi0l3BX
— Daily Star Wars Games (@Daily_SWGames) April 26, 2023
This stance is unlocked when Bode gives you a blaster on Jedha after completing the objectives there.
It’s normally frowned upon for Jedi to use blasters, but these are not normal times. Using Blaster Stance gives you access to an expanded suite of ranged combat options with a blaster, while also still letting you tear through enemies up-close and personal, too. And you’ll need to do the latter, as hitting foes with your lightsaber is actually how you’ll replenish your blaster ammo during battle. You won’t find this stance to be the most powerful, but your speed and range can more than make up for the mediocre damage output.
Blaster Stance skills:
- Flying Lunge – A dashing attack that closes gaps.
- Blaster Cooldown – Additional ammo is gained when connecting melee attacks.
- Improved Clip – Maximum blaster ammo is increased.
- Energizing Flurry – A rapid attack combo that refills ammo when hitting enemies.
- Efficient Heat Transfer – Reduces the time it takes to charge the blaster.
- Point Blank – Blasts enemies away when timed as they’re hitting you.
- Quick Draw – Targets multiple enemies at one time with the blaster.
Crossguard Stance
This stance is unlocked on the Shattered Moon after defeating the boss there.
If you’re a fan of Kylo Ren’s crossguard hilt, you’ll want to check out Crossguard Stance. This defensive-minded stance balances its slower attack animations with bigger damage output, but it also has the shortest reach of all of the stances. Because of this lack of range, you’ll have to stay up-close and personal during battle, which also puts you at a higher risk of being hit. If you want to dish out huge damage and can master the timing to keep yourself safe, you may find this one to be right up your alley.
Crossguard Stance skills:
- Rending Strike – A slow but powerful lightsaber attack.
- Impact – An airborne attack that creates a shockwave.
- Greater Impact – The range of Impact’s shockwave is increased.
- Greater Cleaving Swing – Focus attack charges up faster.
- Reaching Cleave – Cleaving Swing’s range is increased.
- Sundering Swipe – A wide lightsaber attack.
- Charged Reflection – A bolt parry that sends a more powerful bolt back at enemies.
- Rolling Thunder – A lightsaber throw that hits multiple foes in a line.