If you’ve played the previous Call of Duty: Ghosts Extinction maps, you might think you already know what to expect with the newest episode, “Mayday.” You’d be wrong. The fundamentals remain the same, but the strategies you’ll need to utilize are unique to this mission. Once again, you and up to three allies fight waves of Cryptids while drilling through enemy hives. You’ll need to coordinate each player’s loadouts, and teamwork in general is vital. But Mayday has a few tricks that set it apart from the previous episode “Nightfall,” and the prelude that shipped with Ghosts, “Point of Contact.”
If you’re looking for tips on the previous offerings, we have you covered: Check out our Nightfall guide, and our Point of Contact guide. In the meantime, let us know in the comments below if you have any tips to pass on.
Teeth
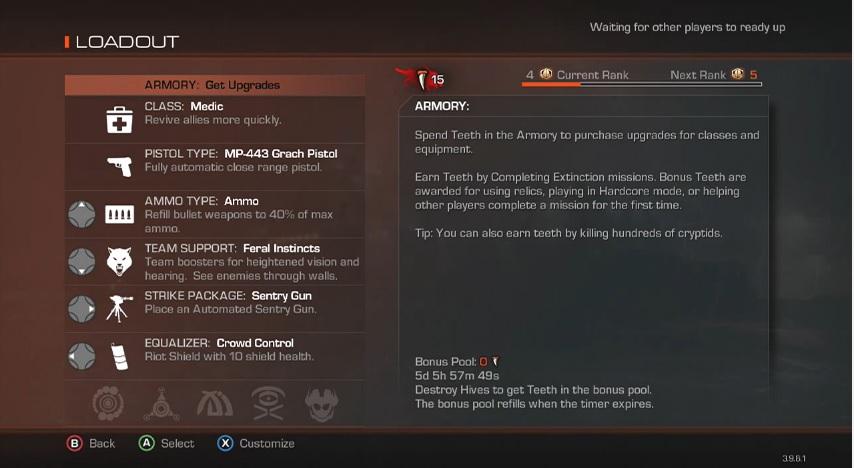 Mayday introduces “Teeth,” which are earned in a variety of ways and can be used to purchase permanent modifiers. In your pre-match loadout screen, you’ll notice a new icon that looks like a shark’s tooth set against a blood red patch with a white number telling you how many Teeth you have. You earn this new currency by prestiging, playing with difficulty-altering Relics turned on, helping players complete a mission/episode for the first time, and more. Basically, the more you play and succeed, the more Teeth you’ll earn.
To spend your amassed Teeth, select “ARMORY: Get Upgrades” from the loadout menu. There you’ll see a list of options with a price listed next to them. You can spend Teeth to do things like increase the durability of sentry guns, revive downed teammates more quickly, and start with a locker key, but some of them are specific to a character class. Go for these first.
Each of the four character classes has one upgrade that is unique to them, and grants a powerful new Ability. These upgrades cost a whopping 15 Teeth apiece, but they are all well worth the price. You activate them once they’ve been purchased by pressing up on the D-pad twice, and each can be used repeatedly following a brief cool down.
- Engineer Upgrade: The engineer class can activate a stasis field for a limited time that Cryptids cannot enter.
- Medic Upgrade: This creates a circular field around the medic that moves with them and heals/revives teammates inside the circle.
- Tank Upgrade: When activated, the Tank class briefly becomes invulnerable, and all nearby Cryptids focus their attacks on him or her. The Tank can also stun enemies with a melee attack while the boost is active.
- Weapons Specialist Upgrade: Activates an adrenaline rush that increases damage for yourself and any nearby allies for a short time.
You can earn a few extra Teeth quickly thanks to the Bonus Pool, a reward system that offers a handful of Teeth for completing specific objectives. To see how many Teeth you can earn and what the requirements are, head to the loadout menu. Highlight the the upgrade option, and you’ll see the desired info listed in the lower-right portion of the screen. You earn these Teeth in addition to Teeth you earn in the standard way. Once you have claimed all the Teeth available in the Bonus Pool, you’ll need to wait until the timer expires before the Pool regenerates.
Crafting
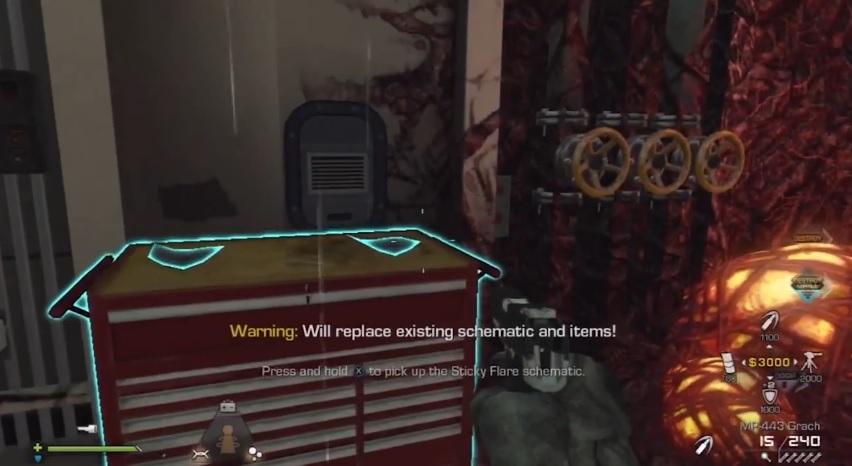 Aside from the Teeth, the most significant change introduced to Extinction via Mayday is the ability to craft items and weapons. Throughout the new map you’ll find five schematics for five different objects: Hypno Traps, Sticky Flares, Pipe Bombs, Tesla Traps, and a Venom-X. After creating an object you’ll need to collect a fresh schematic before you can start crafting again, even if you’ve already used that same schematic recently. These schematics are always located in the same locations, but you can only carry one at a time. Of the five schematics, you can ignore the Sticky Flares and Pipe Bombs – the other three are far more useful.
Here’s how it works: Once you have obtained a schematic, a new icon with the object you are working to craft appears on the lower left portion of your screen. That icon is surrounded by three items representing the three components you’ll need to collect. To find those components you’ll need to look around for specific, searchable boxes that look like toolboxes. Just walk up and search them. The component you find will always correspond to the schematic you are building; if you find three toolboxes and you’re holding a schematic, you’ll be able to craft an item, simple as that. If you aren’t carrying a schematic, you won’t be able to open the box.
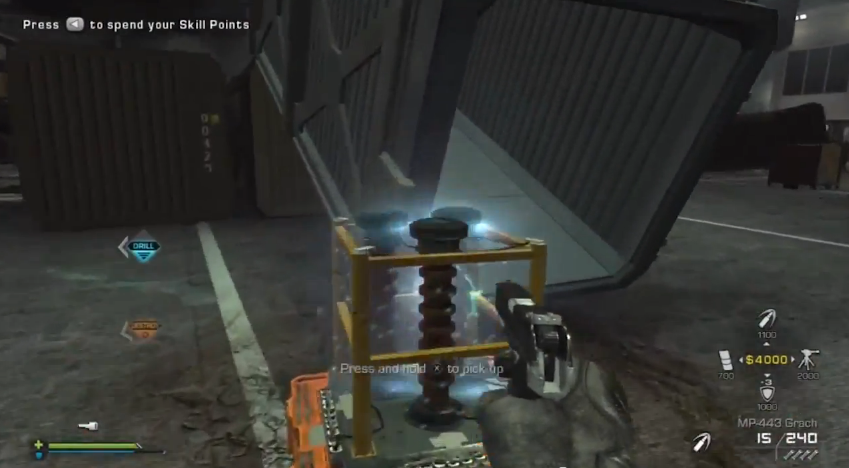
Once you have the three components you need, simply go to your Skills menu and hold down the “craft” button (X on an Xbox controller). Different tools fill different slots. The Venom becomes a third weapon you can cycle to, while the Pipe Bomb and Sticky Flare go into your useable inventory. The Hypno and Tesla Traps appear in front of you (like a sentry gun or I.E.D.) and you’ve got to plant them before you can do anything else, so don’t bother crafting them until you are ready to use them. If do craft one by accident, you can cancel it and re-craft it when you’re ready, so long as you don’t plant it first. You can also pick up placed Hypno/Tesla Traps to move them to a new location.
Choose your Venom-X wisely
 Your entire team should start by crafting Venom-Xs, but this weapon is a little different from other craftable objects (with the exception of the Tesla Traps – more on that in the next section). Once you have the first two pieces, the Nucleic Battery and the Deactivated Venom-X, you’ll need to look around for the third component – but there isn’t just one; you have options. There are four final components known as Biolums, and each one creates a different type of Venom-X.
The standard Biolum (just called “Biolum”) creates the green Venom-X, similar to the one from Nightfall that deals explosive damage; Amethyst Biolums create the purple-tinted Venom-SX that calls in friendly Seeders (venomous Cryptid plants that spit acid); the Blue Biolum creates the blue-tinted Venom-LX that shoots damaging orbs of electricity; the Orange Biolums create the orange-tinted Venom-FX, which deals fire damage. These Biolums appear randomly, so a team of four may find one of each or you may have multiple people with the same weapon. You can choose to not pick up a specific Biolum and instead go looking for another toolbox in hopes of finding the one you want, but you’ll be wasting a valuable component.
Each Venom weapon has its own pros and cons, but they are all useful and can be the difference between your beating the mission and dying early. Unlike the other objects, you keep your Venom throughout the entire mission as a third firearm and can use it continually. Just keep an eye out for Venom ammo, which drops fairly often.
Hypno and Tesla Traps
 After you craft your Venom-X, you should focus on Hypno Traps, which turn any Cryptids that walk on them into allies, and Tesla Traps, which shoot beams of electricity at any enemies that come within range.
Like the Venom-X, there are multiple types of Tesla Traps depending on which battery you pick up: Cell batteries make Basic traps, Liquid batteries make a Medium Trap, and Nucleic batteries make Advanced Traps. The better the trap, the more damage it does. The battery will always be the third component you find, and they spawn randomly; take the first one you find and don’t waste components. You and your teammates can also assemble multiple Tesla Traps and link them together to create an electric fence, but they are powerful on their own as well.
The Hypno Traps can be used against any Cryptid, but they are best saved for Rhinos. When you see one, craft the Hypno Trap and drop it in front of the armored Cryptid, then watch your new friend decimate any enemies in its way until it eventually dies. You can use a single Hypno Trap to take control of two Rhinos at a time, so pick up your Trap and avoid Cryptids until a second Rhino appears. When it does, simply drop the Trap and shoot the Rhino a few times until it charges you and runs directly into the Trap.
Doors can wait
Mayday is set on an infested ship floating alone at sea, and it is broken up into three main sections: the Entrance, the Cargo Area, and the Top Deck, which you fight through in that order. When you first begin a new mission, you’ll see a hive directly in front of you along with two door icons nearby. Don’t bother with these doors just yet. As soon as you plant the drill on one you’ll be attacked by a wave of Cryptids, and you won’t earn a Skill point for your efforts like you do when drilling a hive. Drilling a door takes significantly less time than a hive, but wait until you are better armed.
The first two doors you’ll see in the Entrance area have components and searchable boxes behind them, but you won’t find the Venom-X schematic until the Cargo Area. Once you have that schematic, return and open the doors. At that point in the mission, you’ll have come across enough toolboxes that everyone on your team should be able to easily craft a Venom-X.
Know your battleground
 The first area is straightforward enough since there’s only one direction to go. Once you clear the first two hives you’ll come across another door, and this one you will need to drill open to progress. After fighting off the wave of Cryptids you’ll find yourself in a small room with a catwalk overlooking the room, and a hive blocking your progress. Before you plant the drill, prepare for your first meeting with Mayday’s new big bad, the Kraken.
As soon as the drill starts Cryptids will attack as usual, and a giant tentacle will break through the hull to beat on you. You can’t ignore the Cryptids, but the tentacle should be your primary focus. Before planting the drill, make sure someone is prepared to purchase the mounted turret, and plant one or more automated sentry guns on the upper catwalk – don’t place one on the ground or the Kraken will just destroy it. To make things a bit easier, activate the fire trap by the door you entered to keep the Cryptids at bay, but do so before the Kraken arrives or you may be cut off. Once you plant the drill, focus as much firepower on the tentacle as you can.
Keep up the fire for long enough and the tentacle will withdraw, leaving you to fight back the rest of the Cryptid wave. Once the drill is complete, you’ll have one more door to cut through (which triggers a Rhino), and then you’re on your way to the second section.
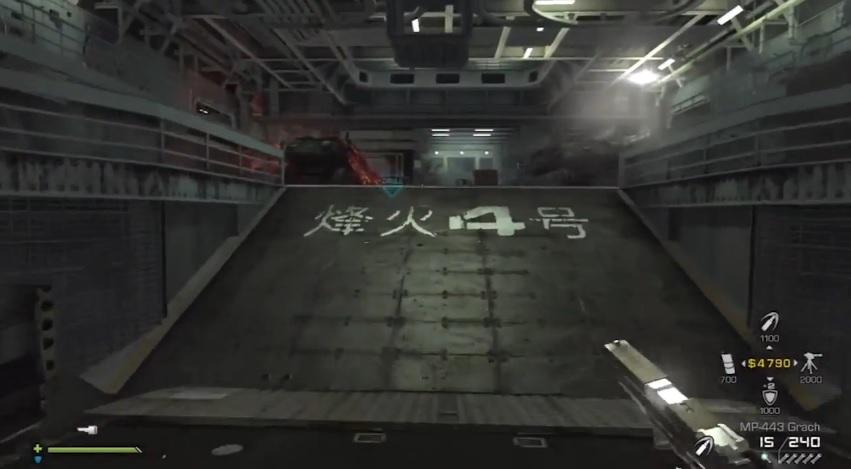
The Cargo Area is a big, open hold with multiple crates and several doors you can drill through. As soon as you enter, cut open all the doors. After surviving the ensuing attacks, you’ll have access to more components, better weapons, and new schematics, including the Venom-X. Make sure to backtrack and assemble the Venom you want, then choose another schematic and find the corresponding components. Once you are ready, choose a hive and get to it.
After you’ve cleared all the hives in the area, you’ll be instructed to step into a cargo crate. When your full team is assembled there, with the drill, you’ll be taken automatically to the next area, the Top Deck. You won’t be able to come back to the Entrance or Cargo Area though, so backtrack and explore the ship before jumping in the crate. You won’t be attacked by any Cryptids, so take your time.
 If you don’t already have a crafted object on standby, grab a schematic of your choosing before you go on to the new area. The only schematics you’ll find in Top Deck are for the Pipe Bomb and Venom-X, so bring one with you if you want something else.
The Top Deck consists of two sections: an exposed deck with an elevated platform, and an enclosed lab. Progress through the first area, destroying hives as you go, until you reach the lab. Before you destroy the final hive there, make sure you cut open the door in the back. It contains components and searchable boxes, and if you don’t open it before you destroy the last hive you won’t be able to open it at all.
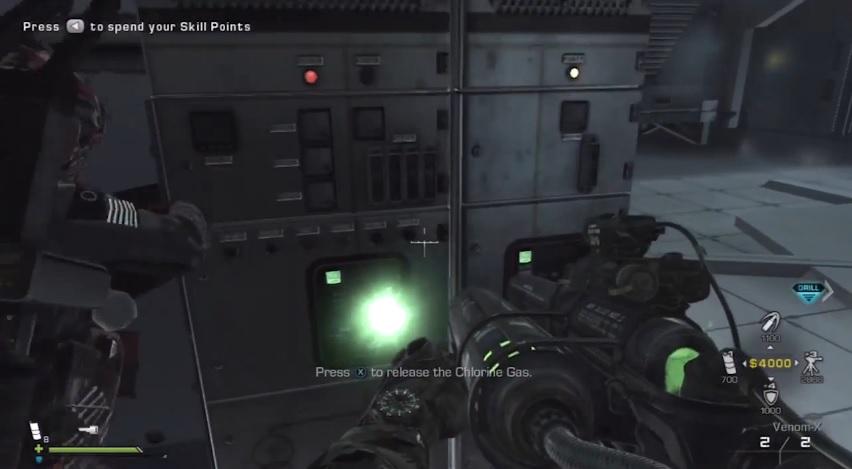
Once you’ve cleared out all the hives in the lab, your objective changes and you’ll need to protect four pipes located on the wall furthest from the entrance, with two on the floor and two on the catwalk above. These pipes pump chlorine gas into the next, sealed area; if all the pipes are destroyed, the game is over. Defending all four pipes can be challenging since you will need to split your forces, but the more pipes that you have still in play, the less concentrated the Cryptid attack will be.
Once the timer runs down and the gas does its job, a door on the catwalk opens and you can enter the previously inaccessible area. When this happens, ditch the drill and explore one last time. Save your money though, and try to avoid buying a new weapon unless you really need to. The boss is next, and you’ll need all the cash you can muster for Abilities.
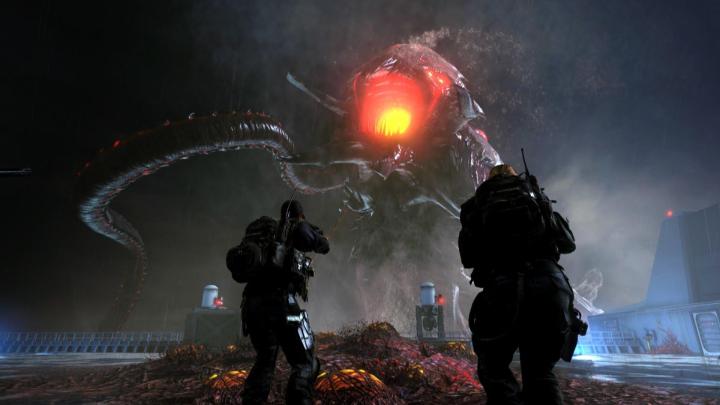
Release the Kraken!
 The Kraken is Mayday’s final boss, and it’s also the largest Cryptid seen in Extinction yet. The second and final appearance of the Kraken is significantly harder than the first, and it can also be much more difficult than the Breeder in Nightfall – especially if you aren’t prepared going in. To reach the final area, you’ll need to drop down onto the open deck with a red circle in the center. You can’t miss it, but the fight begins as soon as one person jumps down (the others are then transported to that first person), so be ready. Assign roles, and make sure teammates are consistently dropping armor, ammo, and someone has enough cash to purchase the turrets you’ll need to lay into the boss.
Once you are on the deck, pay attention to the four red corners and the red circle in the center: these are the only areas that are safe when the Kraken slams down its tentacles and sets the deck on fire, which it does frequently. The four corner spots contain the control boxes for turrets you can purchase, and those turrets can also give you a clue as to which side the Kraken will attack from. If the two turrets on one side of the ship are green, it means you can activate them because the Kraken will attack from the other side. If they are red, run for your life.
The turrets are controlled using a remote device, which means your body will be vulnerable as your view switches to the turret’s perspective. Make sure you have an ally watching your back or you will be downed. You can aim the turret at your body and kill any Cryptids attacking you, but you’ll waste time and ammo. A well placed Tesla Trap can also make for an effective guard here. Don’t rely on any electronic devices like an I.E.D. or an automated turret though – the Kraken has an EMP-like attack that shorts out all electronics.
Your best strategy, at least at first, is to have two teams of two with one person on a turret and an ally guarding them. Once the Kraken gets to about half health things get crazy and the attacks increase, so you may need to drop back to one turret and make a stand as a team. If you have any Hypno Traps, this would be an excellent time to use them. You’ll also face several waves of Cryptids, so having an AI-controlled ally can be a huge help as they offer offensive support and draw other Crytpids away from you. Armor is also key here, so make sure someone can afford to continue dropping it.
Although you are more exposed and trapped, the best time to attack the Kraken with the turret is when it is burning the deck. Aim for the small, illuminated circle on its forehead to cause the highest amount of damage. When it is attacking this circle grows brighter, meaning it is even more vulnerable. This is not an easy fight, and don’t be surprised if it takes you a few attempts. Stick with it and continue to dish out damage to that spot on its forehead, know your money situation in order to keep ammo and armor drops going, and work together. You’ll take the beastie down soon enough.
Editors' Recommendations
- Is Call of Duty: Modern Warfare 3 cross-platform?
- All Call of Duty games in order, by release date and chronologically
- Call of Duty: Warzone is finally coming to mobile in March
- Call of Duty: Modern Warfare 3 Zombies: how to complete Bad Signal
- The best weapons in Call of Duty: Modern Warfare 3