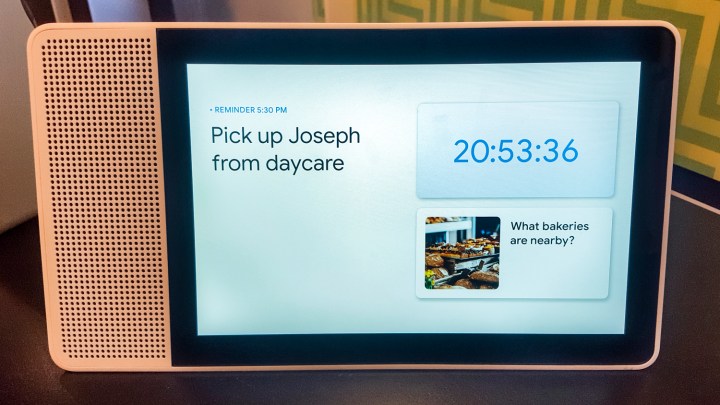
The Lenovo Smart Display has an impressive array of abilities (we gush about it in our review). As a screened smart speaker, it’s the Google Assistant competitor to the Amazon Echo Show. The Lenovo Smart Display’s functions include making video calls and a touchscreen, but you’ll want to set it up properly to make the most of it.
From connecting your device to the Google Home app to adding new services, we have all the info you need to get your Lenovo Smart Display set up and ready-to-use right away.
Step 1: Download and sign in on the Google Home App (if necessary)

The smart display is designed to work with the Google Home app. If you already have the
Step 2: Turn on the Smart Display
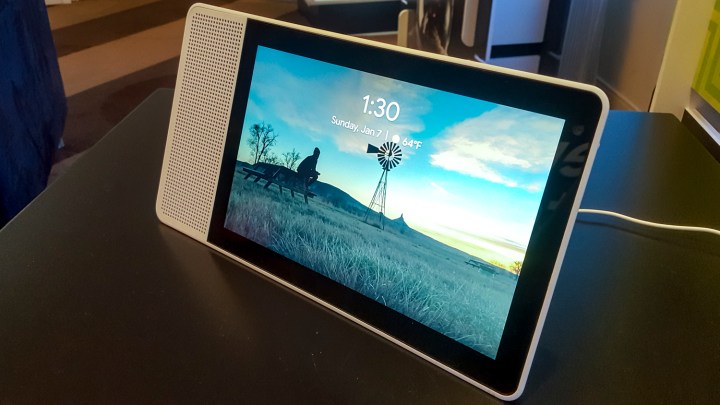
With your Google Home ready to go, unbox your Lenovo, plug it in, and turn it on. The opening screen will instruct you back to the
Step 3: Pair the Display and Home app
You should now see a new notification that says 1 Device found and a prompt to Set up. Select the prompt to begin. You may need to wait a couple of minutes for the notification to appear.
Your Google Home app will now display a short code with the message See the code? while your Smart Display will go to a setup screen and show its own four-digit code. Check the codes on both of your devices to make sure that they match. This helps stop Home from accidentally pairing with the wrong device or a neighbor’s smart display. In the bottom right of the
Step 4: Answer Google’s many questions
Now, Google Home will ask you a number of questions about Lenovo display so you can create basic settings for the device. These steps are simple enough but very important for configuring the smart display, so we’re going to go over them one at a time.
- Choose whether or not to Automatically share device stats and crash reports with Google. Make your choice based on privacy decisions — this will have no noticeable effect on performance.

- Choose what type of room the smart display will be in. Google Home will have you pick from options such as bedroom, dining room, family room, and so on. This helps identify the display more easily if you end up adding other devices to the Home app, so it’s important to be accurate.
- Pick out a unique name for your smart display. Name it something obvious so it’s clear exactly what the name is referring to. This name will be used for internal Home app management.
- Connect your Wi-Fi network. Obviously, your Smart Display needs to hop online, so the app will have you choose your Wi-Fi network and, if necessary, input your password.
- Read the privacy terms. Google will present you with information about how it (and Google’s partners) will treat your data and the data from people you communicate with using the Smart Display. Give it a read, and then choose Next.
Step 5: Customize and add services
Now, Google will take you through yet another list of questions and forms. These are more directed at how Google Assistant performs and what tasks the Lenovo can carry out. This part is a bit more involved, so we’ll walk you through the details.
- Choose whether or not to use Voice Match. Voice Match is a service that teaches Assistant to recognize individual voices. It’s most useful if you have multiple people in the house who will be using the smart display, so Assistant can tell the difference between them. If it’s just you using the display, you don’t really need to worry about it. If you choose I Agree, you will have a further option to display personal results (calendars, recommendations, contacts, etc.) when Google Assistant recognizes a particular voice. This is generally a useful feature, but you don’t have to enable it.
- Choose between a couple of voices. You can play samples of each voice to help you decide which to select. Hit Next when you are done.
- Fill out your address. Your display is particularly handy for finding traffic and weather information, but first Google Assistant needs to know where you live.
- The smart display is a great way to casually catch up on videos or movies. However, you will need to link the right accounts first. Google will ask you to Add your video services with options like HBO, Starz, and so on. You will need the account logins and passwords for these services, so have them ready if you want to stream video.
- Input your phone number and verify. This will link your phone number to the smart display for video calls. Google will send your phone a verification code to complete the setup process, so have your phone handy if you’re on a different device. You don’t have to do this step if you prefer to skip it.
- Pick out some art. When the smart display is in ambient mode, it can display some random pretty pictures. You can make those pictures less random by choosing types of photos/art from the art gallery as prompted, or choose from your own collection.
- Add credit card information. You can do this if you want to purchase via the smart display and voice commands.

- Link music services. You can link your Spotify, Google Play, Pandora, and other music accounts at this point. This is useful if you listen to a lot of music on these services and want your smart display to play them on demand.

Step 6: Test Google Assistant
You should be finished now. When done, your smart display should switch to an intro scene, then a general info screen. Test out Google Assistant by saying, “Hey, Google” or “Ok, Google” and asking a question or playing a movie or song, just to make sure everything is working as intended. You may also want to check out some of the other ways you can personalize Google Assistant.
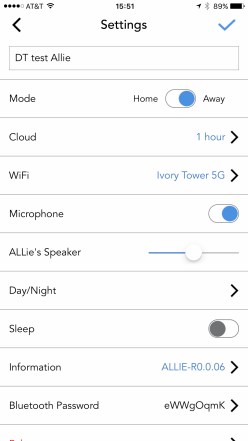
Step 7: Adjust settings if necessary

Now that your display is on, you should end by adjusting the settings, so it behaves the way you want it to. The touchscreen should be familiar if you’ve used touchscreens before, but keep in mind that you can swipe from the left edge to the right to return to your previous screen, which is especially handy when making changes.
If you swipe upward from the bottom of the screen, you will access a quick settings menu that’s worth a look as soon as you ready to start using the display. The sun icon will allow you to adjust the screen brightness, and the speaker will adjust the volume. Set them both to a level that you find suitable. Also note the circle-and-line icon: This allows you to enable or disable the do not disturb function, handy for quieting the display down when you are napping, etc. You can also select the cog icon to expand the settings menu.
Did something go wrong with your display? You can factory reset at any time by holding the volume up and volume down buttons at the same time for several seconds. However, this means you’ll have to go through the setup process again.
Have a Lenovo Smart Clock?
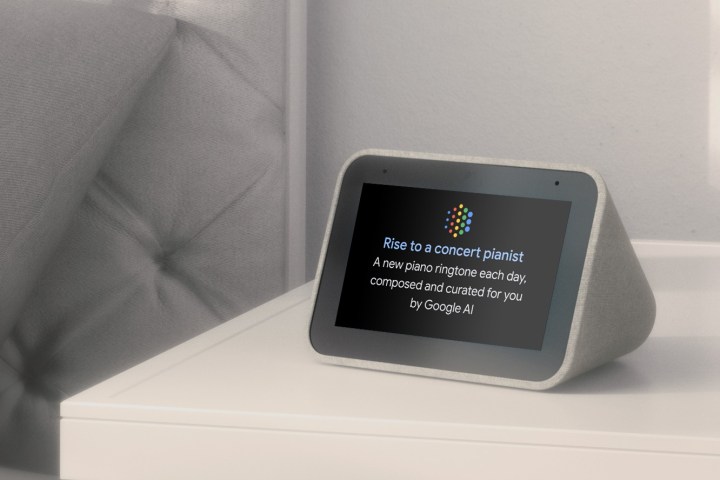
Lenovo also has a smart clock that’s very similar to its smart display. In fact, you can use this set of instructions to set up the smart clock as well. The main difference is that the smart clock is a bit more limited in what it can do, so setup is a bit faster. You cannot watch videos or make calls using the smart clock, but you do have access to the other Google Assistant services.
Editors' Recommendations
- Ring Pan-Tilt Indoor Cam vs. Ring Stick Up Cam Pro: Which is better for your home?
- What to know before connecting the Roborock S8 MaxV Ultra to your drainage system
- The most common Google Home problems and how to fix them
- How to save Ring Doorbell video without a subscription
- Yale’s newest smart lock is designed for renters